


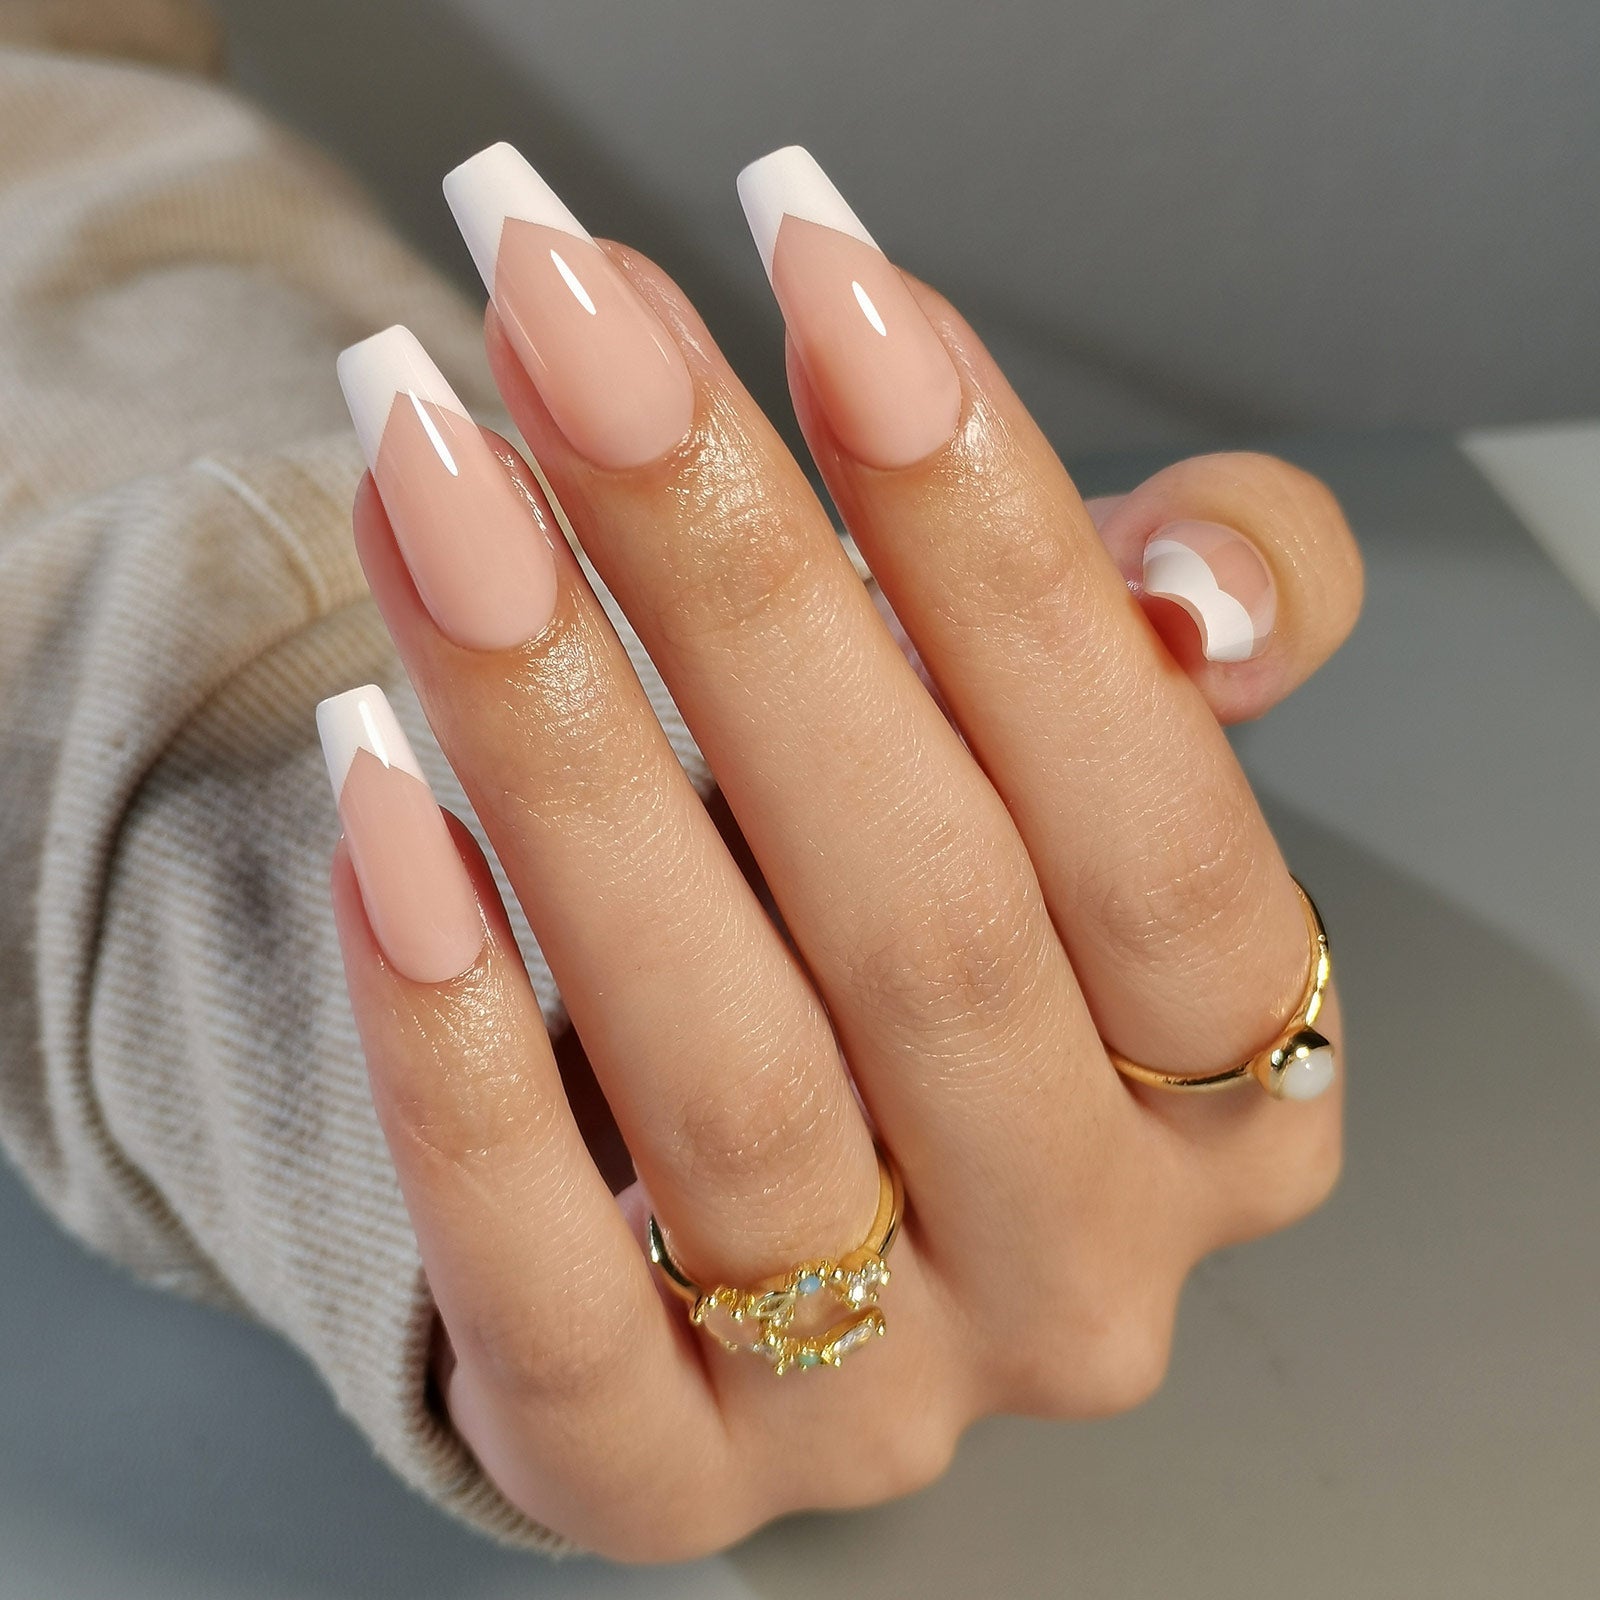
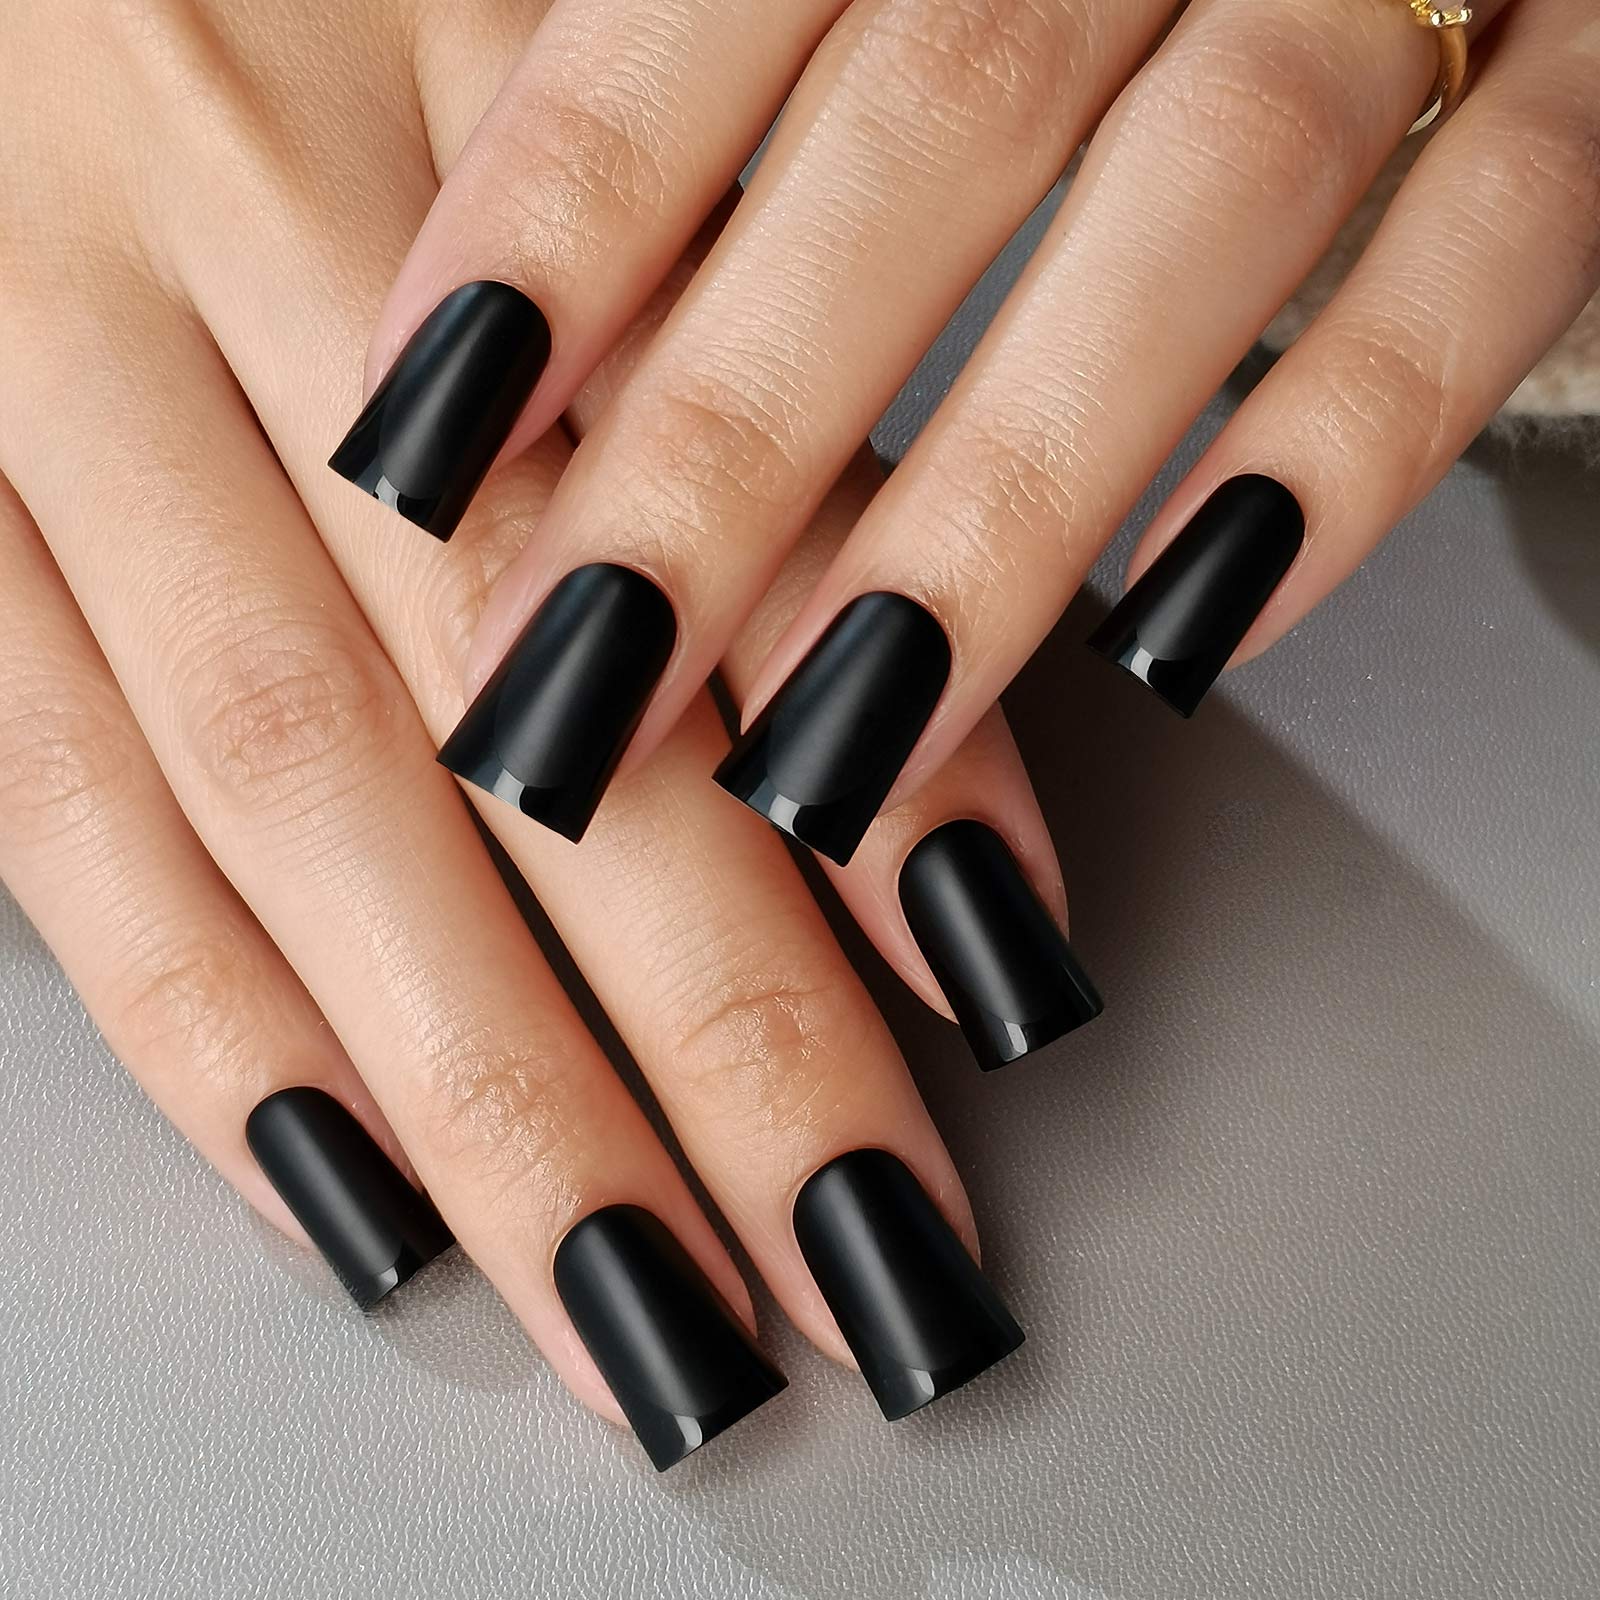


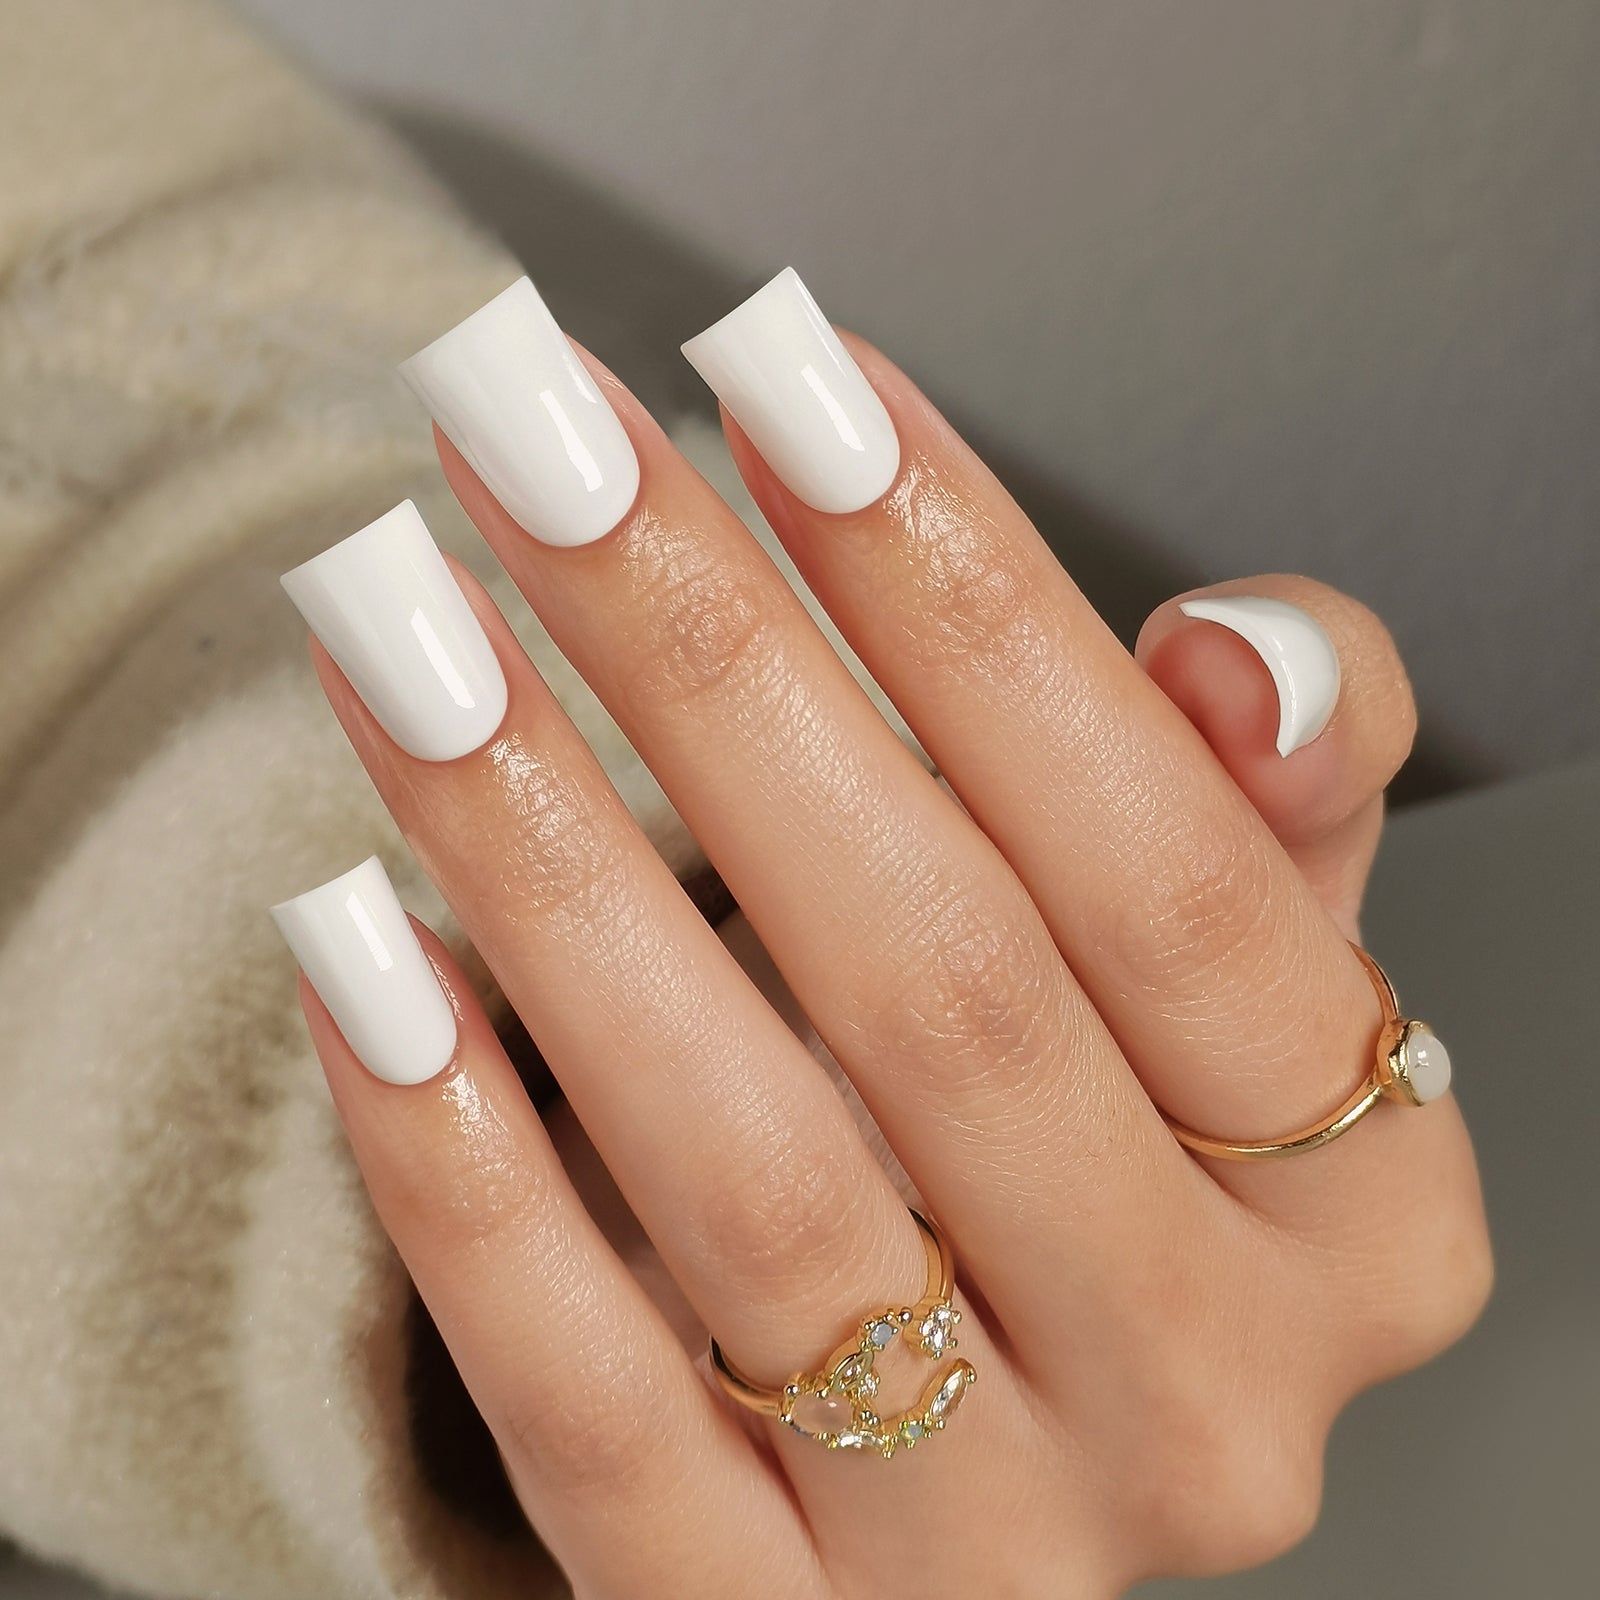
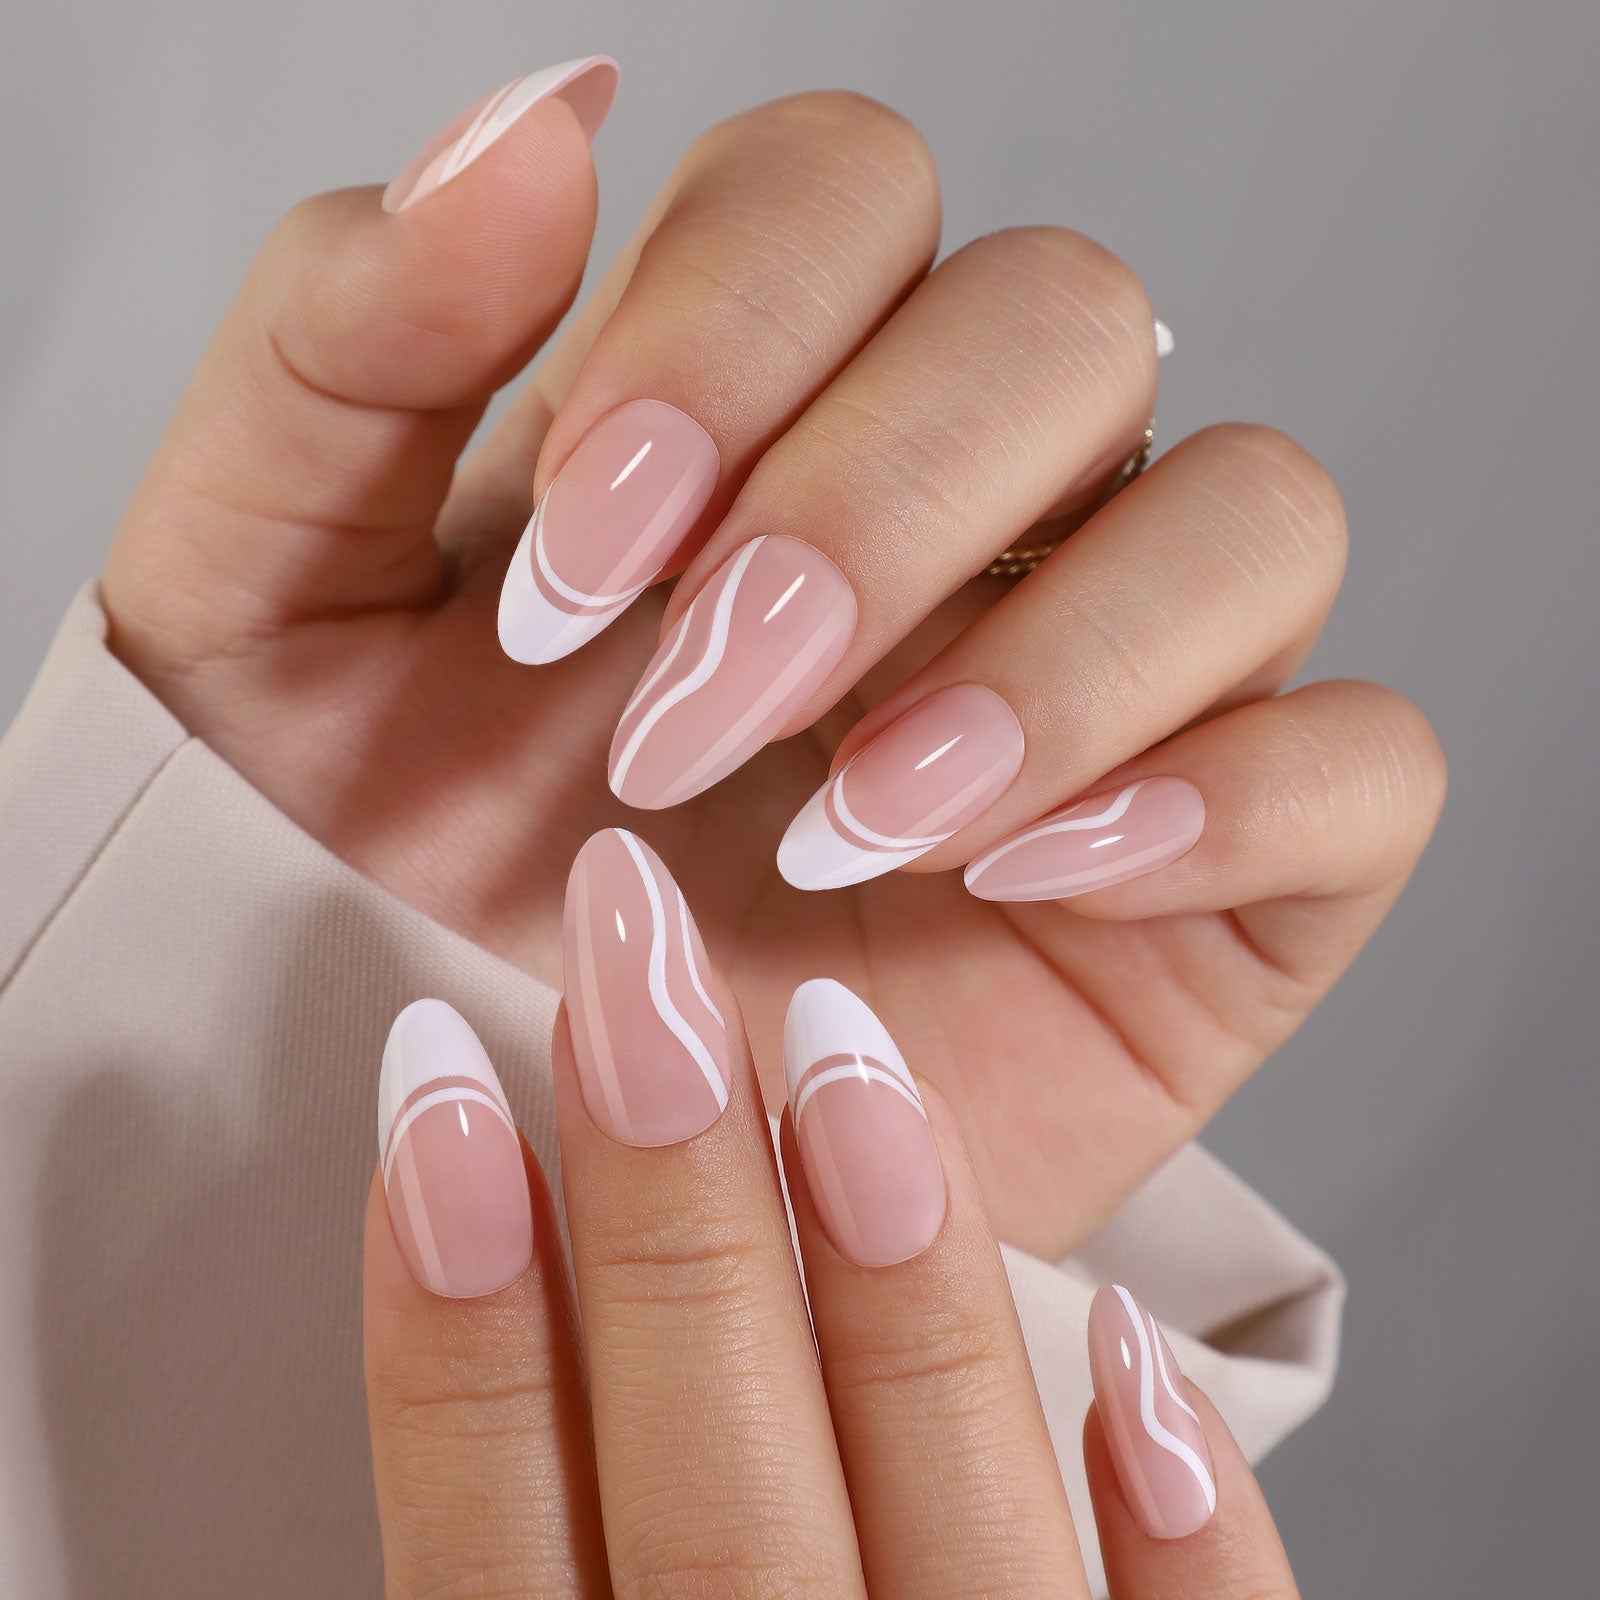

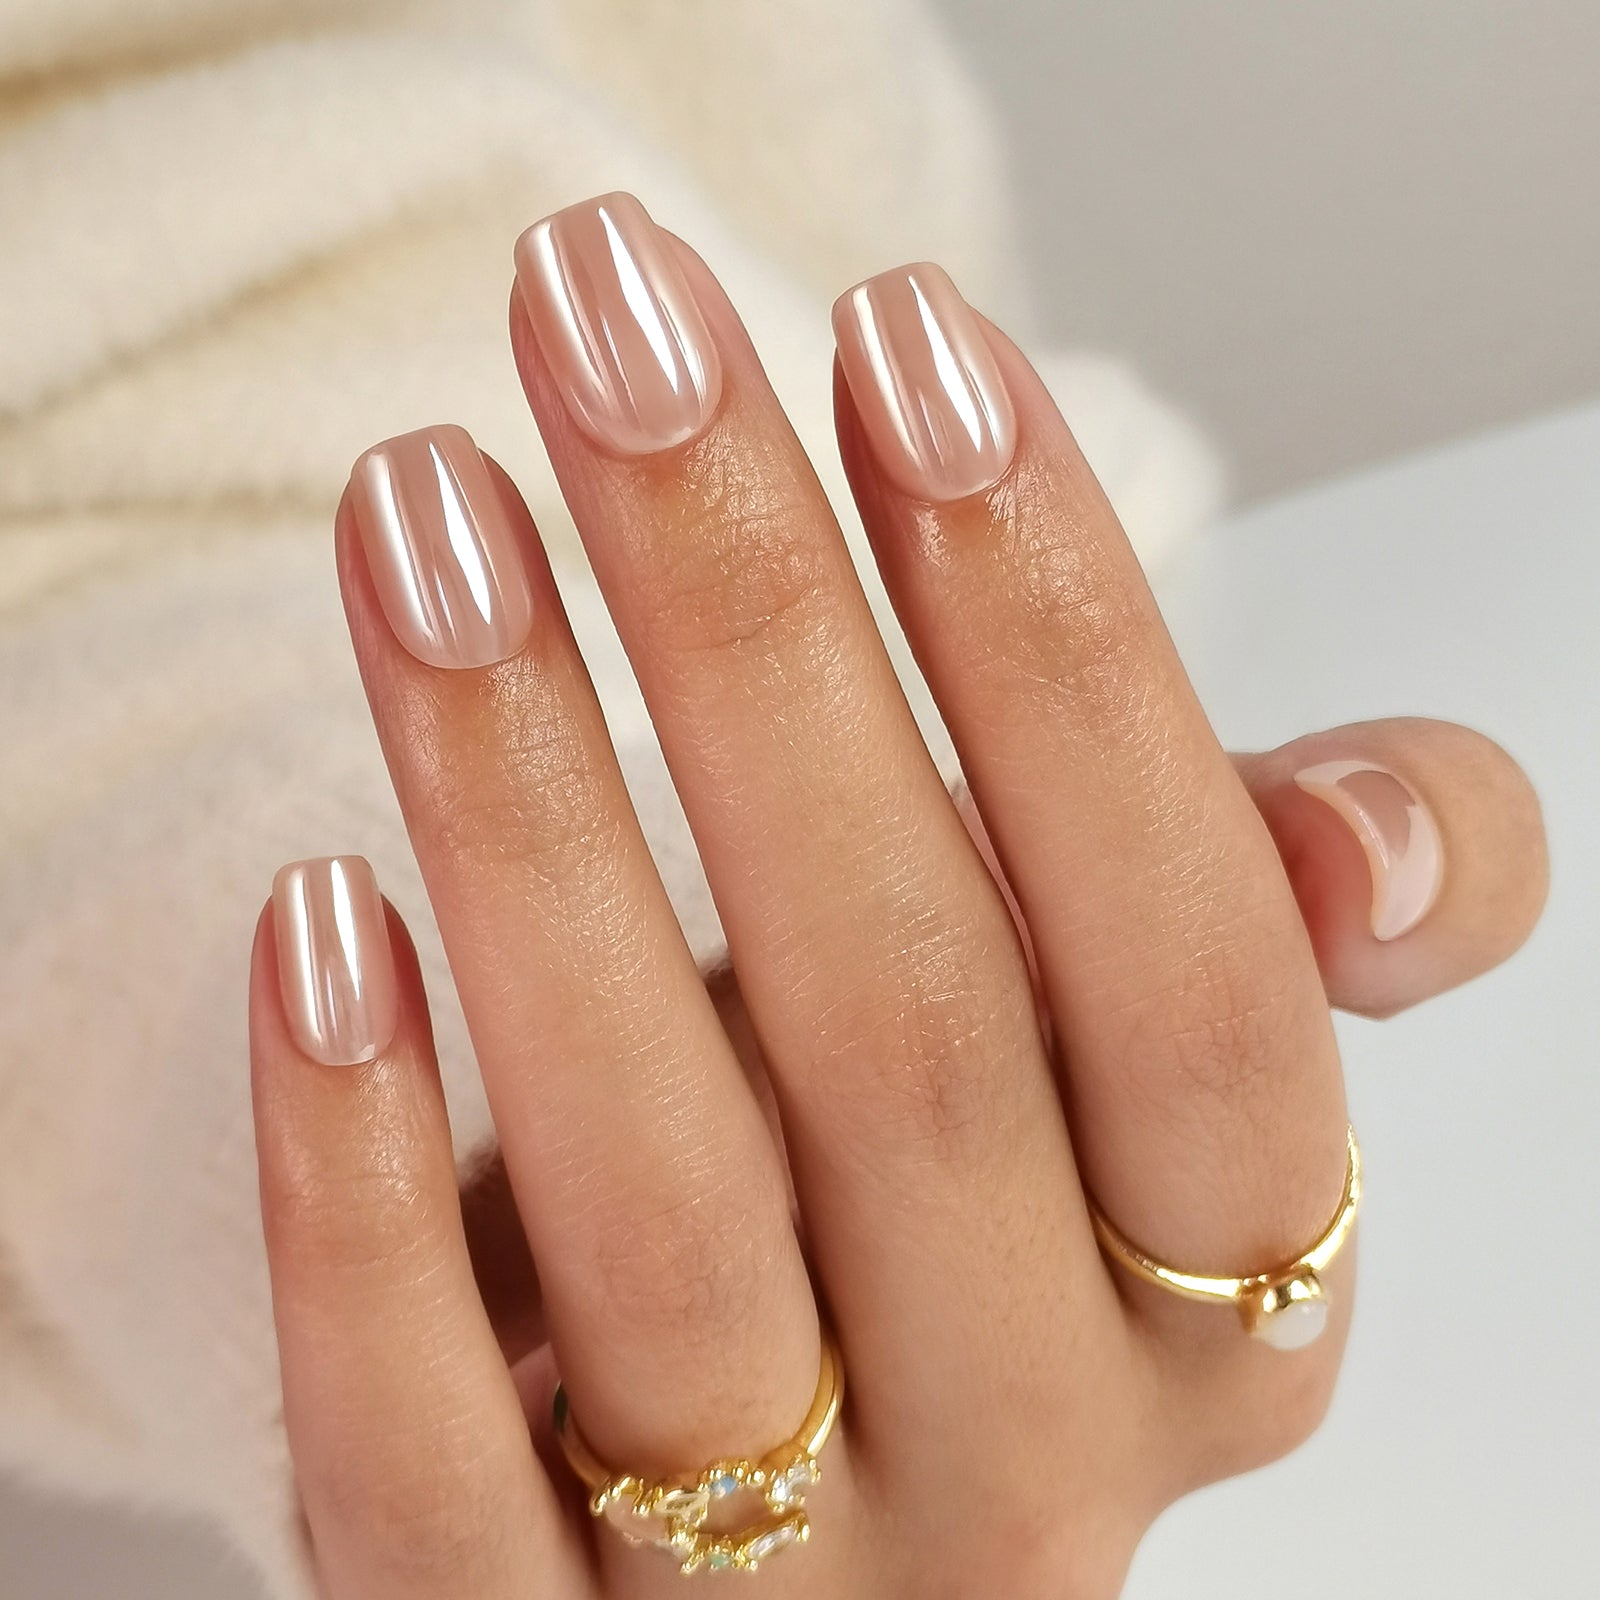

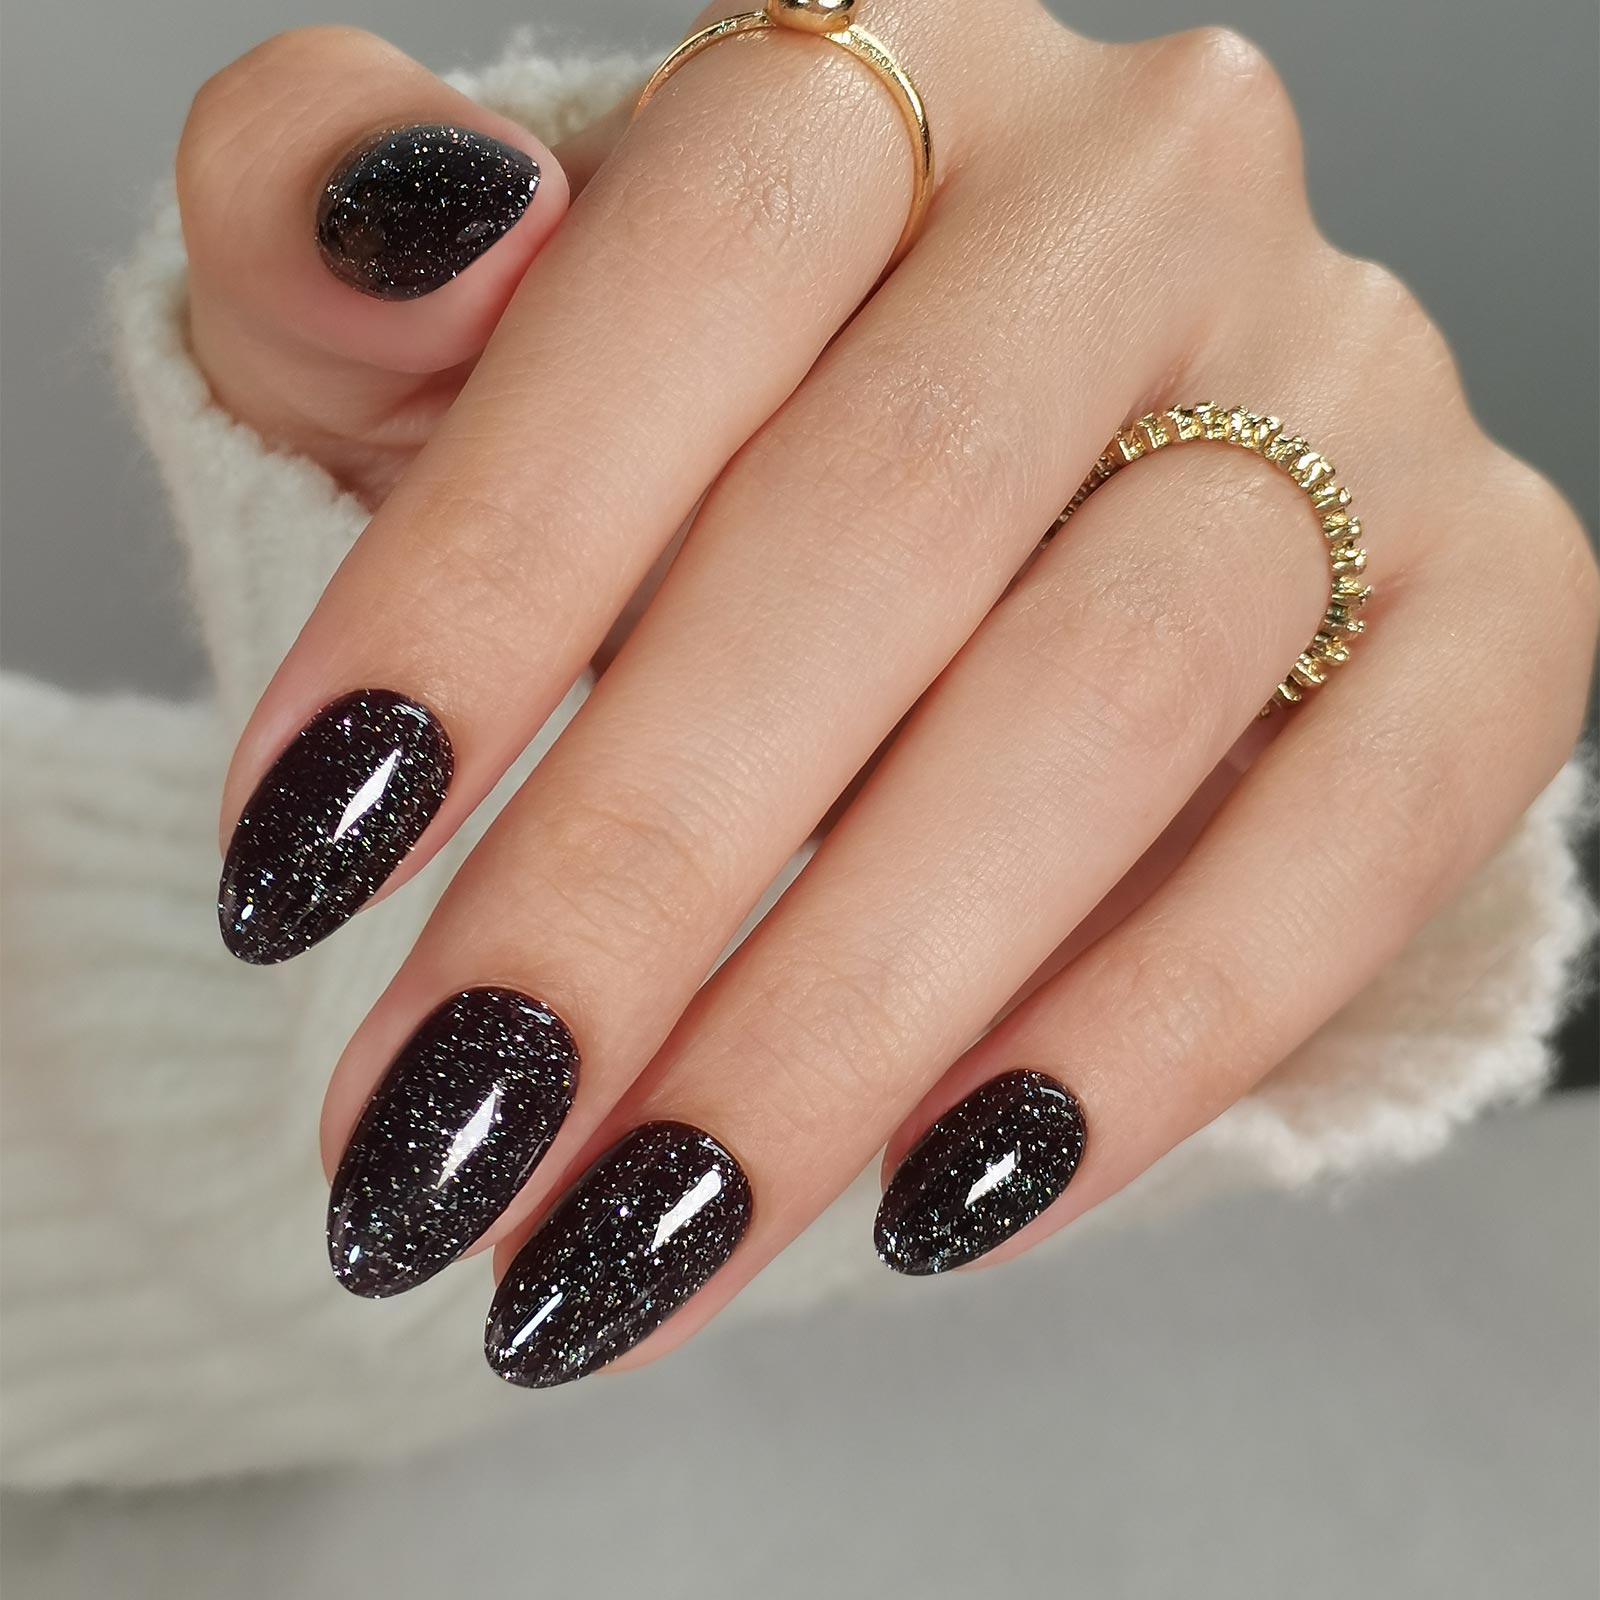
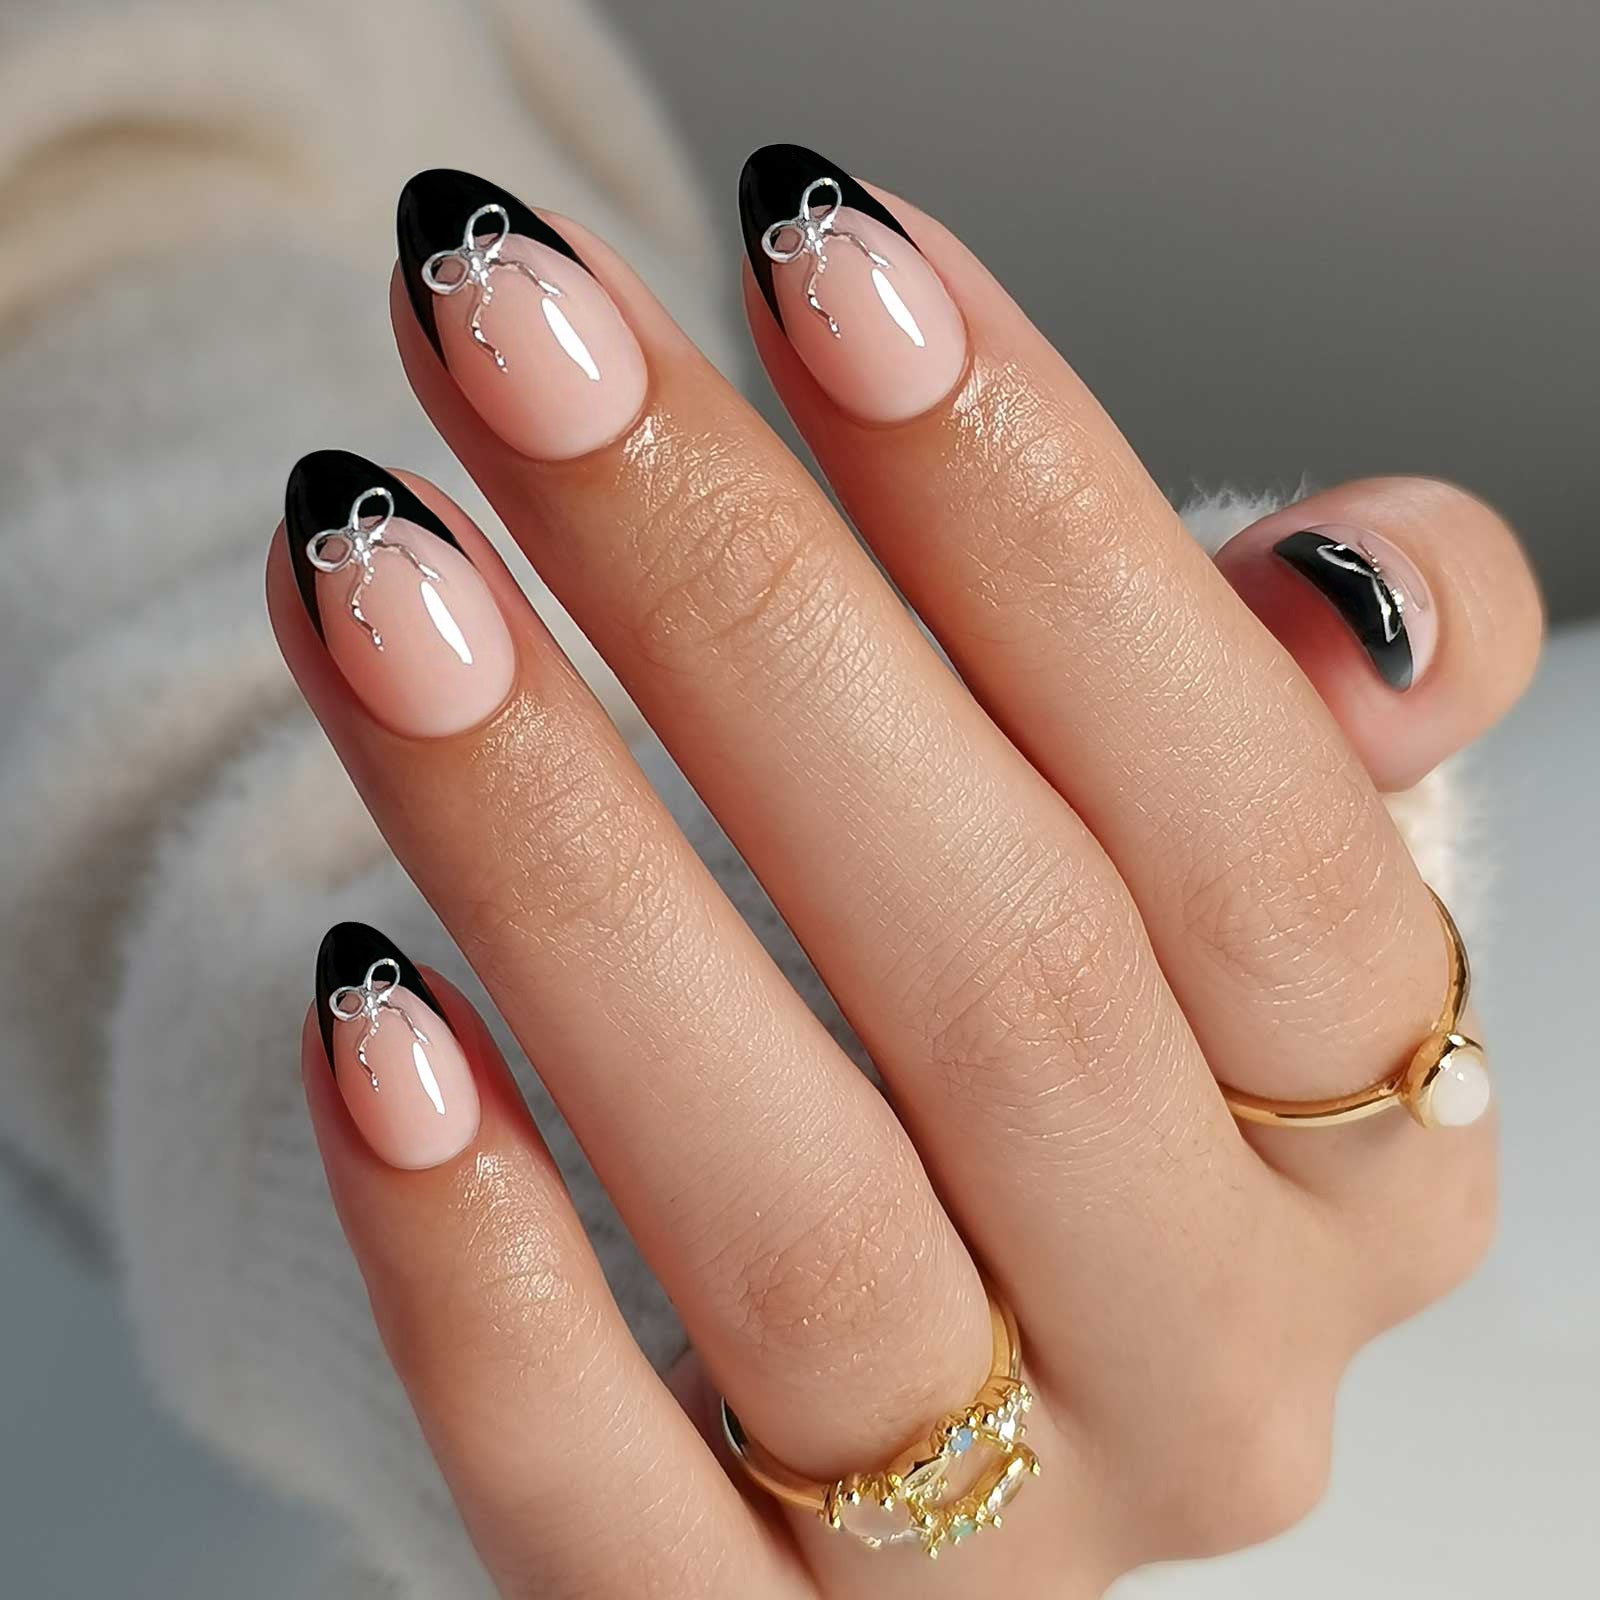


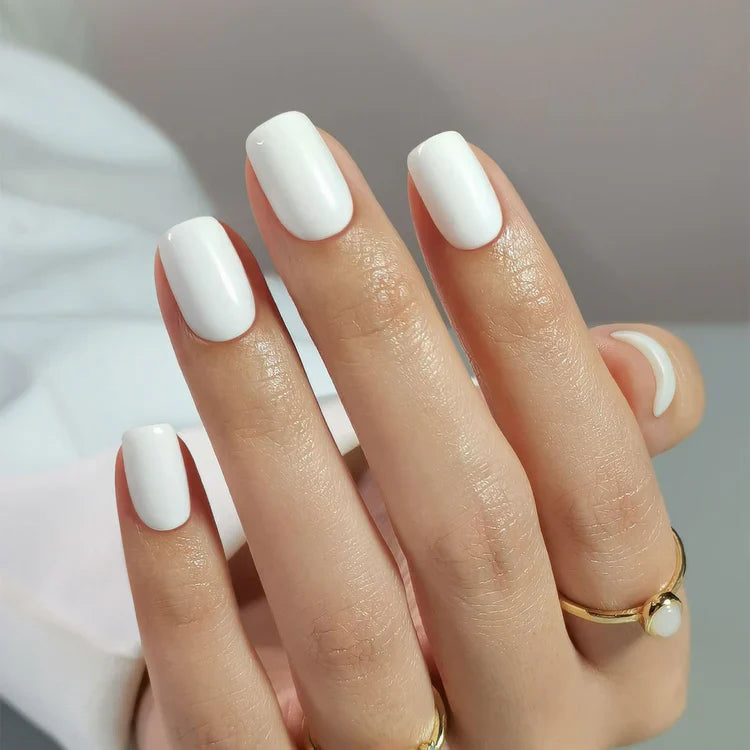





프레스온 네일 글루 부착 방법: 유지력을 극대화하는 단계별 가이드
작성자 Paul, SHANGMENG 부착 전문가 — 프레스온 네일 제조 경력 20+년입니다.
AEO 빠른 답변: 쌀알 크기의 한 방울의 시아노아크릴레이트 네일 글루를 네일팁(자연 네일이 아닌 네일팁)의 중앙에 바르고, 큐티클 라인에서 바깥쪽으로 맞춘 다음 네일팁마다 30–60초 동안 단단히 눌러주세요. 두 시간 동안 물을 피하세요. 이 순서대로 하면 1–2주 동안 유지됩니다.
프레스온 네일을 붙이는 일은 대부분의 튜토리얼이 설명하는 것보다 간단하지만, 잘못하기는 훨씬 쉽습니다. 가장 흔한 실수는 네일 글루 브랜드나 네일 품질과는 관계가 없습니다. 핵심은 양입니다. 네일 글루가 너무 많아 옆으로 흘러나오거나, 네일 플레이트에 제대로 닿지 않을 만큼 너무 적은 경우입니다.
이 가이드는 전체 네일 글루 부착 방법 을 튜브를 여는 순간부터 60초 동안 눌러 두 주간의 접착력을 완성하는 단계까지 다룹니다. 전체 부착 순서를 폭넓게 살펴보고 싶다면 — 사이즈, 큐티클 준비, 파일링까지 — 다음의 단계별 프레스온 네일 부착 가이드. 이 글은 네일 글루 부착만을다룹니다: 얼마나, 어디에, 얼마나 오래 바르고 눌러야 하는지 말입니다.
목표는 $10-$15 프레스온 세트가 살롱의 $60 매니큐어처럼 작동하도록 만드는 것입니다: 평평하게 밀착되고, 넘치지 않으며, 큐티클 라인에서 들뜨지 않는 상태입니다.
어떤 모양, 길이 또는 사이즈가 자연 네일에 맞는지 확신이 없으세요?
네일 글루 부착의 오해: 네일 글루를 많이 바른다고 더 잘 유지되는 것은 아닙니다
단계에 들어가기 전, 네일 글루를 크게 한 덩어리 바르면 더 강하게 붙는다는 생각은 틀렸습니다. 또한 네일을 가장 많이 손상시키고 세트를 가장 많이 낭비하게 만드는 지침입니다.
시아노아크릴레이트 접착제 — 모든 프레스온 네일용 네일 글루에 들어 있는 화학 성분 — 는 음이온 중합이라는 과정을 통해 결합합니다. 액체가 네일 플레이트의 미량 수분과 닿으면 접촉 표면 전체에 폴리머 사슬을 형성하기 시작합니다. 결합 강도는 네일 글루의 양이 아니라 표면 접촉 면적에서 나옵니다. 네일 글루가 두껍게 고이면 경화에 더 오래 걸리고, 프레스온 네일과 네일 플레이트 사이에 틈을 만들며, 압력을 받을 때 옆으로 밀려 나와 공기를 가두고 들뜸 지점을 만들 가능성이 커집니다.
네일 글루가 너무 적으면 반대 이유로 문제가 생깁니다. 균일하게 덮이지 않아 두 표면이 실제로 결합하지 않는 마른 구역이 남습니다.
목표는 얇고 빈틈없이 덮이는 층입니다 — 대부분의 네일 사이즈에서 작은 생쌀알 하나 정도의 크기입니다. 단단히 누르면 그 양이 접촉면의 80–90%를 넘침 없이 덮습니다.
새로운 발견은 아닙니다. NIH의 에틸 2-시아노아크릴레이트 PubChem 항목은 네일 글루의 기반이 되는 빠르게 굳는 접착 화학 성분을 설명합니다. 실제로 화장품용 시아노아크릴레이트는 얇고 균일한 층에서 가장 잘 접착됩니다.

부착 전 준비: 5단계
준비하지 않은 네일 플레이트에 바른 네일 글루는 부착 방법과 관계없이 성능이 떨어집니다. 이 다섯 단계는 총 네 분이면 끝나며, 유지 기간의 70%를 결정합니다.
1단계 — 남아 있는 네일 제품을 제거하세요. 남아 있는 폴리시, 젤 탑코트 또는 이전 접착제는 장벽층을 만듭니다. 프레스온 네일에는 논아세톤 리무버를 사용하세요(아래에 아크릴을 하고 있지 않다면 아세톤을 사용해도 됩니다). 각 네일을 닦고 완전히 말리세요 — 최소 60초입니다.
2단계 — 큐티클을 뒤로 밀어주세요. 네일 플레이트를 덮은 큐티클은 베이스 들뜸의 가장 큰 원인입니다. 큐티클 피부 위에 붙고 네일 플레이트에 붙지 않은 프레스온 네일은 첫 순간부터 접착 면적이 일부에 불과합니다. SHANGMENG 키트에 포함된 큐티클 푸셔를 사용하고, 작은 원을 그리듯 부드럽게 움직이세요. 평소 큐티클을 자르지 않는다면 자르지 마세요 — 밀어주는 것만으로 충분합니다.
3단계 — 네일 표면을 가볍게 버핑하세요. 포함된 네일 파일의 180 그릿 면으로 한 번만 문지르면 네일 플레이트의 광택층이 제거됩니다. 이렇게 하면 표면 질감이 생겨 시아노아크릴레이트가 잡을 수 있는 면적이 넓어집니다. 과하게 파일링하지 마세요. 네일을 얇게 만드는 것이 아니라 매트한 마무리를 원합니다.
4단계 — 알코올 패드로 닦으세요. 이 단계는 건너뛸 수 없습니다. 피부는 계속 피지를 분비하며, 접착제 화학 연구에 따르면 갓 씻은 손에도 접착력을 60–70% 낮추기에 충분한 표면 유분이 남아 있습니다. 이 연구가 발표된 학술지는 Journal of Adhesion Science and Technology알코올 패드로 각 네일을 닦고 완전히 증발할 때까지 30초 기다린 후 진행하세요. 닦은 뒤에는 네일을 만지지 마세요.
5단계 — 네일 글루를 열기 전에 모든 네일팁의 사이즈를 맞추세요. 네일 글루 튜브를 만지기 전에 모든 손가락에 네일팁을 맞춰 보세요. 시아노아크릴레이트는 접촉 시 5–10초 안에 굳습니다. 붙이는 도중 네일팁이 너무 넓거나 좁다는 것을 발견하면 바꿀 시간이 없습니다. 미리 사이즈를 맞추는 데는 두 분이 걸리지만, 처음부터 다시 붙이는 일을 막아줍니다.

네일 글루 부착 8단계 가이드
한 번에 네일팁 하나씩 작업하세요. 다음 손가락으로 넘어가기 전에 한 손가락에서 8단계를 모두 완료하세요.
1단계 — 어플리케이터나 주로 사용하지 않는 손으로 네일팁을 잡으세요. 두 손가락 끝 사이에 잡지 마세요 — 체온과 피부 접촉 때문에 네일팁 표면을 만지는 순간 네일 글루가 약간 따뜻해지기 시작합니다. 키트에 네일팁 홀더 스틱이 포함되어 있다면 사용하세요. 그렇지 않다면 곧 네일 글루를 바를 안쪽 표면에서 떨어진 프리 엣지를 잡으세요.
2단계 — 자연 네일이 아니라 네일팁에 네일 글루를 바르세요. 대부분에게 가장 효과가 큰 방법 변화이며, 직관에 반하는 방식입니다. 자연 네일에 네일 글루를 바르면 네일팁을 정확히 위치시키기 어렵습니다 — 닿는 순간 바로 결정해야 합니다. 반대로 네일팁에 네일 글루를 바르면 처음 닿은 뒤 2–3초 동안 위치를 조정할 수 있습니다. 네일팁의 매끄러운 안쪽 표면이 중합을 시작하는 신호를 약간 늦추기 때문입니다.
3단계 — 중앙에 쌀알 크기의 한 방울을 놓으세요. 네일 글루 튜브 끝을 네일팁 안쪽 표면 중앙에 부드럽게 대고, 지름 약 2mm의 방울이 될 때까지 눌러 짜세요. 초대형 네일팁(엄지 또는 와이드 스퀘어 모양)에는 프리 엣지 가까이에 더 작은 점을 하나 추가하세요 — 단, 큐티클 쪽 끝에는 절대 바르지 마세요.
4단계 — 네일 글루를 펴 바르지 마세요. 튜브 끝이나 도구로 네일 글루를 가장자리 쪽으로 끌어 펴지 마세요. 네일팁을 눌러 붙이면 접촉 압력이 네일 글루를 고르게 퍼뜨립니다. 펴 바르면 공기가 들어가고 커버력이 고르지 않게 됩니다.
5단계 — 큐티클에서 바깥쪽으로 맞추세요. 먼저 네일팁의 큐티클 가장자리를 큐티클 라인에 댄 다음 프리 엣지를 내려놓으세요. 이 방법은 네일 본체 아래에 공기가 갇히는 것을 막습니다. 네일팁 전체를 위에서 수평으로 내려놓으면 중앙의 공기주머니를 압축하게 됩니다.
6단계 — 최소 30초 동안 단단히 눌러주세요. 엄지손가락은 네일팁 위에, 검지는 자연 네일 아래에 대고 꽉 눌러주세요. 전체 표면에 단단하고 균일한 압력을 가해야 네일 글루 방울이 평평하고 빈틈없는 접착층으로 바뀝니다. 다음의 AAD 매니큐어 안전 가이드 는 부드러운 네일 관리와 큐티클 보호를 강조합니다; 프레스온 네일에서는 네일팁을 흔들거나 억지로 누르기보다 일정한 압력을 유지하는 것이 이에 맞는 부착 습관입니다. 최대 유지력을 원한다면 60초 동안 눌러주세요.

7단계 — 큐티클 가장자리에서 네일 글루가 밀려나오지 않았는지 확인하세요. 다음 네일팁으로 넘어가기 전에 큐티클 라인을 확인하세요. 네일 글루가 피부 위로 밀려 나왔다면 즉시 우드스틱으로 제거하세요 — 피부에 굳은 시아노아크릴레이트는 나중에 제거하기 불편합니다. 소량의 밀려나옴은 네일 글루 양이 조금 많았다는 뜻이므로, 다음 네일팁에서는 10% 줄이세요.
8단계 — 네일팁마다 반복하고 두 시간 동안 물을 피하세요. 시아노아크릴레이트는 60초 안에 기능적 유지력에 도달하지만 최대 24시간 동안 계속 가교됩니다. 처음 두 시간은 접착력이 수분에 의해 약해지기 가장 쉬운 때입니다. 설거지와 긴 샤워, 핸드로션은 건너뛰고 — 화학 작용이 끝까지 진행되도록 두세요.
네일 글루 강도, 점도 및 착용 기간을 더 자세히 알아보려면 다음을 참고하세요: 가장 강력한 네일 글루 가이드.
사용할 네일 글루 양: 시각적 참고
네일 글루 양은 대부분이 과하게 조절하거나 아예 무시하는 변수입니다. 네일 사이즈별 간단한 기준은 다음과 같습니다:
| 네일 사이즈 | 네일 글루 양 | 시각적 기준 |
|---|---|---|
| 새끼손가락 / 초소형 | 1–1.5mm 방울 | 쌀알 반쪽 크기 |
| 스탠더드(검지, 중지, 약지) | 2mm 방울 | 익히지 않은 쌀알 하나 크기 |
| 엄지 / 초대형 | 2mm 방울 두 개(중앙 + 프리 엣지 가까이) | 서로 닿지 않는 쌀알 두 개 |
“너무 많은 양”은 다음과 같습니다: 누르기 전부터 옆면에 네일 글루가 보입니다. 누르면 전체 둘레에서 네일 글루가 밀려 나옵니다. 처음 눌렀을 때 네일팁이 미끄러집니다 — 네일 글루층이 너무 두꺼워 단단히 밀착되지 않는다는 뜻입니다.
“너무 적은 양”은 다음과 같습니다: 24시간 안에 들뜨는 마른 가장자리. 네일팁 가장자리를 구부리려 할 때 나는 바스락거리는 소리. 옆에서 봤을 때 프리 엣지에 보이는 틈.
3일 유지가 나오는데 제품 탓이라고 생각해 왔다면, 위의 양 조절만으로도 다른 변경 없이 보통 10–14일까지 늘어납니다. 유지 기간에 영향을 주는 다른 요소를 모두 살펴보려면 다음 가이드인 프레스온 네일을 2+주 유지하는 방법 에서 모든 아홉 가지 변수를 다룹니다.
네일 글루를 바를 위치: 네일팁 vs 자연 네일 vs 양쪽
다음의 세 가지 프레스온 네일 글루 부착 방법이 있으며, 세 가지 방법을 둘러싼 논쟁은 네일 포럼에서 끊임없이 나옵니다. 실용적으로 정리하면 다음과 같습니다:
옵션 1 — 네일팁에만 네일 글루 바르기(권장). 위의 8단계 가이드에서 설명했듯이, 위치를 가장 잘 조절할 수 있으며 초보자와 대부분의 숙련 사용자에게 표준적인 방법입니다. 네일 글루 양을 예측하기 쉽고, 위치가 어긋나도 2–3초 동안 되돌릴 수 있으며, 정리도 더 쉽습니다.
옵션 2 — 자연 네일에만 네일 글루 바르기. 일부 전문 네일 테크니션은 누르기 전에 커버리지를 확인할 수 있어 이 방법을 선호합니다. 단점은 네일팁을 즉시 정확하게 올려야 하며, 위치를 다시 조정할 시간이 없다는 점입니다. 프레스온 네일을 수백 개 붙여 근육 기억이 확실한 경우에는 잘 맞습니다. 대부분의 홈 사용자에게는 문제를 해결하는 것보다 위치 오류를 더 많이 만듭니다.
옵션 3 — 양쪽 표면에 네일 글루 바르기(양면 부착). 양면 네일 글루 부착은 접착제의 화학적 양을 두 배로 늘려 활동적인 생활을 하는 경우(수영, 헬스장 이용, 설거지를 자주 하는 경우) 유지 기간을 크게 늘릴 수 있습니다. 대신 제거가 더 어려워지고 큐티클 부위에 네일 글루가 넘칠 위험이 커집니다. 이 방법을 사용한다면 각 표면에 바르는 양을 절반으로 줄여 총량이 여전히 쌀알 하나 크기와 같도록 하세요.
결론: 옵션 1(네일팁에만 바르기)부터 시작하세요. 유지 기간은 괜찮지만 일주일 후 큐티클 가장자리가 들뜬다면, 양을 신중하게 조절해 옵션 3을 시도하세요.
네일팁마다 얼마나 오래 눌러야 하나요
30초 규칙은 널리 알려져 있으며 대부분의 조건에서 실질적으로 맞습니다. 전체 내용은 다음과 같습니다:
30초 — 일반적인 실내 조건(20–22°C, 습도 40–60%)에서 기능적으로 경화되는 데 필요한 최소 시간입니다. 이 시간만큼 누르면 이후 일상적인 활동을 견딜 수 있습니다.
60초 — 최대 유지 시간을 위한 권장 시간이며, 평균보다 큰 부담을 받는 네일에 적합합니다: 주로 사용하는 손의 검지와 중지, 엄지 네일, 그리고 타이핑을 많이 하는 사람의 네일입니다.
더 오래 눌러야 하는 조건: 차가운 환경(15°C 미만)에서는 시아노아크릴레이트 중합이 눈에 띄게 느려지므로 차가운 방에서는 네일팁마다 15–20초를 추가하세요. 매우 낮은 습도(건조한 겨울 공기, 에어컨이 켜진 환경)도 초기 경화를 늦추므로 10–15초를 추가하세요. 습도가 높으면 초기 경화는 실제로 빨라지지만 최종 접착력은 약간 약해질 수 있습니다 — 따라서 60초 동안 누르는 시간은 항상 일정하게 유지하세요.
타이머가 생각보다 중요한 이유: 너무 일찍, 즉 10–15초에 손을 떼면 접착력이 가장 약한 전환 상태로 남습니다. 네일 글루가 고분자 사슬을 만들기 시작했지만 구조적 견고함에 필요한 가교가 충분히 형성되지 않은 상태입니다. 이때 실수로 손을 표면에 스치는 정도의 작은 측면 힘만 가해도 네일팁이 0.5–1mm 움직여 한쪽 가장자리에 영구적인 틈이 생길 수 있으며, 결국 들뜸 지점이 됩니다.
실용적인 규칙은 옆으로 압력을 가했을 때 네일팁과 자연 네일 사이에 상대적인 움직임이 전혀 느껴지지 않을 때까지 누르는 것입니다. 네일팁이 완전히 단단해졌다고 느껴지는 감각이 30초 동안 압력을 가하는 작업이 끝났다는 믿을 수 있는 신호입니다.
네일 글루 vs 접착 탭: 언제 어떤 것을 사용해야 하나요
일부 SHANGMENG 키트에는 네일 글루와 접착 탭이 모두 포함되어 있습니다. 선택은 임의적이지 않으며, 각 방법은 서로 다른 상황에 맞습니다.
떨어질까 봐 계속 걱정되나요? 필요한 유지 기간에 맞춰 접착력을 비교해 적합한 부착 구성을 찾아보세요.


| 상황 | 네일 글루 사용 | 접착 탭 사용 |
|---|---|---|
| 필요한 착용 기간 | 1–3주 | 3–5일 |
| 네일 손상 우려 | — | 회복 중인 네일, 얇은 네일 플레이트 |
| 자주 교체하는 경우 | — | 네일 아트 교체, 여행 |
| 활동적인 생활(수영, 헬스장 이용) | ✓ | — |
| 업무 행사, 결혼식 | ✓ | — |
| 빠른 주말 룩 | — | ✓ |
| 막판 부착 | — | ✓ (건조 시간 없음) |
접착 탭도 동일한 준비 단계(큐티클 밀기, 가벼운 버핑, 알코올 닦기)와 동일한 정렬 방법(큐티클 가장자리 먼저)이 필요합니다. 10–15초만 누르면 되므로, 30–60초 동안 눌러야 하는 네일 글루보다 부착이 더 빠릅니다. 하지만 유지 기간은 더 짧습니다. 네일 종류별 착용 기간 테스트를 포함한 솔직한 전체 비교는 다음을 참고하세요: 네일 글루 없이 프레스온 네일 붙이기: 접착 탭은 정말 효과가 있나요?
네일 글루가 항상 올바른 선택인 한 가지 상황은 특정 행사 — 결혼식, 면접, 휴가 — 동안 어색한 순간에 네일팁이 떨어질 위험 없이 유지되어야 할 때입니다. 접착 탭은 일상 활동에는 안정적이지만 지속적인 부담이나 장시간 수분 노출에서는 일관성이 떨어집니다. 올바르게 바른 네일 글루는 그렇지 않습니다.
모든 SHANGMENG 32-네일 세트에는 화장품용 에틸 시아노아크릴레이트 네일 글루 튜브와 양면 접착 탭이 함께 배송됩니다. 네일 글루는 프레스온 네일 두께에 맞게 최적화된 점도로 제조되었습니다 — 너무 묽어 넘치지 않고, 너무 되직해 평평하게 붙지 않는 점도입니다. 별도 제품을 준비할 필요가 없습니다. 서드파티 네일 글루 옵션을 평가하는 방법은 다음을 참고하세요: 프레스온 네일용 최고의 네일 글루.

FAQ
프레스온 네일에 네일 글루를 얼마나 사용해야 하나요? 표준 사이즈에는 네일팁 안쪽 표면 중앙에 지름 약 2mm인 쌀알 크기의 한 방울이 적정량입니다. 새끼손가락 네일에는 조금 적은 양(1.5mm)이 필요합니다. 엄지와 큰 네일에는 큰 덩어리 하나 대신 같은 크기의 방울 두 개를 따로 사용하세요 — 하나는 중앙 가까이, 다른 하나는 프리 엣지 가까이에 놓습니다. 목표는 네일 글루의 최대량이 아니라 얇고 빈틈없는 표면 접촉입니다.
네일 글루는 네일팁에 발라야 하나요, 자연 네일에 발라야 하나요? 자연 네일이 아니라 네일팁의 안쪽 표면에 바르세요. 이 방법은 처음 닿은 뒤 2–3초 동안 위치를 다시 조정할 수 있어 큐티클 라인에 정확히 맞추기가 훨씬 쉽습니다. 자연 네일에 네일 글루를 바르면 표면이 닿는 순간 위치가 결정되므로 정렬 오류가 늘어납니다.
네일 글루를 바른 후 프레스온 네일을 얼마나 오래 눌러야 하나요? 일반적인 실내 조건에서는 네일팁마다 최소 30초 동안 단단히 누르세요. 최대 접착력을 위해서는 특히 주로 사용하는 손의 네일, 엄지 또는 차가운 환경에서 60초 동안 누르세요. 10–15초에 손을 떼면 시아노아크릴레이트 접착력이 가장 약한 전환 상태로 남으며, 첫 24시간 안에 발생하는 초기 들뜸의 가장 흔한 원인입니다.
프레스온 네일이 큐티클 가장자리에서 계속 들떠요. 무엇이 문제인가요? 큐티클 가장자리 들뜸은 거의 항상 세 가지 원인 중 하나입니다: (1) 큐티클 피부가 네일 플레이트를 덮어 네일팁이 네일 플레이트가 아닌 피부 위에 일부 붙은 경우, (2) 알코올 패드 준비 단계를 건너뛰었거나 닦은 후 네일을 만진 경우, 또는 (3) 네일팁을 큐티클 가장자리부터 기울여 내리지 않고 위에서 평평하게 내려놓아 베이스에 공기주머니가 갇힌 경우입니다. 이 세 가지를 해결하면 큐티클 들뜸은 대체로 사라집니다.
네일 글루 대신 순간접착제를 프레스온 네일에 사용해도 되나요? 일반 공업용 순간접착제(역시 시아노아크릴레이트)는 네일팁을 붙일 수 있지만 화장품용으로 제조된 제품은 아닙니다. 화장품용 네일 글루는 정제된 에틸 시아노아크릴레이트와 가소제 첨가물을 사용해 자연 네일 플레이트와 함께 휘어질 수 있도록 접착합니다. 공업용 순간접착제는 더 단단하게 굳어 제거할 때 네일 손상을 일으킬 가능성이 큽니다. 또한 정밀 도포용 팁이 없는 경우가 많아 양을 조절해 바르기 어렵습니다. 다음의 가장 강력한 네일 글루 가이드 에서 이 비교를 자세히 다룹니다.
네일 글루를 너무 많이 또는 너무 적게 사용했는지 어떻게 알 수 있나요? 네일 글루가 너무 많은 경우: 누르기 전 가장자리에 네일 글루가 눈에 보이게 밀려 나오거나, 누른 뒤 피부에 네일 글루가 묻습니다. 네일팁이 평평하지 않고 약간 떠 있는 느낌이 날 수 있습니다. 네일 글루가 너무 적은 경우: 부착 후 10분 이내에 옆으로 눌렀을 때 프리 엣지에서 네일팁이 살짝 휘거나, 네일팁 끝을 구부릴 때 희미한 바스락 소리가 납니다. 앞으로 부착하는 네일팁에서는 관련 방향에 따라 방울 크기를 약 10–15% 조절하면 두 경우 모두 바로잡을 수 있습니다.
프레스온 네일을 제대로 붙이는 일은 순서대로 네 가지를 결정하는 데 달려 있습니다: 올바른 준비, 올바른 양, 올바른 위치, 올바른 유지 시간입니다. 각 단계는 한 번의 부착 세션으로 익힐 수 있습니다. 이 방법으로 처음 붙인 날에는 하루가 끝날 때 네일이 평소와 다르게 느껴지고 보일 것입니다 — 평평하게 밀착되고, 단단히 고정되며, 가장자리가 들뜨지 않습니다. 같은 세트를 착용하는 두 번째 주가 되면 이 부착 방법의 차이가 분명해집니다.
더 높은 내구성을 원한다면 — 샤워, 손 씻기, 일상 사용 중 접착력을 보호하기 위해 부착 후 무엇을 해야 하는지 — 다음의 2+주 지속되는 프레스온 네일 가이드 는 부착 후 습관 아홉 가지를 다루며, 3일 유지와 3주 유지의 차이를 설명합니다.
시도해 볼 준비가 되셨나요? 모든 SHANGMENG 세트에는 이 가이드를 그대로 따르는 데 필요한 화장품용 네일 글루, 접착 탭 및 준비 도구가 포함되어 있습니다 — 추가로 구매할 것은 없습니다. 리뷰 수백 개, 4.94/5.0. 전체 컬렉션 쇼핑하기.
공유하기