


How to Remove Press-On Nails Safely Without Damage
By Paul, SHANGMENG Application Specialist — 20+ years in press-on nail manufacturing.
Key Takeaways: Soak, don't peel. Use warm water for adhesive tabs, cuticle oil for nail glue, and acetone only as a last resort. Always moisturize after removal. Quality press-ons like SHANGMENG nails can be reused 2-3 times with careful removal.
Love your press-on nails but dreading the removal? You're not alone. Removing press-on nails the wrong way can peel off layers of your natural nail plate, leaving them thin, weak, and painful. The good news: with the right technique, you can take off your press-ons in minutes — with zero damage.
Whether you used adhesive tabs or nail glue, we've got you covered with three proven methods. And if you're searching for how to get rid of fake nails, false nails, or stick-on nails — this guide works for all of them. They're different names for the same product, and the removal method is identical.

Why Proper Removal Matters
Ripping off press-on nails might seem faster, but it pulls the top layer of your natural keratin nail with it. According to the American Academy of Dermatology Association's guide on artificial nails, improper removal is one of the leading causes of damage to the natural nail plate. This causes:
- White spots and peeling on the nail surface
- Thinning that makes nails bend and break easily
- Pain and sensitivity around the nail bed
- Dehydrated nails that take weeks to recover
Taking 10 extra minutes to remove them properly saves you weeks of nail damage. Here's how.
Method 1: Warm Water Soak (Best for Adhesive Tabs)
If you applied your press-ons with adhesive tabs (the sticker strips), this is the easiest and gentlest method.
What you need: - A bowl of warm (not hot) soapy water - A drop of soap or body wash - An orange wood stick or cuticle pusher
Steps: 1. Fill a bowl with warm water and add soap 2. Soak your fingertips for 10-15 minutes — the adhesive will soften 3. Gently wiggle each nail side to side — it should lift easily 4. If a nail resists, soak for 5 more minutes. Never force it 5. Use the orange wood stick to gently push under the edge if needed
How to tell it's ready: The nail will look slightly lifted at the cuticle area when the adhesive has softened enough. If you still feel resistance, keep soaking.
Pro tip: Add a few drops of cuticle oil to the water. It helps dissolve the adhesive faster and moisturizes your nails at the same time.

Method 2: Cuticle Oil Soak (Best for Nail Glue)
If you used nail glue (containing cyanoacrylate) for a stronger hold, warm water alone won't be enough. Cuticle oil breaks down the glue bond without harsh chemicals.
What you need: - Cuticle oil (or olive oil / coconut oil in a pinch) - An orange wood stick - Cotton pads
Steps: 1. Apply cuticle oil generously around the edges of each nail 2. Let it sit for 5 minutes to seep under the press-on 3. Gently rock the nail from side to side 4. Apply more oil and repeat until the nail loosens 5. Slide the cuticle stick under the nail to lift it off
Why this works: Oil dissolves the cyanoacrylate bond in nail glue without damaging the natural nail plate — unlike acetone, which dries out your nails and surrounding skin.
SHANGMENG press-on nails are designed with a smooth inner surface that makes oil removal easier. The UV-coated finish also means less adhesive residue stays on the nail after removal.

Method 3: Acetone Soak (For Stubborn Glue — Last Resort)
Only use this method if the oil method didn't work after 20 minutes. Acetone is effective but drying.
What you need: - Pure acetone (or acetone-based nail polish remover) - Cotton balls - Aluminum foil - Cuticle oil (for aftercare)
Steps: 1. Soak a cotton ball in acetone 2. Place it on top of each nail 3. Wrap with aluminum foil to keep it in place 4. Wait 10-15 minutes 5. Remove foil — the press-on should slide off easily 6. Immediately apply cuticle oil to rehydrate your nails
Warning: Don't soak your nails directly in a bowl of acetone. Extended acetone exposure can irritate skin and dry out nail beds — the Mayo Clinic notes that acetone's effects on skin include dryness and cracking when used repeatedly. The foil wrap method targets only the adhesive area and minimizes skin exposure.

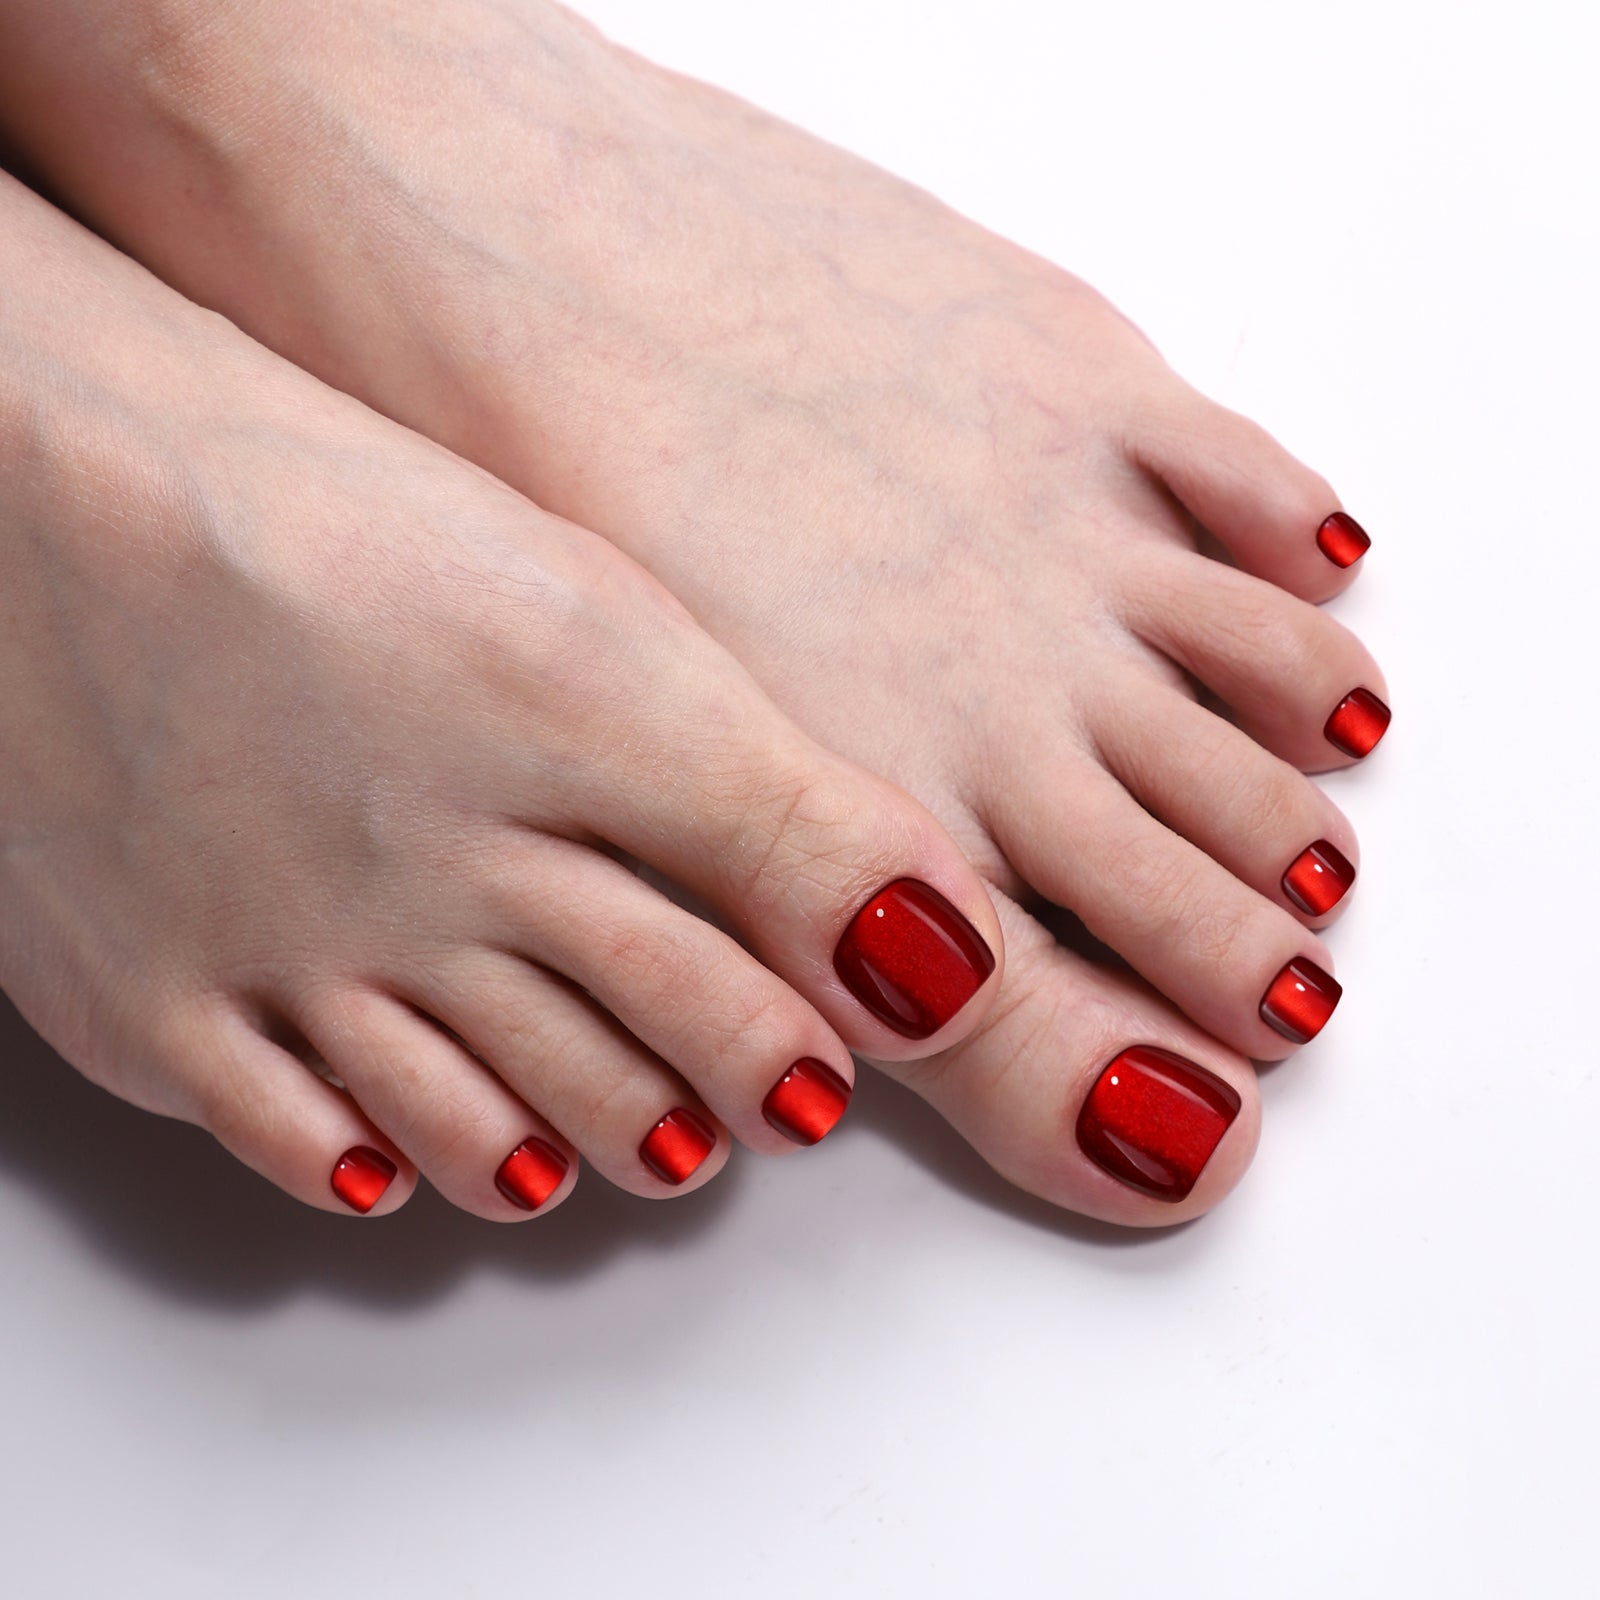
Also Known As: Fake Nails, False Nails, Stick-On Nails
If you searched for "how to get rid of false nails" or "fake nails how to remove" and landed here — you're in the right place. These terms all refer to the same product:
- Press-on nails — the modern industry name, used by SHANGMENG, Kiss, Glamnetic, BTArtbox, and most US retailers
- Fake nails — the everyday term most shoppers type into Google
- False nails — the British English equivalent
- Stick-on nails — usually refers to tab-applied press-ons (no glue needed)
- Artificial nails — a broader category that also includes acrylics and gel extensions
The removal method is identical whether you call them press-ons, fake nails, or false nails — because what matters is the adhesive underneath, not the marketing name. Use Method 1 for adhesive tabs and Method 2 for glue, regardless of terminology.
One important distinction: sculpted acrylics and gel-x extensions are not the same as press-ons — those are built directly on your nail in a salon and require a longer acetone soak to remove. See our press-on vs acrylic guide for the full breakdown.
Common Mistakes to Avoid
Even experienced press-on nail lovers make these errors:
- Peeling from the tip — Always lift from the cuticle side, not the free edge. Peeling from the tip bends the natural nail backwards.
- Rushing the soak — If it's been less than 10 minutes, it's not ready. Patience saves nails.
- Using metal tools to scrape — Metal scratches the nail plate. Use a wooden orange wood stick or plastic cuticle pusher only.
- Skipping aftercare — Removal temporarily dehydrates the nail plate. Without moisturizing, nails become brittle.
- Reapplying immediately — Give nails at least 24 hours to recover moisture before the next set.
After Removal: The 24-Hour Recovery Routine
Your natural nails need TLC after removal, especially if you used glue. Think of it as a hydration window — the nail plate just lost moisture and needs it back. Allure's nail care guide emphasizes that moisturizing cuticles and nail beds after any removal process is the single most effective step for preventing brittleness.
Immediately after removal: 1. Buff gently — Use a fine-grit buffer block (240+ grit) to smooth any leftover adhesive. Don't over-buff — 2-3 light passes is enough. 2. Clean with isopropyl alcohol — Wipe each nail with a cotton pad soaked in rubbing alcohol to remove residue. 3. Apply cuticle oil — Massage into each nail and cuticle for 30 seconds. Look for oils with jojoba or vitamin E. 4. Moisturize — Use hand cream on your entire hand, focusing on the nail area.
For the next 24 hours: - Reapply cuticle oil 2-3 times - Avoid harsh soaps and hand sanitizer directly on nails - Don't buff again — one session is enough

Related: How Long Do Press-On Nails Last? The Complete Answer
How to Reuse Your Press-On Nails
Good news for your wallet and the planet — quality press-on nails can be reused 2-3 times if you remove them carefully.
- Clean the back — Gently scrape leftover adhesive from the inner surface with an orange wood stick. Be careful not to scratch the design on the top.
- Wipe with isopropyl alcohol — Removes any oil or residue for a clean bond next time.
- Store properly — Place them back in the original box or a nail organizer, sorted by size.
- When ready to reapply, use fresh adhesive tabs or a thin layer of glue.
SHANGMENG nails feature a durable UV-coated finish that holds up through multiple applications without chipping or fading.
"These nails were easy to put on, easy to remove." — Patricia Ortiz, Verified Buyer ⭐⭐⭐⭐⭐
"The fact that they're reusable makes them a decent value too." — A Lady, Verified Buyer ⭐⭐⭐⭐⭐

Quick Comparison: Which Removal Method Should You Use?
| Method | Best For | Time | Damage Risk | Reuse Friendly |
|---|---|---|---|---|
| Warm water soak | Adhesive tabs | 10-15 min | Very low | Yes |
| Cuticle oil | Nail glue | 10-20 min | Low | Yes |
| Acetone soak | Stubborn glue | 15-20 min | Medium | Caution — may dull finish |
Our recommendation: Always try the oil method first, even if you used glue. It's gentler, and it preserves the press-on nail for reuse.
FAQ
Q: Can I just peel off press-on nails? A: We strongly advise against it. Peeling removes the top layer of your natural keratin nail, causing damage that takes weeks to recover from. Always soak first — it only takes 10-15 minutes.
Q: How often can I wear press-on nails without damaging my natural nails? A: With proper application and removal, you can wear press-ons continuously. Give your nails a 24-hour hydration window between sets and keep them moisturized with cuticle oil.
Q: What if there's glue residue left on my natural nails? A: Soak a cotton pad in isopropyl alcohol and gently wipe. For stubborn residue, a few drops of cuticle oil and a soft buffer block will do the trick. Never scrape with metal tools.
Q: How do I remove press-on nails with glue without acetone? A: Use the cuticle oil method (Method 2 above). Apply oil around the edges, wait 5 minutes, then gently rock the nail loose. Repeat until it lifts. This works for most nail glues without any acetone needed.
Q: How do I get rid of false nails at home? A: Same method as press-on nails — "false nails" and "press-on nails" are the same product. Soak in warm soapy water for 10-15 minutes if you used adhesive tabs, or apply cuticle oil for 5 minutes if you used nail glue. Never peel them off from the tip. For stubborn glue, use the acetone foil wrap (Method 3). Full step-by-step is in the three methods above.
Q: How do I remove fake nails with glue safely? A: Fake nails held on with cyanoacrylate nail glue respond best to Method 2 (cuticle oil soak). Apply oil liberally around each nail, wait 5 minutes so it seeps under the edge, then rock the nail side-to-side until it releases. If the nail resists after 15 minutes, switch to the acetone foil wrap — but don't force it off, as that pulls the top keratin layer of your natural nail with the fake nail.
Q: Is removing fake nails, false nails, and press-on nails the same process? A: Yes. "Fake nails," "false nails," "stick-on nails," and "press-on nails" all describe the same product: pre-made nail coverings applied with either adhesive tabs or nail glue. The removal method depends on which adhesive you used, not what you call the nails. One exception: sculpted acrylics (not pre-made) require a longer acetone soak and are not the same as press-ons — read our press-on nails vs acrylic guide for the difference.
Q: How do I remove stick-on nails without damaging my real ones? A: Stick-on nails use either a thin adhesive strip or nail glue. If it's a strip (common for budget stick-on sets), soak in warm soapy water for 10 minutes — it lifts right off. If it's glue, use the cuticle oil method. The damage rule is universal: soak, don't peel, and always moisturize after.
Ready for your next set?
A salon removal appointment alone costs $15-20 — and that's before the next manicure ($50-80). With SHANGMENG press-on nails at $10-15 per set, you get salon quality at a fraction of the price, and removal is free, gentle, and takes 10 minutes at home.


Paul is a SHANGMENG Application Specialist with 20+ years in the press-on nail industry. He oversees product testing and customer education, and has personally trained the application teams behind every SHANGMENG kit.
Share