


How to Remove Fake Nails Safely (No Damage, 6 Methods)
Written by Paul, SHANGMENG Nail Tutorials
The safest rule in fake nail removal is simple: if it isn't coming off easily, stop and soak longer. Forcing a nail off in thirty seconds is the fastest way to peel away layers of your natural nail with it. The six methods below range from the gentlest (warm water soak) to the most thorough (salon removal), so you can match the approach to your adhesive type, your time, and how much wear the nails have seen. Every method works without causing damage — as long as you let the bond loosen before you lift.
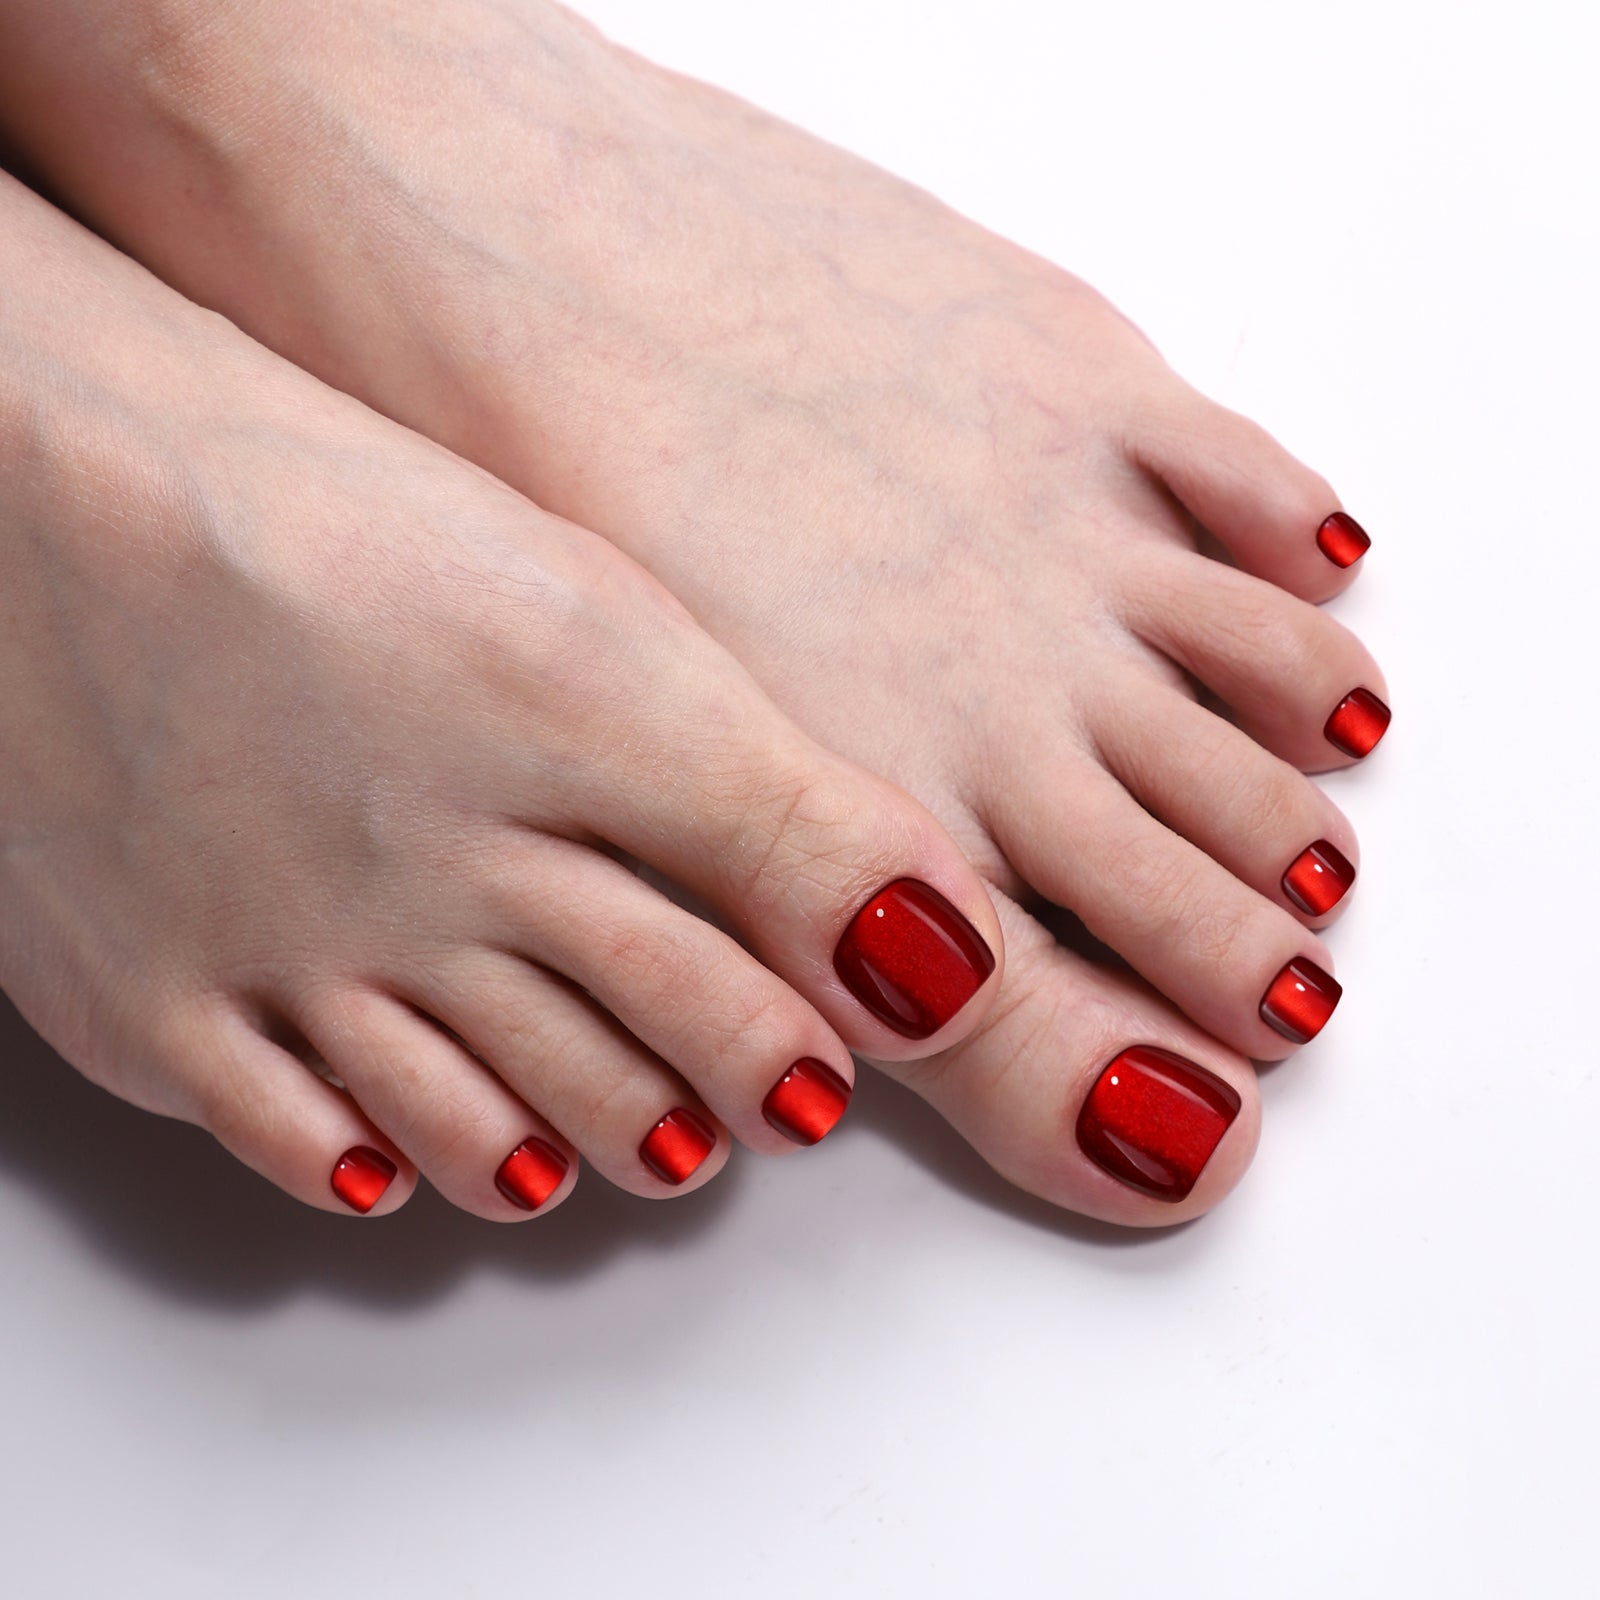
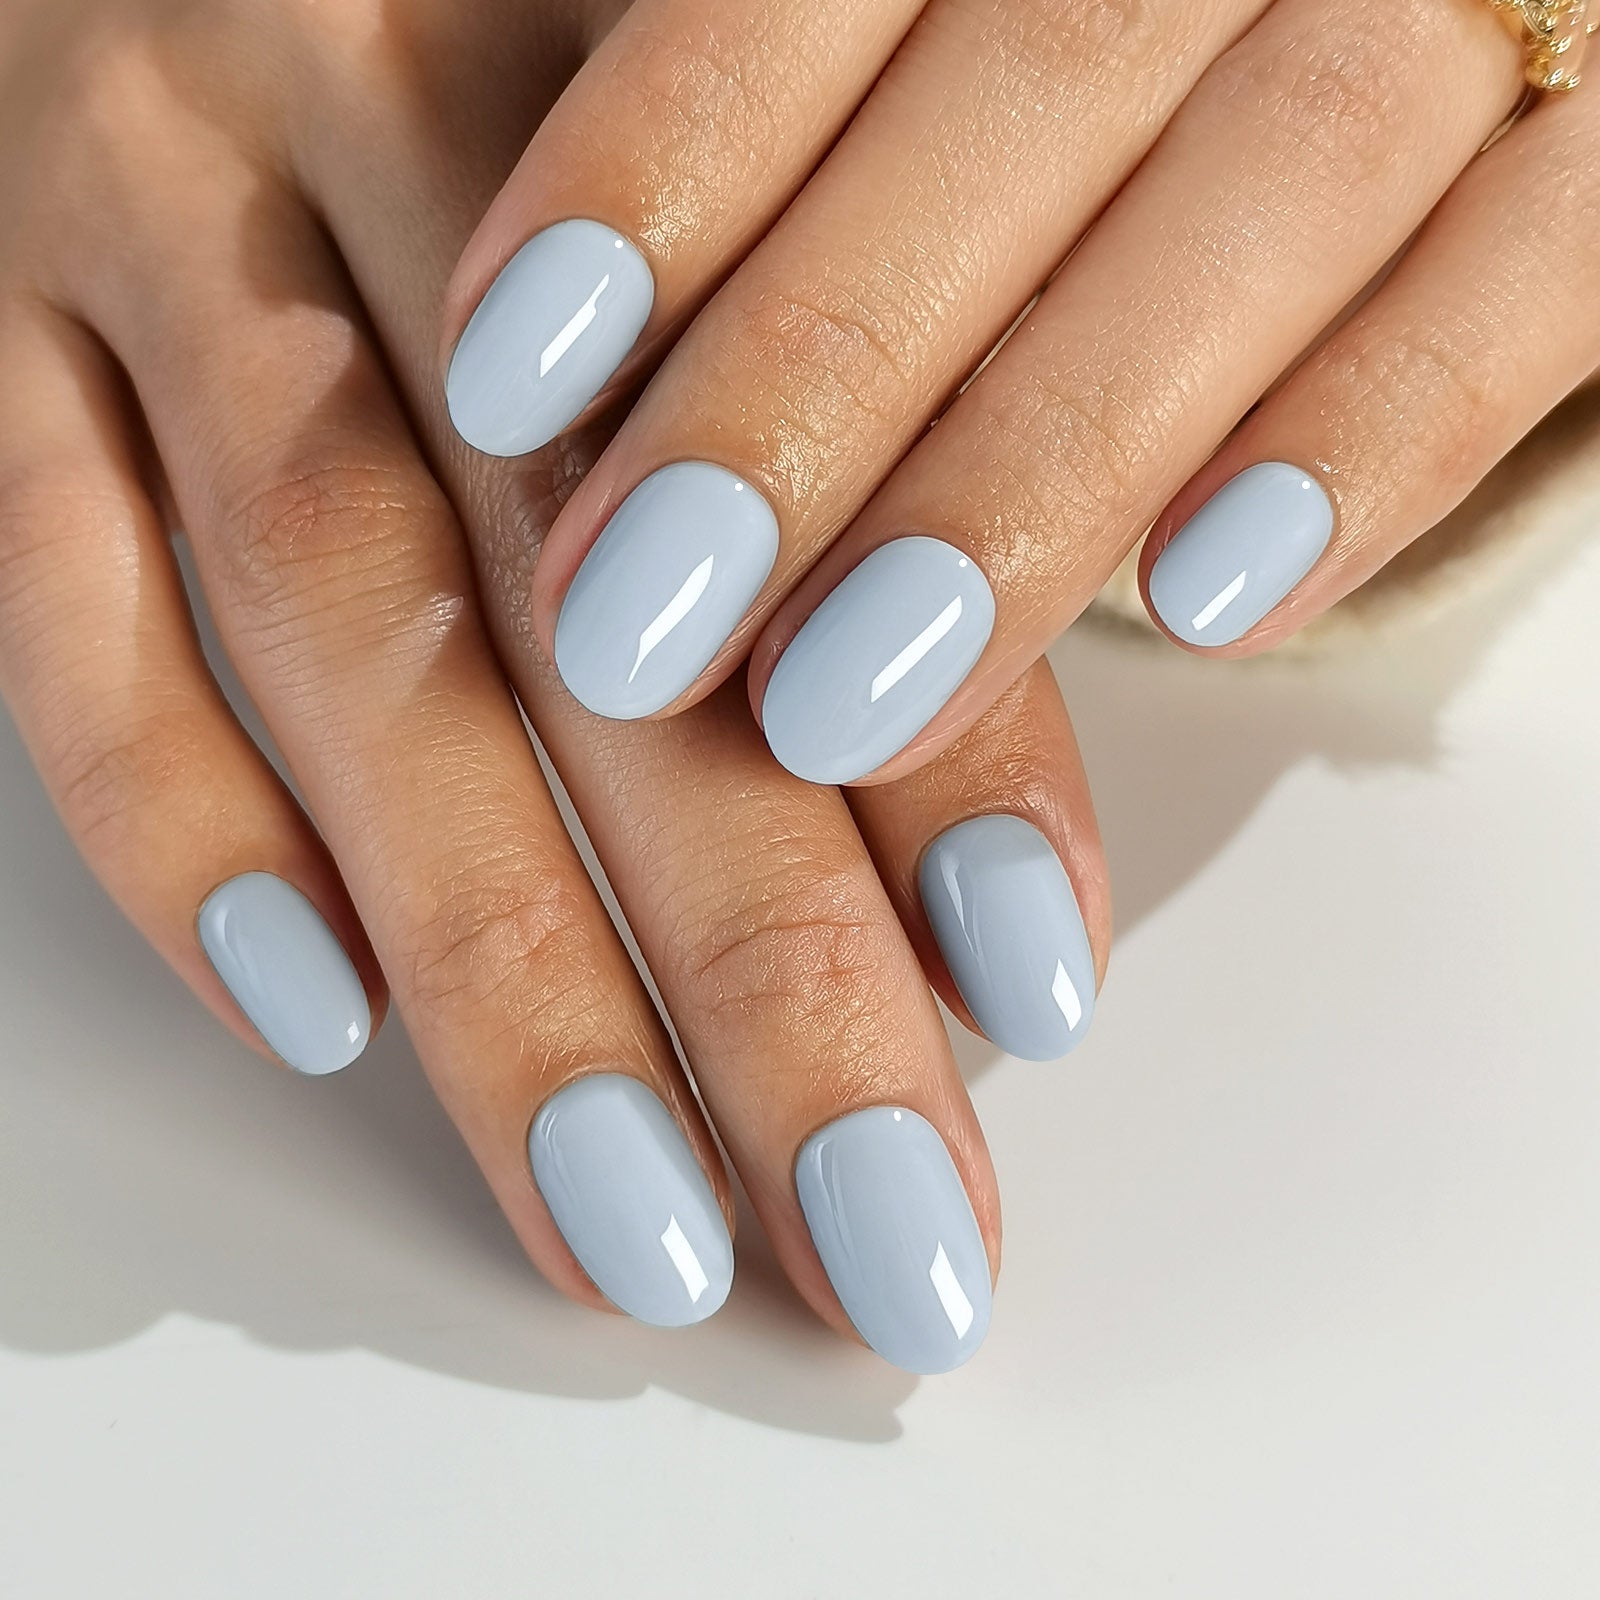
SHANGMENG's soft gel press-ons are designed with removal in mind: the flexible material responds well to soaking, and the 32 nail tips across 16 sizes are sized to fit your nail bed without excess adhesive spilling onto skin, which makes every method here faster and cleaner.
Key Takeaways
- Never pry or force a fake nail — always let the adhesive loosen first
- Warm water soak is the gentlest method and works well for adhesive tab application
- Oil soak or cuticle oil loosens both adhesive tabs and lighter nail glue without acetone
- Acetone is the most reliable method for nail glue, applied as a targeted soak, not straight onto skin
- Dental floss is a fast mechanical option once the edge lifts
- Nail removal solution is formulated for press-ons and gentler than pure acetone
- Salon removal is the right call when nails have been on 2+ weeks with heavy glue
Why Fake Nail Removal Method Matters

For broader context, aad.org and aad.org are useful independent references when comparing at-home nail routines with salon-style results.
Most fake nail damage happens in the last thirty seconds, not the two weeks of wear. A nail that has been bonded for a week with nail glue has built a strong cyanoacrylate bond. Pulling against that bond without loosening it first strips the uppermost layer of your natural nail plate — a process called delamination — which leaves nails thin, white, and prone to breaking.
The six methods below all work on the same principle: weaken the bond at the nail-press-on interface, then lift gently. What differs is the solvent or mechanical force used, and how long the process takes.
| Method | Time | Best For | Acetone? |
|---|---|---|---|
| Warm water soak | 15–20 min | Adhesive tabs | No |
| Oil soak | 10–15 min | Light glue, tabs | No |
| Acetone cotton soak | 10–15 min | Nail glue | Yes |
| Dental floss | 5 min (after soaking) | Any, once edge lifts | Optional |
| Nail removal solution | 10–12 min | Press-on specific | Mild |
| Salon removal | 20–30 min | Heavy glue, long wear | Professional |
Method 1: Warm Water Soak (Gentlest)
Time needed: 15–20 minutes
Best for: Adhesive tab application, or nails that have been on 3–5 days
What you need: Bowl of warm water, mild dish soap (optional), orangewood stick
Warm water is the least invasive method and the right starting point if you used adhesive tabs rather than nail glue. Heat softens the adhesive and causes the press-on material to expand slightly, breaking the seal at the edges.
Steps:
- Fill a bowl with comfortably warm water — not boiling, which can cause burns and won't speed up the process.
- Add a few drops of mild dish soap if you have it. The surfactants help lift the adhesive.
- Submerge all ten fingers and soak for 15–20 minutes. Resist the temptation to check the nails every two minutes.
- After soaking, use an orangewood stick to gently wiggle under the edge of each nail at the cuticle line. If it doesn't move easily, soak for five more minutes.
- Once the press-on lifts at the base, slide the orangewood stick toward the tip slowly. The nail should slide off without resistance.
Note: This method has limited effect on nail glue bonds. If you used glue, move to Method 3 or 5.
Method 2: Oil Soak
Time needed: 10–15 minutes
Best for: Light nail glue, adhesive tabs, natural nail care after removal
What you need: Cuticle oil, olive oil, or coconut oil; bowl; cotton pads
Oil works by penetrating the edges of the adhesive bond and reducing the surface tension that keeps the press-on in place. It is gentler than acetone and leaves nails moisturized rather than dried out — a meaningful advantage if you remove and reapply press-ons frequently.
Steps:
- Apply a generous amount of cuticle oil or olive oil around the perimeter of each nail, working it under the edges.
- Let it sit for five minutes, then soak fingertips in a shallow bowl of oil warmed slightly (not hot) for another 10 minutes.
- Use an orangewood stick to lift the edge at the cuticle. The press-on should release with moderate pressure.
- After removal, wipe off oil residue and apply a nourishing cuticle balm.
Note: For heavy nail glue, oil alone may not fully break the bond. Use it as a pre-soak before Method 3 to reduce the acetone exposure needed.
Method 3: Acetone Cotton Soak (Most Reliable for Glue)

Time needed: 10–15 minutes
Best for: Nail glue application, nails on for 1–2 weeks
What you need: 100% acetone, cotton balls or pads, aluminum foil or nail clips, cuticle oil for after
Acetone dissolves cyanoacrylate — the active ingredient in nail glue — more effectively than any other at-home solvent. The key is targeted application: you want acetone on the nail glue bond, not soaked into surrounding skin for twenty minutes.
Steps:
- Apply cuticle oil or petroleum jelly around the skin bordering each nail. This protects skin from drying out during the soak.
- Soak a small piece of cotton ball in 100% acetone. Regular nail polish remover with acetone works but is slower — pure acetone is faster.
- Press the saturated cotton directly onto the nail surface and wrap the fingertip with a small square of aluminum foil to hold it in place. Nail clip tools sold specifically for this work well too.
- Wait 10–12 minutes. Do not unwrap early.
- Unwrap one finger and press firmly while twisting the press-on off. If it resists, re-wrap and wait three more minutes.
- Once off, use the cotton pad to gently rub away any adhesive residue remaining on the natural nail.
- Wash hands thoroughly and apply cuticle oil or a nourishing hand cream. Acetone is drying and the moisture replacement matters.
If any adhesive residue is left on your nails after removal, the detailed walkthrough in how to remove nail glue from nails covers the next steps.
Method 4: Dental Floss
Time needed: 5 minutes (best after a 10-minute warm water pre-soak)
Best for: Nails that have already started lifting naturally, or after a partial soak
What you need: Unwaxed dental floss or thin thread, a second pair of hands (helpful but not required)
Dental floss works as a mechanical cutting tool that slides between the natural nail and the press-on once the edge has lifted enough to accept it. It is fast and satisfying when conditions are right, but should never be forced on a nail that has not already partially loosened — the floss cuts through the seal but cannot dissolve a full adhesive bond.
Steps:
- Pre-soak in warm water for 10 minutes to start loosening the edge.
- Cut about 30 cm of unwaxed dental floss.
- Slide one end of the floss under the lifted edge at the cuticle. If it cannot slide in easily, soak longer rather than forcing it.
- Hold each end of the floss with both hands (or have someone help) and use a gentle back-and-forth sawing motion while pulling toward the tip of the finger.
- The press-on should slide off cleanly. If you feel resistance or pain, stop and soak again.
Note: Waxed floss slides too easily and loses grip. Use unwaxed for control.
Method 5: Nail Removal Solution

Time needed: 10–12 minutes
Best for: Press-on specific kits, sensitive nails, frequent wearers
What you need: Press-on nail removal solution (acetone-free formulas available), bowl or soaking tray
Dedicated nail removal solutions are formulated specifically for the adhesive chemistry used in press-on kits. Acetone-free versions are gentler on skin and the nail plate while still breaking down the bond effectively. They tend to work faster than plain warm water and leave less residue than acetone.
Steps:
- Pour the removal solution into a shallow bowl or the included tray, enough to submerge fingertips.
- Soak for 10–12 minutes as directed on the product packaging.
- Gently rock each press-on from side to side rather than pulling straight up. The bond should have softened enough that the press-on releases with light lateral pressure.
- Rinse hands with warm water and follow with cuticle oil.
If skin irritation from adhesive contact occurred during the wear period, the protocol in how to remove nail glue from skin covers safe cleanup without abrasion.
Method 6: Salon Removal
Time needed: 20–30 minutes at a salon
Best for: Nails worn 2+ weeks with heavy nail glue, any situation where home methods have not worked
When to consider it: Visible lifting or cracking at the edges, inability to get the edge up after 20+ minutes of soaking, any pain or discomfort during home removal attempts
A nail technician will use a professional acetone soak, often with a heated towel to accelerate the process, combined with tools that apply even pressure without the guesswork of DIY foil wraps. The cost is typically $10–20 and the benefit is a completely controlled removal with no risk of over-filing or skin irritation.
What to tell the technician: Let them know you are wearing press-on nails with nail glue (not acrylic or gel extensions). The removal protocol is shorter and involves no electric filing.
After Removal: Natural Nail Recovery

After any removal method, a five-minute recovery routine prevents the dryness and brittleness that most people attribute to fake nails themselves — when in practice the damage comes from skipping aftercare.
- Rinse hands thoroughly with warm water to remove all solvent or oil residue.
- Buff lightly with a 240-grit buffer if there is any roughness on the nail surface — one pass only, not repeated buffing.
- Apply cuticle oil generously to the nail plate and cuticle area. Jojoba oil, vitamin E oil, and dedicated cuticle oils all work well.
- Moisturize hands with a rich hand cream. The skin around the nails absorbs moisture best immediately after removal.
- Rest your nails 24–48 hours before reapplying. The nail plate benefits from a brief break, and a clean, dry surface also gives your next application a stronger bond.
For a full guide to reapplication after removal, how to remove press-on nails covers the full prep and reapply cycle including sizing and cuticle prep.
What Not to Do
These four mistakes cause the majority of fake nail damage — and every one of them happens in the removal phase, not during wear:
- Peeling from the tip. Lifting from the free edge tears through your natural nail rather than releasing the glue joint cleanly.
- Using a metal tool to pry. Orangewood sticks and cuticle pushers work because they flex. Metal tools apply point pressure and lever against the nail plate.
- Re-soaking in acetone after removal is complete. Once the press-ons are off, prolonged acetone contact only dries the nail. Rinse immediately.
- Skipping the aftercare. Cuticle oil takes 30 seconds and prevents the brittleness that gives press-ons a bad reputation.
For a comparison of removal methods specifically optimized for minimizing damage, best way to remove fake nails ranks each approach by natural nail impact.
Related Collections
Browse our curated collections to find the perfect press-on nails for your style:
FAQ
How long should I soak fake nails before removal?
For adhesive tabs, 10–15 minutes in warm water is usually enough. For nail glue, 10–15 minutes in an acetone-soaked cotton wrap gives better results than a plain water soak, which has limited effect on cyanoacrylate.
Can I remove fake nails without acetone?
Yes. Warm water and oil soaks work well for adhesive tab applications. If you used nail glue, acetone-free removal solutions are a gentler alternative that still break down the adhesive — they just take slightly longer than pure acetone.
Will removing fake nails damage my natural nails?
Removal itself does not damage nails when done correctly. Damage comes from forcing nails off before the adhesive has loosened, or from repeated hard buffing during prep. SHANGMENG customers regularly reapply after gentle removal without noticeable thinning: "I took the nails off after a week and before I started the removal process all the nails were still solidly on," and others note that they are "easy to put on, easy to remove."
How do I remove fake nails if one has already cracked or broken?
Start from the undamaged edge rather than the break. A broken press-on is more likely to have a gap at the side — work the floss or orangewood stick in there rather than at the broken tip, which has a jagged surface that can catch and pull the natural nail.
Can I reuse SHANGMENG press-on nails after removing them?
Yes. SHANGMENG soft gel tips are reusable 2–4 times when removed carefully and stored flat. After removal, wash with mild soap, rinse, and let dry completely before storing. Avoid the acetone wrap method if you plan to reuse — gentle soaking preserves the soft gel material better.
What is the fastest fake nail removal method?
Dental floss after a 10-minute warm water soak is the fastest at-home method when the edge has started lifting. For nails still fully bonded, acetone cotton wraps (10–12 minutes) are faster than waiting for plain water to break a glue bond.
How do I know if I removed the nails too aggressively?
Thin, white, or layered areas on the nail plate indicate delamination — the top layer was pulled away with the press-on. This grows out in 4–6 weeks. In the meantime, apply cuticle oil twice daily and avoid further buffing or filing until the affected area has grown past the nail bed.
SHANGMENG press-on nails: 32 nail tips across 16 sizes, soft gel formula, includes both nail glue and adhesive tabs. Designed to wear, remove, and wear again.
Share