


Home
›
Guides — Press-On Nails Tutorials
›
How to Get Nail Glue Off Fake Nails Without Breaking Them

How to Get Nail Glue Off Fake Nails Without Breaking Them
Written by Paul, Senior Nail Technician at SHANGMENG
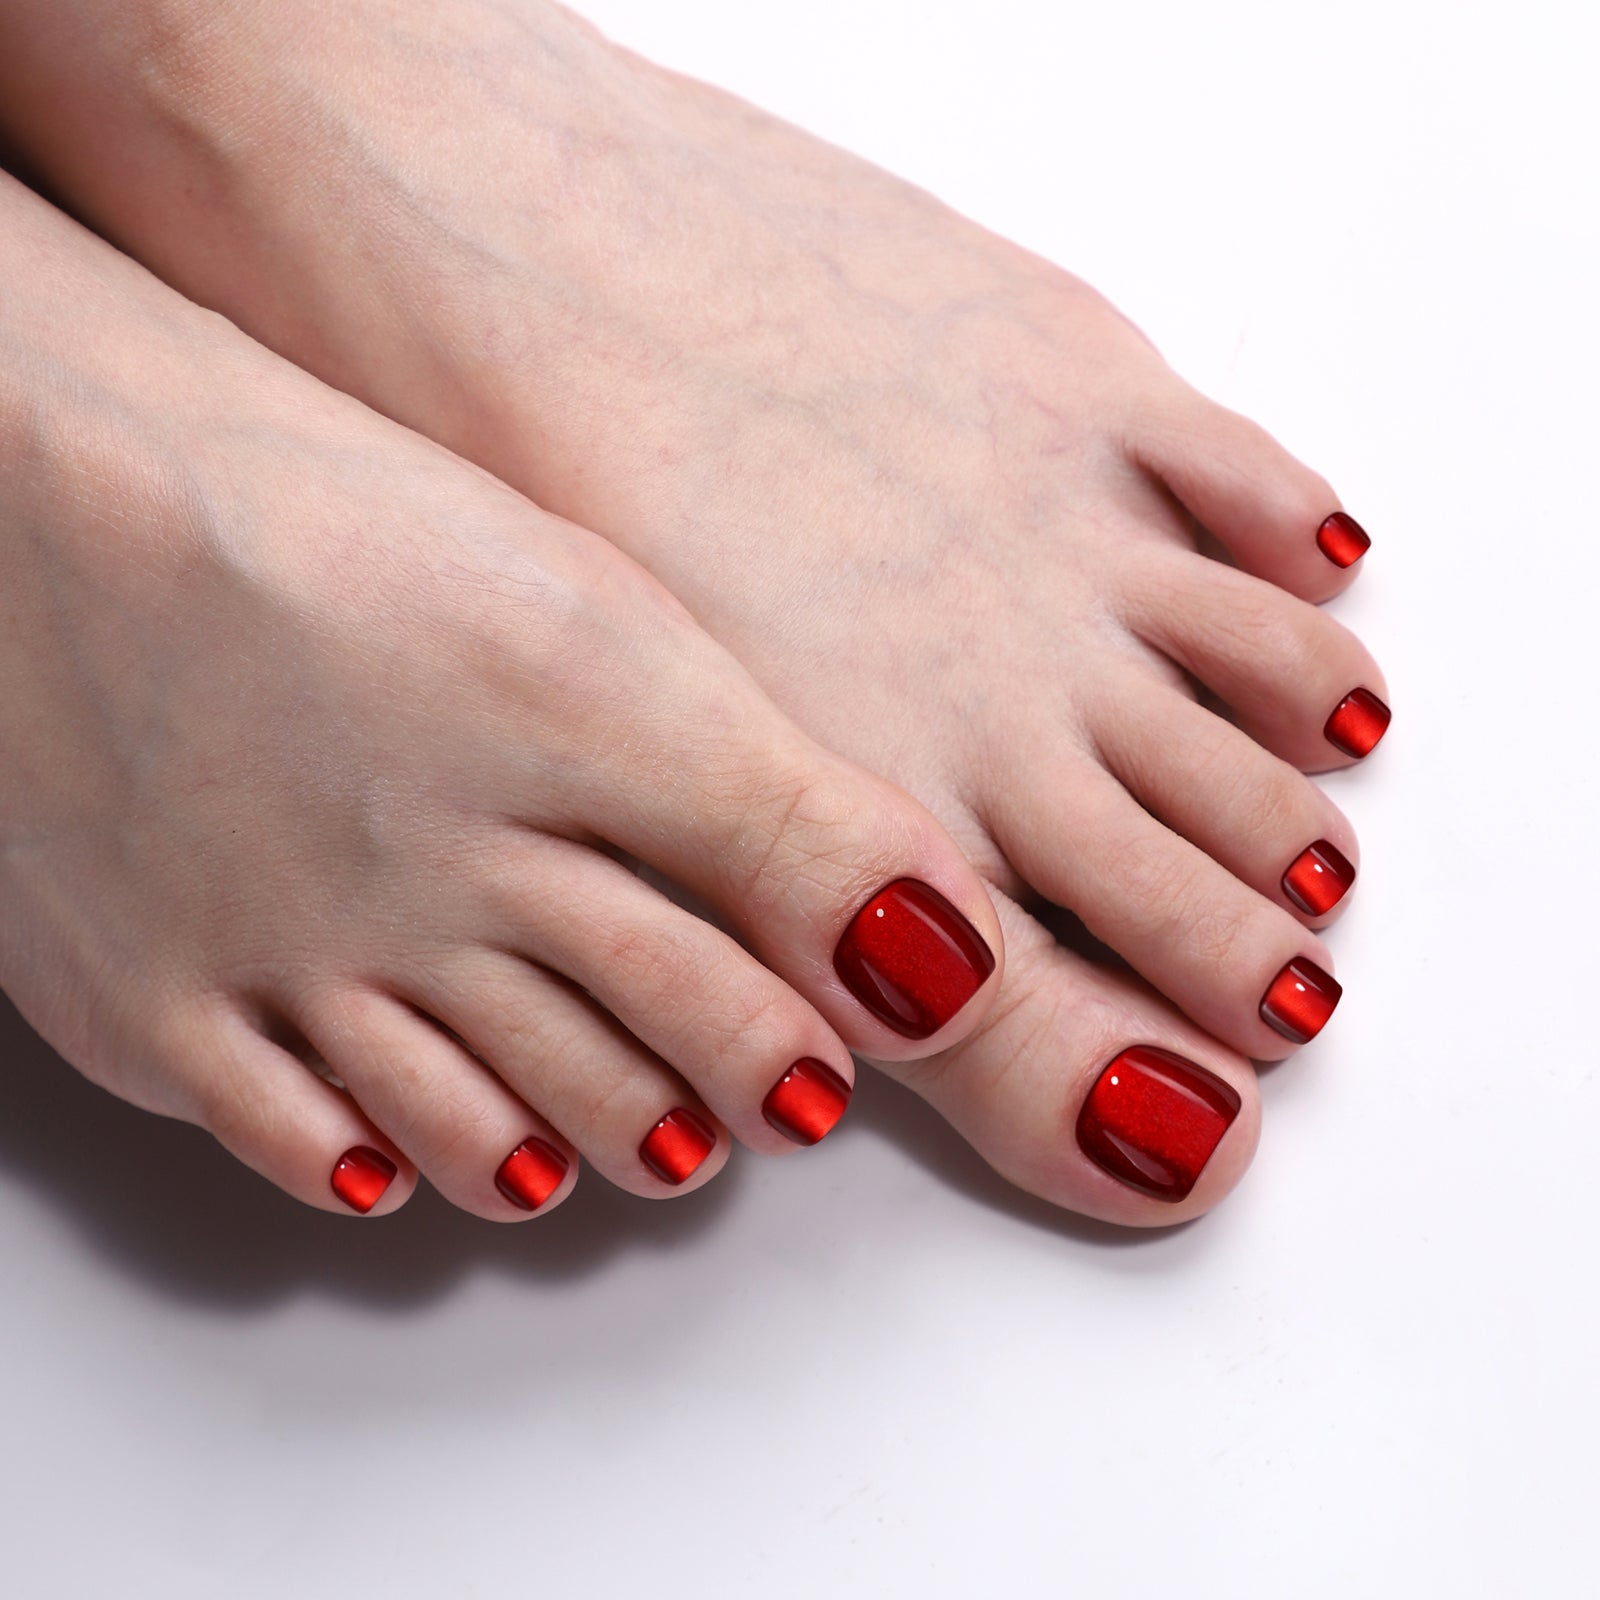
A single salon appointment for this style runs $60–$90 — a SHANGMENG press-on set achieves the same look for $14–$20, applied at home in 15 minutes.
Key Takeaways: Getting nail glue off the underside of fake nails takes 10–15 minutes and four possible tools: warm water, acetone-free remover, rubbing alcohol, or a fine-grit buffer. The method you choose depends on how much residue you have and how much of the design you need to preserve. Never use pure acetone — it works fast, but it dissolves the color layer and finish of soft gel press-ons. SHANGMENG's soft gel nails are designed for 4–6 uses with the adhesive tab method; with nail glue, a careful cleaning routine extends that to 2–4 uses. Either way, a $14–20 set effectively becomes a $3–5 per-wear investment once you build this habit.
Cleaning glue off your fake nails after removal is the step most people skip — and it's why their press-ons only get one wear. The residue is easy to see: a cloudy, slightly raised layer on the underside of the nail that was in contact with your natural nail. Fresh residue from adhesive tabs is thin and often peels off in one piece. Hardened nail glue residue is thicker, clearer, and sticks firmly to the curved concave surface.
Neither type is permanent. Both yield to the methods below without requiring you to scrub, sand aggressively, or use products that destroy the nail's finish. The key is understanding which tool to reach for first — and which one to avoid entirely.
For the mechanics of removing press-ons from your fingers in the first place, see the complete guide to removing fake nails safely. This article starts where that one ends: the press-on is off your hand, and you want to save it.
Why Cleaning Glue Off the Underside Matters
When you reapply a press-on nail that still has glue residue on its concave surface, three things happen — all of them bad:
-
The new adhesive layer sits unevenly. Fresh glue applied over hardened residue creates an irregular surface. This means some areas bond correctly while others have air pockets — and air pockets are where lifting starts.
-
The nail sits higher off your natural nail. Old glue adds thickness to the underside of the press-on. Even a fraction of a millimeter of extra height creates a visible gap at the cuticle line and reduces the bond area between the nail and your finger.
-
The residue builds up across wears. Each application adds a new glue layer. After two or three wears without cleaning, the underside has accumulated enough material that the nail no longer sits flush at all — and the adhesive bond becomes structurally unreliable.
A cleaned press-on, by contrast, sits flat against the nail plate exactly as it did on the first wear. The adhesive bonds to the nail surface directly, not to a layer of old glue. Wear time is comparable to the first application. The nail looks the same.

Method 1: Warm Water Soak + Gentle Peeling (Safest — 10 Minutes)
Best for: Fresh adhesive tab residue, light nail glue applied within the last 2–3 days, nails where you want zero risk to the design
What you need: A bowl, warm water, an orangewood stick or cuticle pusher
Steps:
-
Fill a bowl with warm water — not hot. Water above 45°C (113°F) can warp soft gel nails if left for extended time. Warm tap water is the right temperature.
-
Place the cleaned press-on nails concave-side-up in the bowl. Let them soak for 10 minutes. The warm water penetrates under the edges of the residue and hydrates the adhesive layer from below.
-
After 10 minutes, remove one nail. Hold it firmly between your thumb and forefinger. Use the flat edge of an orangewood stick to gently slide under the edge of the residue at one corner. Apply light, steady pressure — not a prying motion.
-
If the residue lifts cleanly, work across the surface with the same sliding motion until it separates in a single piece or several small pieces.
-
If it resists, place the nail back in the water for another 5 minutes and try again. Do not force it.
-
Once the residue is removed, rinse the nail and pat dry with a lint-free cloth.
What to expect: Adhesive tab residue almost always comes off in one clean piece after a 10-minute soak. Light nail glue residue from a single application may require the full 15 minutes and an additional gentle pass. Thick or multi-layer glue residue will not fully release with water alone — move to Method 2 or 3.
Why it's the safest: Water contains no solvents. It cannot dissolve the color layer, damage the gloss finish, or weaken the gel material. This is the method to use if you're cleaning nails you want to wear a fifth or sixth time and want maximum design preservation.
Method 2: Acetone-Free Nail Remover Soak (15 Minutes — Preserves Design)
Best for: Dried nail glue residue, nails that didn't fully release with water alone, situations where you need a solvent but want to protect the finish
What you need: An acetone-free nail polish remover or press-on nail remover solution, a small glass bowl or plastic container, cotton pads
Steps:
-
Pour enough acetone-free remover into your container to submerge the press-on nails. Avoid metal containers — some removers react with metal. Glass or plastic works well.
-
Place the nails concave-side-down so the residue is fully submerged. Soak for 15 minutes.
-
Remove one nail and check the residue. It should appear softened — slightly swollen and less glossy. Use an orangewood stick to gently slide across the surface. The softened residue should separate cleanly.
-
For stubborn spots, return the nail to the soak for another 5 minutes.
-
After cleaning, rinse the nail under running water and dry thoroughly before storing.
Why acetone-free matters: This is covered in detail in the next section, but the short version is that acetone is an aggressive solvent that dissolves the color pigments and top coat of soft gel press-ons. Acetone-free removers use ethyl acetate or other gentler compounds that break down cyanoacrylate adhesive but leave the gel finish largely intact. The tradeoff is time — 15 minutes versus 5 minutes — but the design survives.
Effectiveness: Reliable for single-application nail glue residue and for light buildup from 1–2 previous wears. For heavier buildup, combine with Method 3 for any spots that remain after soaking.

Method 3: Rubbing Alcohol + Cotton Ball (Spot Cleaning)
Best for: Small patches of residue after Methods 1 or 2, quick maintenance cleaning between wears, removing tab adhesive that left a slightly tacky surface
What you need: 70% or 91% isopropyl alcohol, cotton balls or cotton pads
Steps:
-
Soak a cotton ball thoroughly with rubbing alcohol. The alcohol needs to be in continuous contact with the residue to work — a barely damp cotton ball will evaporate before it penetrates.
-
Hold the cotton ball firmly against the residue spot for 30–60 seconds. This is a soak, not a scrub.
-
With the cotton ball still in contact, apply light circular pressure. The softened residue should begin to roll or lift off onto the cotton.
-
Replace the cotton ball with a fresh one if the first becomes saturated. Residue on a saturated cotton ball can be redeposited.
-
Finish with one pass of a clean, dry cotton pad to remove any alcohol residue.
What rubbing alcohol does: Isopropyl alcohol is a mild solvent that disrupts the surface bonds of cyanoacrylate glue without aggressively penetrating the gel material. It evaporates quickly, which limits how deep it penetrates. This makes it ideal for surface-level residue and for the final pass after a water or remover soak — but it won't handle thick, layered buildup alone.
Effectiveness: Best used as a finishing step rather than a primary cleaning method. For adhesive tab residue that left a slight tackiness, a 30-second alcohol wipe is often all you need.
Method 4: Fine-Grit Buffing (For Stubborn Residue Only)
Best for: Dried, hardened glue that resisted soaking, thick buildup from multiple applications without prior cleaning, isolated stubborn spots that remain after Methods 1–3
What you need: A 220-grit or finer nail buffer (not a rough nail file)
Steps:
-
Hold the nail firmly against a flat surface — a folded towel works well to cushion it without letting it slip.
-
Use the fine-grit side of the buffer and apply very light, even strokes across the residue. Work across the full width of the nail in a single direction. Do not press hard and do not focus on one spot.
-
Check after every 5–6 strokes. You are removing residue, not the nail itself — when the surface feels smooth and uniform, stop.
-
Brush away any dust with a clean dry brush or a puff of air.
-
Follow with a quick wipe of rubbing alcohol (Method 3) to clean any buffing dust from the surface before reapplying.
Critical warning: This method removes a tiny amount of the nail's surface along with the residue. Used sparingly — once every 2–3 uses at most, and only for truly stubborn spots — it is fine. Used repeatedly or aggressively, it thins the press-on nail and dulls the finish. Treat it as a last resort, not a routine step.
Grit matters: A 180-grit nail file removes material too fast and will create visible scratches. Use 220-grit or finer. Some kits include a 4-way buffer — use the smoothest side only.

Why You Shouldn't Use Pure Acetone on Press-Ons
Pure acetone is the most aggressive solvent commonly available for nail care. It removes nail glue in under 5 minutes — which sounds ideal. But for press-on nails you plan to reuse, it creates two problems that make it the wrong choice:
It dissolves the color layer. Soft gel press-on nails get their color from pigments suspended in the gel polymer. Pure acetone penetrates the gel matrix and begins breaking down those pigments. The first visible sign is a slight cloudiness or fading of the top coat. After a longer soak or multiple exposures, the color becomes visibly patchy or dulled, and the high-gloss finish turns matte.
It weakens the gel material itself. Acetone doesn't just dissolve glue — it attacks the polymer chains that give soft gel its flexibility and strength. After acetone exposure, soft gel press-ons can become slightly brittle at the edges, developing small cracks that weren't there before. The nail may still look fine on the surface but fail sooner under the stress of a second or third wear. Prolonged acetone contact with surrounding skin can also trigger the kind of irritant contact reaction documented by the Mayo Clinic — redness, dryness, and peeling around the nail fold are the early signs.
For nails you plan to use once and discard, acetone is fine. For SHANGMENG soft gel nails designed for 4–6 uses, acetone effectively cuts that reuse count in half or eliminates it entirely. The 15-minute acetone-free soak (Method 2) removes the same glue with none of these tradeoffs.
The exception: If a nail has been worn with heavy glue for 2+ weeks and has thick hardened buildup that resisted all four methods above, a brief (3–4 minute) acetone soak targeted only at the concave surface — keeping the top of the nail dry — can loosen the most stubborn residue. This is a rescue technique, not a routine one.
For a complete overview of all nail glue removal scenarios — including removing glue from your natural nails and skin — the nail glue removal complete guide covers every situation in detail.
How to Store Cleaned Press-Ons for Reuse
Cleaning the glue off is only half the equation. How you store the nails between wears determines whether they go back on looking like new or come out dull, dusty, and slightly warped.
The original tray is your best storage option. SHANGMENG sets come with a molded tray that holds all 32 nails in their correct size slots. This is not just packaging — it keeps each nail in its shape, prevents them from pressing against each other and transferring surface oils or moisture, and keeps them organized so you don't spend 10 minutes hunting for the right size before your next application.
Steps for clean storage:
-
After cleaning with your chosen method, make sure each nail is completely dry before storing. Even a small amount of moisture trapped in the tray can cause the nail surface to fog or create conditions for bacterial growth.
-
For nails you'll reapply with adhesive tabs: place a fresh tab on the concave surface of each nail before returning it to the tray. When you're ready to wear them again, the tab is already positioned. Peel the backing, press, done. This is the method that makes SHANGMENG soft gel nails genuinely reusable 4–6 times without extra effort at application time.
-
For nails you'll reapply with glue: store them clean, and apply fresh glue at the time of the next wear. Do not pre-apply glue and store — glue cures on contact with air moisture and will be useless or uneven by the time you need it.
-
Keep the tray in a drawer or box away from direct sunlight. UV exposure can cause soft gel to yellow slightly over time, especially if the nail is unboxed between wears.
-
If you've lost the original tray, a clean, labeled plastic box with individual compartments (available at craft stores for around $3–5) works equally well. Label each compartment by finger and size so you don't have to refit every nail at application time.
Still worried they will pop off? Start with the prep and adhesive setup that matches how long you need them to last.


Signs Your Press-On Is Done (When to Retire vs. Reuse)
Not every nail can be cleaned and reused indefinitely. Knowing when to retire a nail saves you the frustration of applying one that fails within hours.
Retire the nail if you see any of the following:
-
Cracking at the free edge or sides. A crack in the gel material will propagate under the stress of wear. What starts as a hairline at the tip becomes a snap by day two. Once a nail is cracked, it is done.
-
Visible thinning from over-buffing. If you've used Method 4 more than 2–3 times on the same nail, check the surface in good light. Thinned nails look slightly translucent at the edges. A thin nail has reduced structural integrity and will break more easily.
-
Surface clouding or color change that doesn't clean off. A small amount of surface dulling is normal across multiple wears. Significant color fading, patchy areas, or a permanently matte surface indicate that the gel material has been compromised — usually from acetone exposure. The nail will look off on the finger.
-
Loss of shape. Soft gel nails maintain their shape well, but heavy pressure (improper removal, sitting on a nail, closing a drawer on it) can distort the curve. A nail that no longer matches the curve of your natural nail won't sit flush and won't bond properly.
-
Three or more failed wears at reduced duration. If a nail that used to last 10 days now lifts by day three even with proper prep and correct application, the surface has exhausted its structural capacity for adhesion. Retire it.
Keep the nail if:
- The underside is clean and flat after your cleaning method
- The surface color is consistent and the finish is still glossy (or satin, if that was the original finish)
- The shape is intact and fits your nail correctly
- There are no cracks anywhere in the material
SHANGMENG soft gel construction is genuinely durable — the flexible polymer resists micro-fractures better than rigid acrylic press-ons. With proper care and the tab method, four to six quality wears are realistic. With glue and careful cleaning, two to four wears are typical. Either way, a $16 set over four wears is $4 per manicure. That is the actual math of reusable press-on nails.
For the full strategy on getting maximum reuse from press-on nails — including which styles hold up best across multiple wears and how to handle individual nail replacement — the reusable nails guide covers every angle. SHANGMENG brings over 20 years of nail manufacturing expertise to every set — each nail is UV-cured in our own facility for consistent quality and fit.
Frequently Asked Questions
How long does it take to clean nail glue off fake nails?
With Method 1 (warm water soak), about 10–15 minutes. With Method 2 (acetone-free remover), 15–20 minutes. Method 3 (rubbing alcohol spot cleaning) takes 1–2 minutes as a finishing step. If you're doing a full cleaning routine after a wear, budget 20 minutes the first time and 10–15 minutes once you've established a process.
Can I use nail polish remover to get glue off fake nails?
It depends on the formula. Acetone-free nail polish remover (the kind safe for gel manicures) works well and is the basis of Method 2. Pure acetone nail polish remover — the standard clear kind in most drugstores — will remove the glue but also damages the color and finish of soft gel press-ons. Check the label: if it says "acetone-free" or "safe for gel," it is fine for this use.
Does rubbing alcohol remove nail glue from fake nails?
Rubbing alcohol softens cyanoacrylate adhesive and works well for light residue and finishing passes after a soak. It is not strong enough to dissolve thick, dried glue buildup on its own. Use it as Method 3 — after the water or remover soak has done the heavy lifting — for the best result.
How do I get glue off press-on nails without damaging them?
Start with the mildest method that applies to your situation: warm water for tab residue and fresh glue, acetone-free remover for dried glue, rubbing alcohol for spot cleaning. Avoid pure acetone entirely for nails you want to reuse. Never scrub aggressively or use a rough nail file — the goal is to soften and float the adhesive off, not to abrade it off. The American Academy of Dermatology recommends gentle removal techniques for artificial nails and advises moisturizing the nail and cuticle thoroughly after any solvent contact.
Can press-on nails be reused after cleaning the glue off?
Yes, and this is the main reason to clean them carefully. SHANGMENG soft gel press-on nails are designed for 4–6 uses with the adhesive tab method; 2–4 uses are typical with nail glue, depending on how thoroughly the glue is removed between applications. The key requirements are: a clean concave surface (no residue), intact design (no color damage), and undamaged structure (no cracks or warping).
What is the easiest method for getting glue off fake nails for reuse?
The adhesive tab method makes this question almost irrelevant — tab adhesive peels off in one piece after a warm water soak, leaving the underside nearly clean. The warm water soak (Method 1) is already the easiest method for any residue type, and if you're using tabs, 10 minutes of soaking is often the entire cleaning routine. This is one of the reasons the tab method is better for reuse than nail glue: removal and cleaning are both faster and gentler.
SHANGMENG soft gel press-on nails come in 32 pieces across 16 sizes, with both nail glue and adhesive tabs included in every set. With 454 reviews averaging 4.94 stars, and a construction designed for multiple wears, cleaning the underside after each use is the single highest-leverage habit for getting full value from each set. Four wears from one kit is not unusual. Six is possible. The method above is all it takes.
Share