


Home
›
Guides — Press-On Nails Tutorials
›
How to Get Acrylic Nail Glue Off Skin and Nails (4 Safe Methods)

How to Get Acrylic Nail Glue Off Skin and Nails (4 Safe Methods)
Written by Paul, Senior Nail Technician at SHANGMENG
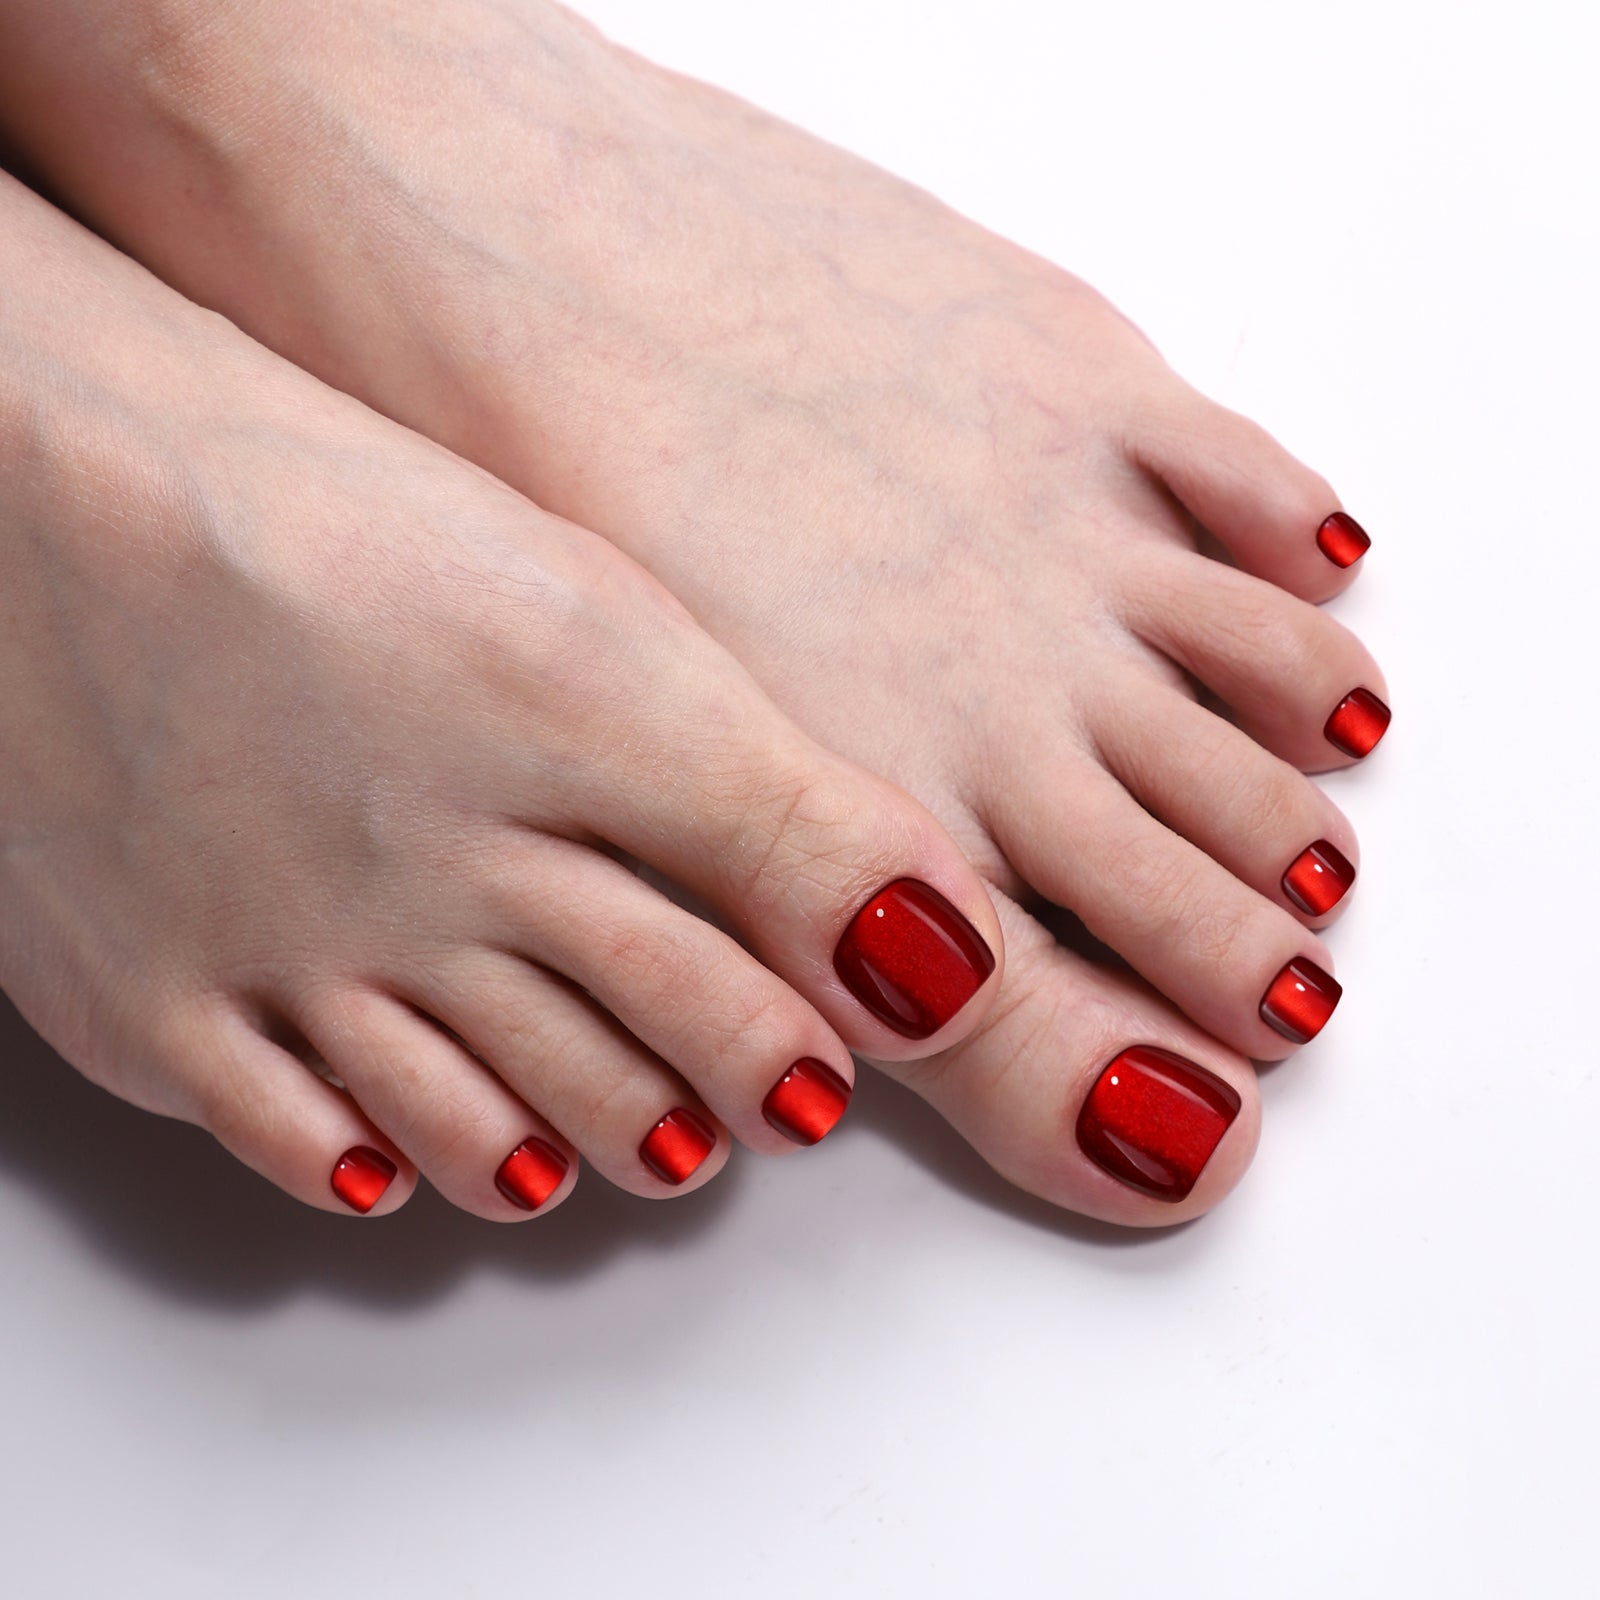
A single salon appointment for this style runs $60–$90 — a SHANGMENG press-on set achieves the same look for $14–$20, applied at home in 15 minutes.
Key Takeaways: Acrylic nail glue is stronger than regular nail glue because it contains MMA or EMA polymer — pulling or forcing it off damages both skin and nail plate. The four safe removal methods are: (1) acetone soak — fastest, 10–15 minutes; (2) oil — gentler, 20–30 minutes; (3) warm soapy water — safest for skin; (4) fine-grit filing — only for surface residue on the nail. If you use press-on nails instead of acrylics, choosing a brand with ECA adhesive (like SHANGMENG) makes the whole process significantly easier from the start.
Acrylic nail glue is not the same as the thin polish-style adhesive on dollar-store nails. It is formulated to bond polymer to nail plate, and it does that job very well — sometimes too well, especially when some lands on your fingertip or the surrounding skin. Pulling it off is not the answer. Neither is picking, prying, or soaking your hand in straight acetone for twenty minutes hoping for the best.
This guide covers four methods that actually work: how each one breaks down the adhesive bond, how long it takes, what you need, and how much it risks your nail and skin. At the end, there is a note on what separates acrylic glue from regular nail glue — because knowing the difference tells you why some methods work better than others.
Method 1: Acetone Soak (Fastest, 10–15 Minutes)
Best for: Acrylic glue on natural nails or around the nail fold. Particularly effective on thicker glue deposits.
Damage risk: Medium. Acetone removes natural oils from skin and can temporarily dry the nail plate. Not suitable for very sensitive or already-damaged skin.
What You Need
- 100% pure acetone (not "nail polish remover" — most contain only 30–60% acetone, which is slower and less effective for acrylic adhesive)
- A small glass or ceramic bowl (acetone degrades some plastics)
- Petroleum jelly or cuticle oil
- Cotton pads or balls
- Warm water and soap for the rinse
Step-by-Step
- Protect surrounding skin. Apply a thin layer of petroleum jelly around the glue-affected area — on the fingertip, cuticle, and knuckles. This limits how much acetone contacts healthy skin.
- Pour a small amount of acetone into your bowl — enough to submerge the tip of the finger, about 1–2 tablespoons.
- Soak the affected finger for 10–15 minutes. Resist the urge to check every two minutes. The adhesive needs continuous contact to soften.
- Test with a cotton pad. After 10 minutes, gently wipe across the glue with a cotton pad. If it moves, the bond has loosened. If not, soak for another 3–5 minutes.
- Wipe away softened glue with the cotton pad using gentle circular motions. Do not scrape with a metal tool.
- Rinse thoroughly with warm water and soap.
- Moisturize immediately. Apply cuticle oil and hand lotion. Acetone strips moisture — replacing it right away reduces the drying effect noticeably.
Time: 10–18 minutes total.
Note: If glue is bonded across a large surface area of the nail (as with acrylic nail removal), wrapping the finger in an acetone-soaked cotton pad secured with foil for 10 minutes is more effective than open soaking.

Method 2: Oil (Gentler, 20–30 Minutes)
Best for: Acrylic glue on skin — particularly when acetone is unavailable, or the skin is sensitive. Also effective for smaller glue drips.
Damage risk: Very low. Oils do not strip skin moisture. This method is safe for use around cuticles and for anyone with skin sensitivities.
What You Need
- Coconut oil, olive oil, or baby oil (all work; coconut oil has a slightly better penetration rate for adhesive)
- A cotton ball or soft cloth
- Warm water and gentle soap
- Optional: a soft nail brush
Step-by-Step
- Apply oil generously over and around the glue area. You want complete coverage, not just a thin smear.
- Work the oil in with gentle rubbing motions for 1–2 minutes. This starts to penetrate the edges of the adhesive bond.
- Let it sit for 20–30 minutes. Cover the area loosely if you want to keep oil contact concentrated — a small piece of plastic wrap over the finger works well.
- Gently roll and push the glue from the edges inward using a soft cloth or the back of a cuticle pusher. Do not force. If the glue is resisting, it needs more time.
- Rinse with warm soapy water and repeat if any residue remains.
- Dry and moisturize. Your skin will feel soft — that is normal and a sign the oil has done its work.
Time: 20–35 minutes total.
Why it works: Cyanoacrylate-based adhesives (the type in most nail glues, including many acrylic formulas) are weakened by oils because the oil molecules interrupt the polymer bonds from the outside in. This is slower than acetone, but it does not strip skin.

Method 3: Warm Soapy Water + Gentle Peeling (Safest, Skin-Focused)
Best for: Fresh or thin deposits of glue on skin — particularly good if the glue has not fully cured (less than a few hours old). Also ideal for anyone who wants zero chemical exposure.
Damage risk: Minimal to none. No solvents, no heat above body temperature.
What You Need
- Warm water (as warm as is comfortable — not hot)
- Gentle dish soap or hand soap
- A soft nail brush or toothbrush
- Time and patience
Step-by-Step
- Soak the affected area in warm soapy water for 10–15 minutes. The soap helps break surface tension at the edge of the adhesive; warm water softens the bond over time.
- Begin gently rolling the glue from the outer edges using your thumb against your finger. Think of it like rolling dried glue off — which is essentially what you are doing once the bond has softened.
- Use the soft nail brush to work around the edges where the glue meets skin. Short, light strokes — not scrubbing.
- Re-soak if needed. This method often requires two rounds, especially for acrylic glue, which is harder than standard nail adhesive.
- Rinse and dry. Apply hand lotion afterward.
Time: 20–30 minutes, possibly longer for stubborn deposits.
Honest limitation: This method is the safest but the slowest, and it is less effective on fully cured acrylic glue that has been in place for more than a few hours. If warm water alone is not progressing after 20 minutes, move to the oil method before reaching for acetone.
Method 4: Filing (Nail Surface Residue Only)
Best for: Thin hardened glue residue remaining on the nail surface after the artificial nail has been removed. Not for glue on skin.
Damage risk: Medium to high if done aggressively. Low if done correctly with a fine-grit file and light pressure.
What You Need
- A fine-grit nail file (180-grit or higher — not the coarse side of a standard file)
- Good lighting so you can see what you are doing
- Nail buffer for smoothing afterward
- Cuticle oil
Step-by-Step
- Confirm the residue is glue, not nail plate. The glue residue will typically look slightly raised, cloudier, or have a different texture than the natural nail surface. Filing into healthy nail plate thins it unnecessarily.
- File in one direction only, using very light pressure. Short strokes across the residue, not the whole nail.
- Check frequently. Stop filing the moment the residue is flush with the nail surface.
- Buff the area smooth with a nail buffer to blend the surface.
- Apply cuticle oil to the nail plate and cuticle.
Time: 5–10 minutes.
Key rule: Filing is a finishing step, not a primary removal strategy. Attempting to file off a large or thick glue deposit will remove nail plate long before it removes the adhesive. Use acetone or oil to soften the bulk of the glue first, then file only what remains.

Acrylic Glue vs Regular Nail Glue: Why Acrylic Glue Is Harder to Remove
This is a question that comes up often, and the chemistry behind it explains why removal methods need to be chosen carefully.
Both acrylic nail glue and regular press-on nail glue are typically cyanoacrylate-based — the same fast-bonding adhesive family found in super glue. What makes acrylic formulations different is the type and concentration of the adhesive, and what it is designed to bond to.
Acrylic nail glue is formulated for use with acrylic powder and liquid monomer systems, or for adhering acrylic nail tips to the natural nail before the overlay is applied. Many professional-grade acrylic adhesives contain MMA (methyl methacrylate) or EMA (ethyl methacrylate) polymers that create an extremely strong, rigid bond. MMA in particular is associated with very firm adhesion that is resistant to both water and moderate solvent exposure — which is why it requires pure acetone rather than diluted remover, and why some removal requires professional help.
Regular nail glue — the type included with most press-on nail kits — is a lighter cyanoacrylate formulation. It bonds well enough for everyday wear (1–2 weeks on properly applied nails), but it softens faster with acetone and is generally more forgiving when removal time comes.
ECA (ethyl cyanoacrylate), the adhesive type used in SHANGMENG nails, falls into this latter category — a professional-grade bond that holds reliably through daily activity but dissolves cleanly with acetone without requiring the extended soak times that MMA-based glues demand. This makes removal significantly more predictable and less damaging. For anyone who wants to skip adhesive entirely, SHANGMENG also includes adhesive tabs, which leave no residue at all.
Still worried they will pop off? Start with the prep and adhesive setup that matches how long you need them to last.


For a complete breakdown of removal methods ranked by gentleness, see the full nail glue removal guide — and for acrylic glue specifically on the nail surface, how to remove nail glue from nails covers additional techniques for nail plate residue.
Preventing Glue Damage: Proper Application Makes Removal Easier
How glue behaves at removal time is largely determined by how it was applied. A few habits that make a real difference:
Use the minimum effective amount. A thin, even layer bonds as well as a thick glob — and thick deposits take significantly longer to dissolve at removal. More glue does not mean longer wear. It means harder removal.
Keep glue off the cuticle and skin. Glue that contacts skin cures immediately on contact. It also tends to pull and catch during daily activity, which stresses the bond and can lift the nail from the edge — making removal messier and more likely to take nail plate with it.
Size correctly before applying. Press-on nails that are too narrow leave gaps at the sides where glue can seep onto skin. Taking 30 seconds to match each nail to the right size tip pays off when removal day comes.
Do not force early removal. Press-on nails that have been on for less than 48 hours are still at peak bond strength. Trying to remove them early — especially by prying or picking — is the most common cause of nail plate damage. Soak first, always.
If you want to step down to no adhesive at all, adhesive tabs are a legitimate option for anyone who needs frequent swaps (events, photo shoots, or simply preference). They hold 1–3 days on a properly prepped nail. More detail on that option in the best way to remove fake nails guide.

When to See a Professional
Most at-home glue removal is straightforward if you follow the methods above. But there are situations where a licensed nail technician is the right call:
Nail plate lifting or separation. If you notice a gap between the natural nail and the nail bed (onycholysis), do not attempt removal at home. This can worsen with acetone soaking and increases infection risk.
Pain, swelling, or redness under the nail. These are signs of possible infection or allergic reaction — consistent with the contact dermatitis patterns documented by the Mayo Clinic for chemical exposure to the skin. A dermatologist or nail technician should assess before you add any chemical to the area. The American Academy of Dermatology also recommends seeking professional advice before using solvents on damaged or already-compromised nails.
Glue in the eye or on mucous membranes. Cyanoacrylate near the eye requires medical evaluation, not at-home treatment. Flush with water and seek care.
Nails that have been previously damaged or thinned. Repeated acetone exposure on already-compromised nails can worsen brittleness and peeling. If your nails are visibly thin, soft, or showing white spots, a professional assessment before any solvent use is worthwhile.
Acrylic overlays bonded directly to the nail plate. Full acrylic sets (not just glued tips) involve a polymer overlay that bonds directly to filed nail surface. Removing these at home without experience risks significant nail plate damage. Most nail technicians recommend in-salon removal for full sets. SHANGMENG brings over 20 years of nail manufacturing expertise to every set — each nail is UV-cured in our own facility for consistent quality and fit.
Frequently Asked Questions
Does acetone damage nails when removing acrylic glue? Acetone does temporarily dry the nail plate and surrounding skin, but it does not cause permanent damage when used correctly with a limited soak time (10–15 minutes) and followed by moisturizing. The main risk is using it too frequently or for too long in a single session. One removal with acetone and proper aftercare will not harm healthy nails.
Can I use rubbing alcohol to remove acrylic nail glue? Rubbing alcohol (isopropyl alcohol) is not effective on cured cyanoacrylate adhesives. It lacks the solvent strength to break down the polymer bonds in acrylic-grade nail glue. It may soften the very edges of a thin deposit, but for any substantial glue removal, acetone or oil are the practical options.
What removes acrylic nail glue from skin fastest? Pure acetone is the fastest option — 10–15 minutes for most deposits. If speed is the priority and the skin is not sensitive, acetone with petroleum jelly protection around the area is the most efficient method available at home.
Is there a way to remove acrylic nail glue without acetone? Yes — the oil method (coconut oil, olive oil, or baby oil applied for 20–30 minutes) works without any acetone exposure. It is slower and less complete on very thick or old glue deposits, but it is effective and completely safe for skin. Warm soapy water is the gentlest option for fresh or thin glue.
Why is acrylic nail glue so hard to remove compared to regular nail glue? Acrylic nail adhesives typically contain MMA or EMA polymers that create a harder, more rigid bond than standard press-on nail glue. This bond is designed for the mechanical stress of acrylic overlays — which means it resists the same forces (water, light friction) that would loosen a lighter adhesive over time. Removal requires a targeted solvent (acetone) or patience with oil, not just washing hands.
Does SHANGMENG nail glue require acetone to remove? SHANGMENG uses ECA (ethyl cyanoacrylate) adhesive rather than the stronger MMA-based formulas found in full acrylic systems. ECA bonds well for press-on wear but responds reliably to a standard acetone soak — typically 10–15 minutes — without requiring extended soaking. SHANGMENG also includes adhesive tabs with every set, which require no adhesive removal at all: the tabs peel off cleanly when the nail is ready to come off.
SHANGMENG press-on nails are made from soft gel material and include both ECA glue and adhesive tabs in every set — 32 nails across 16 sizes, rated 4.94/5 from 454 verified customers. Designed for salon-quality results with straightforward at-home removal.
Share