













프레스온 네일 실수 10가지와 해결 방법
By Sophie — Nail Health Editor at SHANGMENG.
The most common press-on nail mistakes are choosing the wrong size, skipping nail prep, and using force to remove nails — three errors that account for the vast majority of early lifting, popping, and nail bed damage. Understanding why each mistake happens, and what to do instead, turns a frustrating experience into a manicure that lasts 7–14 days with zero salon trips.
Press-ons have come a long way from the drugstore tabs of the 2000s. Today's soft gel sets use flexible HEMA-based adhesives and CNC-molded shapes that genuinely hug the natural nail. The technology works — when you apply it correctly. This guide walks through every major mistake, what causes it, and the precise fix so you get the results the format actually promises.
살롱 젤 관리는 팁을 제외하고 $60-$90까지 들 수 있지만, SHANGMENG 소프트 젤 세트는 보통 $10-$15이며, 32개의 네일과 16가지 사이즈로 구성됩니다. SHANGMENG 품질 관리팀은 같은 문제 양상을 반복해서 확인합니다. 대개 문제는 네일 자체가 아니라 사이즈 선택, 프렙, 압력 또는 제거 방법에 있습니다. 손톱 건강 관련 참고 자료로 미국피부과학회의 artificial nail damage guidance stresses gentler artificial-nail habits, while Allure has covered why press-on sizing problems make otherwise good sets look and wear worse.
Quick Takeaways: - 맞지 않는 사이즈는 몇 시간 안에 네일이 떨어지는 가장 흔한 원인 1위입니다 - 본래 손톱의 유분은 접착력의 가장 큰 적 1위에 해당하므로 프렙 과정에서 제거됩니다 - 치실을 사용하거나 억지로 제거하면 실제 손톱 바닥 손상이 생길 수 있으므로 따뜻한 물에 불리는 방법을 사용하십시오 - 대부분의 유지 문제는 네일 자체가 아니라 건너뛰기 쉬운 프렙 단계에서 비롯됩니다
Not sure which shape, length, or size fits your natural nails?
Mistake 1: Choosing the Wrong Size (Too Big Is Always the Problem)

What goes wrong
A nail that is even slightly too wide will lift at the edges within hours. The gap between the press-on and the natural nail edge catches on fabric, hair, and everyday friction — and once one edge starts separating, the rest follows fast. This is by far the most reported complaint in the nail community.
Why it happens
Most new wearers size up when in doubt, assuming a bigger nail is more forgiving. It is not. A press-on nail should cover your nail plate edge to edge without touching the skin on either side. If it extends onto the skin at all, that contact with soft tissue breaks the adhesive seal every time the finger bends.
The fix
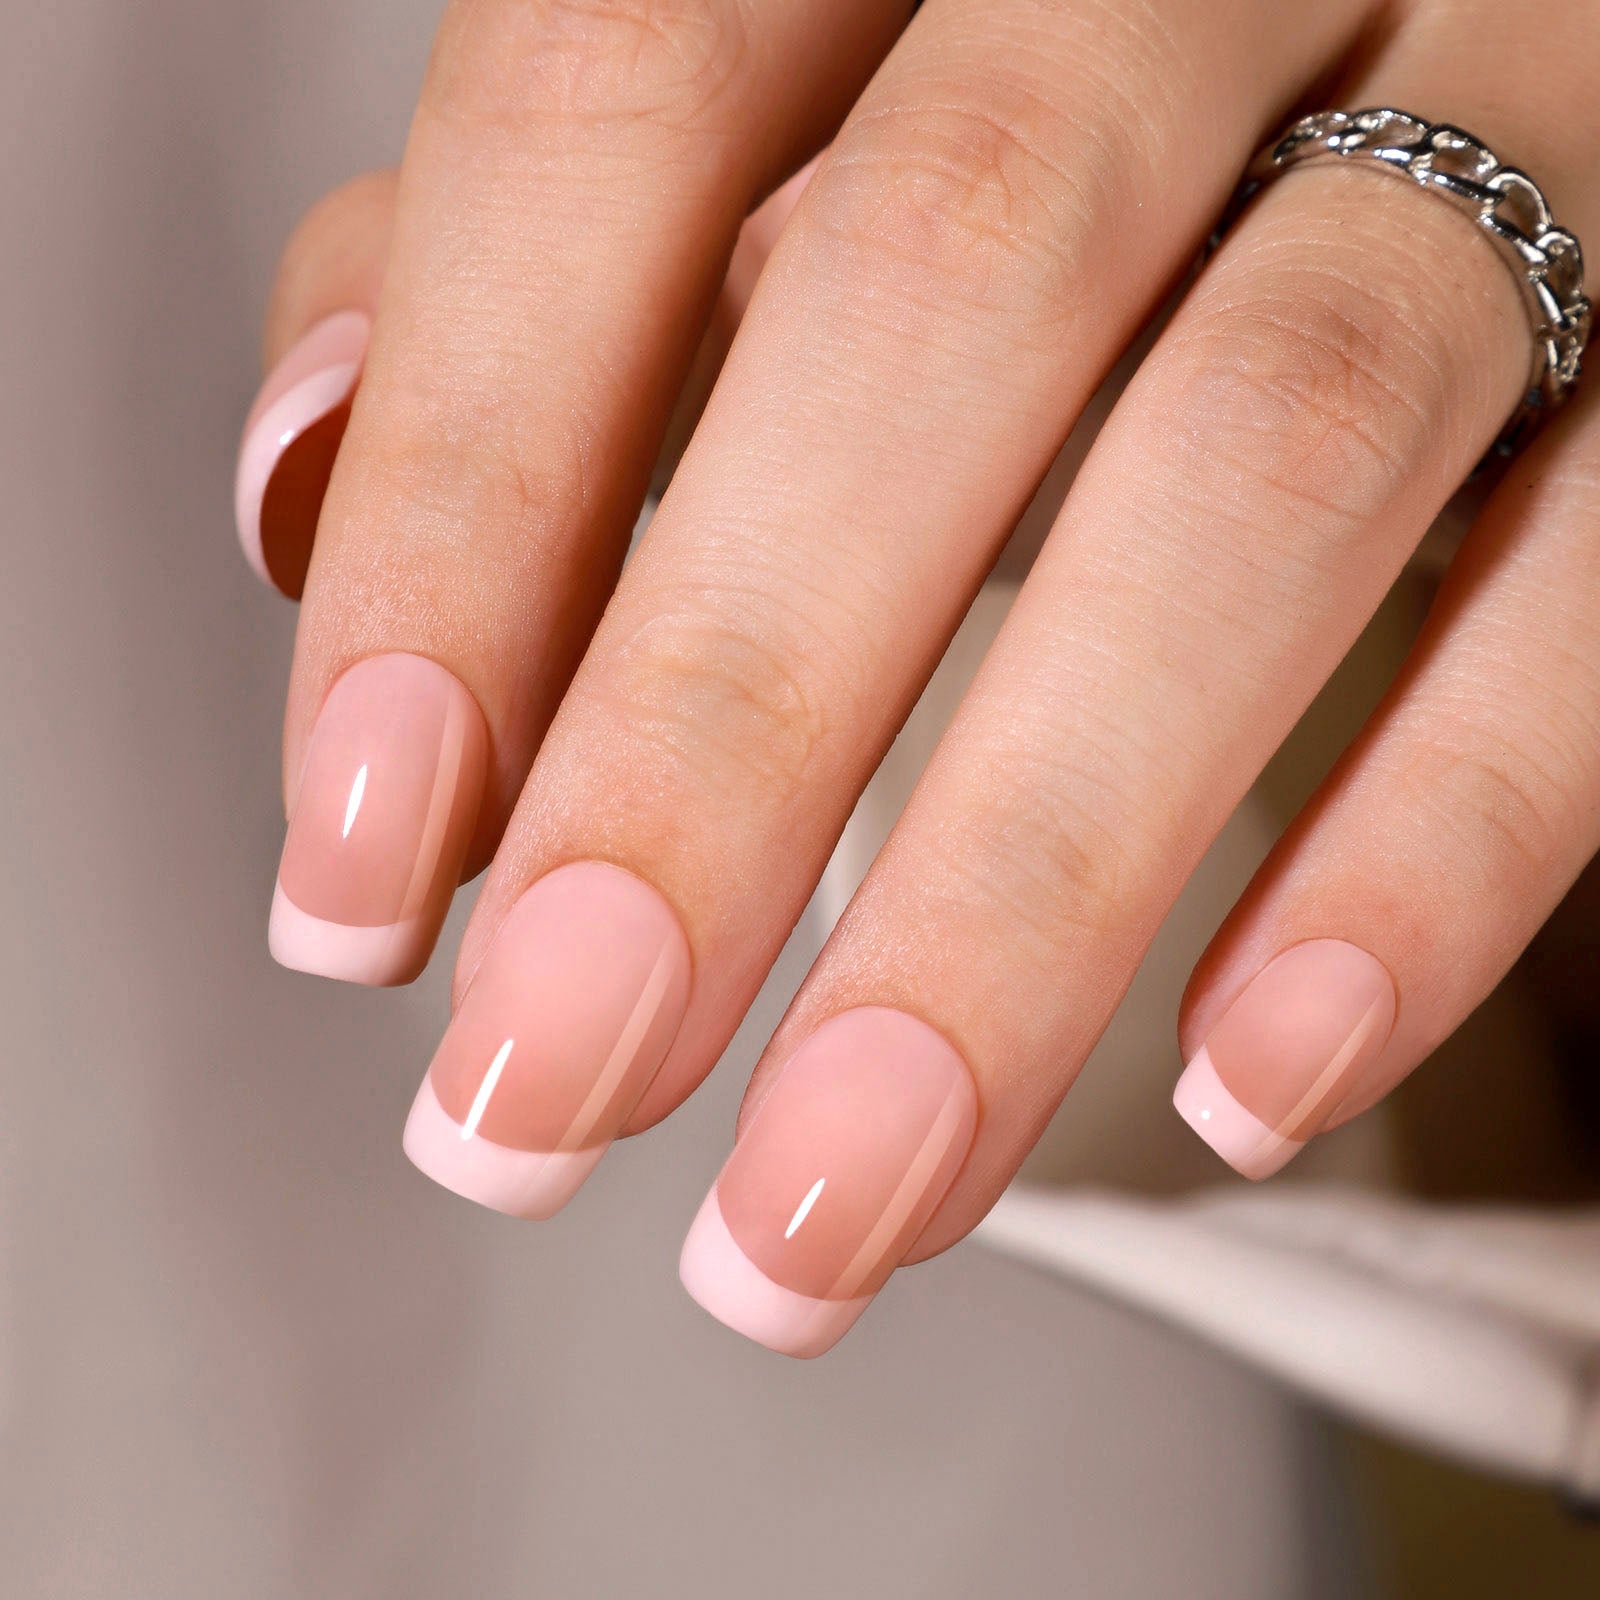
네일 하나를 부착하기 전에 전체 세트를 펼쳐 놓으십시오. 자연광에서 각 사이즈를 손톱판에 대 보십시오. 알맞은 사이즈는 손톱판 양쪽 가장자리에 빈틈 없이 맞고 피부를 덮지 않으며, 신용카드 두께보다 넓은 틈이 없어야 합니다. 사이즈 사이에서 고민된다면 항상 더 작은 쪽을 고른 뒤 가장자리를 갈아 맞추십시오. 작은 사이즈는 다듬을 수 있지만 큰 사이즈는 그렇지 않습니다.
For a complete step-by-step sizing walkthrough including how to measure nail width, see our guide on how to choose press-on nail size. If you have wide or flat nail beds that make standard sizes feel too narrow, press-on nails for wide nail beds covers fit solutions specifically for that shape.
"I used to get so frustrated with press-ons until someone pointed out I was wearing them too big." — Reddit r/malepolish, 180 upvotes
Mistake 2: Skipping Nail Prep (The Invisible Culprit)
What goes wrong
Press-on nails applied over unprepared nail plates peel off early — sometimes within a day — regardless of glue quality or application technique. The adhesive never had a fair chance.
Why it happens
Your natural nail surface carries a thin layer of sebum (skin oil), residual cuticle cells, and microscopic debris. Adhesives — whether tabs or nail glue — bond to the nail plate's keratin proteins, not to oil. Even freshly washed hands retain surface oils from the skin around the nail. Any oily film between the press-on and the nail plate prevents the adhesive from forming a molecular bond with the keratin below.
The fix
A three-step prep sequence reliably solves this: buff, clean, dehydrate.
- Buff lightly — Use a fine-grit buffer (180–220 grit) to remove the glossy surface layer. You are creating micro-texture for adhesion, not thinning the nail. Four or five light passes across each nail is enough.
- Clean with 70%+ isopropyl alcohol — Saturate a cotton pad and wipe each nail from cuticle to free edge. Visible oil residue will appear on the pad. Repeat until the pad comes away clean.
- Apply a nail dehydrator — This step (covered in detail under Mistake 8) removes the final moisture barrier. Do not touch the nail surface after this step.
Allow nails to dry completely — at least 60 seconds — before opening glue or placing any press-on.
Mistake 3: Using Floss or Force to Remove Nails

What goes wrong
Dental floss, fingernails, credit cards, or anything used to lever a press-on nail off the natural nail does not remove the nail — it removes a layer of your nail plate along with it. The result is thin, white, peeling natural nails that take 3–6 months to recover.
Why it happens
There is a widespread misconception that you can "slide" something under the press-on and pop it off cleanly. In reality, nail adhesive bonds at the surface of the keratin layer. When you apply sideways force, the weakest point is not the adhesive layer — it is the top layer of your own nail plate. The keratin shears before the glue does.
The fix
Warm water soak is the only safe removal method. Fill a bowl with warm (not hot) water, add a few drops of cuticle oil or a pump of dish soap, and soak your fingertips for 10–15 minutes. The warm water swells the nail plate slightly and softens the adhesive from below. Once the nail starts to loosen naturally, slide it off sideways with zero downward pressure.
For nails that resist soaking, a cotton ball soaked in acetone placed on each nail under aluminum foil for 5–10 minutes will dissolve nail glue without any physical force. Never pry. Never use tools. Never rush. For the full safe removal protocol with step-by-step illustrations, see how to remove press-on nails safely.
"Your mistake was using a flosser. You should never use anything to pry off your nails." — Reddit r/pressonnails, 312 upvotes
"Never, ever use floss to remove nails. You're literally ripping something off that is adhered to your nail." — Reddit r/Nails, 120 upvotes
Ready to try press-ons the right way? SHANGMENG soft gel sets include 32 nails in 16 sizes — so you always find your fit. Gentle warm-water removal built right into the formula.
Find Your Fit in Best Sellers →Mistake 4: Getting Nails Wet Too Soon After Application
What goes wrong
Washing dishes, showering, or swimming within the first two hours of application causes early lifting that starts at the cuticle edge and spreads across the nail over the following 24 hours.
Why it happens
Nail adhesive undergoes a curing process after application. During the first 1–2 hours, the adhesive molecules are still cross-linking and forming their final bond structure. Water penetrates between the press-on and the natural nail through the edges, interrupts this curing process, and leaves a thin moisture layer that permanently weakens the bond.
Moisture is also a practical nail-health issue, not just a wear-time issue: keeping the nail plate and adhesive layer dry during the first cure window reduces the chance that softened adhesive will lift and invite peeling.
The fix
Apply press-on nails at least two hours before any planned water exposure — ideally the night before. After that initial curing window, normal handwashing causes minimal damage. When doing extended water activities (dishwashing, bathing, swimming), wearing nitrile gloves adds significant longevity regardless of how long you have had the nails on. Waterproof nail adhesive formulas marketed for "swimming" or "gym use" extend the moisture-resistance window but do not eliminate it entirely.
Mistake 5: Applying Too Many Layers of Base or Glue

What goes wrong
More glue does not mean stronger hold. A thick glue layer causes the press-on nail to sit higher than intended, creates soft spots that flex and break the bond, and pushes glue into the cuticle fold — which feels uncomfortable, looks messy, and causes lifting at the base.
Why it happens
The instinct is logical: if some glue is good, more must be better. Adhesives do not work this way. Nail glue bonds through surface contact, and two surfaces in contact bond stronger than two surfaces separated by a thick intermediate layer. A thick glue layer is actually structurally weaker than a thin one because it has more flex points and more material that can fatigue over time.
"It is possible to have too many layers that it makes them unwearable." — Reddit r/pressonnails, 38 upvotes
The fix
프레스온 네일 뒷면에만 접착제를 얇고 고르게 바르십시오. 본래 손톱에는 바르지 마십시오. 얇게란 접착제를 통해 프레스온 네일 표면이 선명하게 보여야 한다는 뜻입니다. 하얗고 불투명해 보이면 너무 두껍습니다. 네일을 올린 뒤 30초 동안 똑바로 아래로 단단히 눌러 주십시오. 이 압력으로 얇은 접착제층이 양쪽 표면에 동시에 완전히 밀착되어 접착 면적이 커집니다.
If using adhesive tabs, press each tab firmly onto the press-on first, remove the backing, then press the nail onto the natural nail for 30 seconds. Do not layer two tabs.
Mistake 6: Not Pushing Back Cuticles Before Application
What goes wrong
Press-on nails applied over un-pushed cuticles have a gap at the base immediately after application. That gap collects moisture and debris, and the press-on lifts from the cuticle edge first — which is also the point of maximum stress during normal hand movement.
Why it happens
The cuticle is living skin that creeps onto the nail plate. Adhesive does not bond to skin the way it bonds to nail keratin — the chemistry is different, and skin is flexible and oily. Any press-on glued partly to skin and partly to nail will have an inconsistent bond that fails at the skin boundary first.
The fix
After your alcohol wipe step, use a rubber-tipped or orange wood cuticle pusher (never metal) to gently push the cuticle back toward the skin fold. Work in small circular motions. Do not cut the cuticle — cutting it increases infection risk and causes it to grow back thicker. Pushing is enough. This single step creates a clean keratin surface all the way to the base of the nail and dramatically improves how flush the press-on sits at the cuticle.
Apply a drop of cuticle oil to the cuticle fold after your manicure is fully cured (48 hours post-application). Hydrated cuticles push back more easily for your next set. For a complete first-time application sequence covering this and every other prep step, see press-on nails for beginners.
New to press-ons? SHANGMENG sets come in 16 sizes with a full prep-to-removal guide included. Soft gel formula designed for first-timers and pros alike.
Explore New Arrivals Without Guesswork →Mistake 7: Using Too Much or Too Little Glue

What goes wrong
Too little glue leaves dry corners that lift from the edges. Too much glue floods the skin around the nail, bonds the press-on to the lateral nail folds, and makes removal painful and damaging.
Why it happens
네일 접착제 튜브의 작은 도포 팁은 정밀하게 짜기 어렵습니다. 처음 사용하는 분은 너무 세게 짜서 넘치게 하거나 너무 일찍 멈춰 가장자리가 마르기 쉽습니다. 두 경우 모두 문제가 생길 수 있습니다. 마른 가장자리는 몇 시간 안에 들뜨고, 접착제로 붙은 피부는 아프게 당겨지며 네일을 제거할 때 찢어질 수 있습니다.
The fix
Dispense a small drop — roughly the size of a sesame seed — onto a clean surface (a folded paper towel works well) before loading the applicator. Then use the applicator tip to spread a thin film across the back of the press-on, going to within 1mm of all edges but not over them. The goal is full coverage without overflow.
If you get glue on skin, do not try to pull it off. Apply a small drop of acetone (nail polish remover) on a cotton swab and hold it against the glued skin for 30 seconds. The acetone dissolves cyanoacrylate (nail glue) on skin safely. Do not use acetone on the nail plate of an already-applied press-on — it will dissolve the adhesive bond underneath.
Mistake 8: Skipping the Dehydrator or Primer Step
What goes wrong
Nails prepared with only alcohol, without a dehydrator, bond initially but often start lifting within 24–48 hours. Nails prepared with dehydrator but no primer (on very oily nail types) may also fail early.
Why it happens
Isopropyl alcohol removes surface oils but does not address the residual moisture inside the top layers of the nail plate. Your nail plate is porous — it contains water that evaporates and replenishes constantly. A dehydrator (typically acetone-based or containing formaldehyde-free drying agents) temporarily closes those surface pores and removes subsurface moisture. Without it, the adhesive may bond initially to a slightly damp surface that becomes a weak point over time.
People with naturally oily nail plates or who live in humid climates are disproportionately affected. The American Academy of Dermatology notes that nail plate composition varies significantly between individuals, which explains why the same application technique produces different longevity results for different people.
The fix
Apply a nail dehydrator after the alcohol wipe step and before glue application. Allow it to dry completely — 60 seconds — before proceeding. For very oily nail types, a nail bonding primer (acid-free, marketed for press-ons and gel systems) applied in a thin layer after the dehydrator creates an additional adhesion layer.
Both products are inexpensive and widely available. The combined cost is under $10 and adds days to your wear time. They are among the most overlooked items in press-on prep.
Mistake 9: Not Pressing Firmly Enough — and for Long Enough

Still worried press-ons will make the problem worse? Use the safety checks above first, then choose a gentle set you can remove without picking.


What goes wrong
Press-on nails placed without sustained pressure develop air pockets under the surface. Those air pockets become lifting zones within 12–24 hours, especially in the center of the nail where contact was weakest.
Why it happens
Nail glue has a working time of roughly 15–30 seconds before it begins setting. During that window, the glue is redistributing itself to fill micro-gaps between the press-on and the natural nail. If you release pressure before the glue sets, those micro-gaps remain — filled with air instead of adhesive. Every flex of the finger works against those air pockets, and they gradually spread into full separation.
"Sometimes you'll do everything 'right' and they can still pop off" — Reddit r/pressonnails, 88 upvotes
This can be true — nail anatomy, activity level, and chemistry all play a role — but insufficient pressing time is one of the most common preventable causes. See why press-on nails pop off for a complete breakdown of all pop-off causes including those outside your control.
The fix
Press each nail with firm, even pressure for a minimum of 30 seconds per nail. Use your opposite thumb pressing from the center outward, then from the cuticle edge to the free edge. The goal is to eliminate any rocking movement and ensure the entire surface is in full contact with the natural nail simultaneously.
다른 일을 하기 전에 10개의 네일을 모두 부착하십시오. 네일 접착제를 바른 직후 타이핑하거나 메시지를 보내거나 무언가를 집고 싶은 마음이 들 수 있지만 참으십시오. 완전히 굳는 데는 24시간이 걸립니다. 처음 10분 안에 조금만 움직여도 완벽해 보이던 네일의 위치가 달라질 수 있습니다.
Want nails that actually stay put? SHANGMENG's flexible soft gel formula distributes pressure evenly for a flat, gap-free bond — even on curved nail beds.
Find Your Flat, Gap-Free Fit →Mistake 10: Peeling Off Nails Instead of Soaking

What goes wrong
Peeling a press-on nail off — even when it feels like it's "coming off on its own" — removes the top layer of the nail plate every time. Repeated peeling causes cumulative thinning, white patches, and a nail surface so compromised that adhesive will not bond properly for subsequent sets.
Why it happens
프레스온 네일 한쪽 가장자리가 들뜨기 시작하면 헐거워져서 제거할 수 있을 것처럼 느껴집니다. 하지만 그렇지 않습니다 — 나머지 부분은 여전히 단단히 붙어 있습니다. 들뜬 가장자리부터 벗기면 아직 붙어 있는 부분에 전단력이 가해지고, 접착제 대신 케라틴을 따라 분리가 진행됩니다. 네일 접착제가 실패한 것처럼 느껴지지만, 실제로는 손톱판이 갈라지는 것입니다.
This is the same mechanism as peeling off gel polish, which is widely documented as a cause of nail damage by nail health researchers and dermatologists. The adhesive chemistry differs, but the damage pathway is identical.
The fix
Even a partially lifting press-on should come off via soaking, not peeling. If a nail has already lifted enough that you can see the gap, it will soak off in 5–7 minutes rather than the standard 10–15. Use the soak method every time, without exception.
After removal, apply cuticle oil daily for at least a week. The nail plate rehydrates from below, but the top surface needs time and moisture to recover full resilience. For nail plate recovery after damage, the AAD recommends keeping nails short, avoiding acetone-based products daily, and using a strengthening base coat during the recovery period.
For a complete how-long-do-press-ons-last guide including factors that affect lifespan and re-wear potential, see how long do press-on nails last.
What "Doing Everything Right" Still Can't Prevent

Even perfect application technique does not guarantee 14-day wear for everyone. Nail anatomy varies. Some people have naturally smoother, oilier, or more flexible nail plates that challenge adhesive chemistry in ways prep alone cannot fully overcome. High-water-contact lifestyles (healthcare workers, swimmers, frequent dish-washers) see shorter wear times regardless of method.
The goal of mistake-free application is to reach your maximum wear potential — not a theoretical ideal. Understanding which factors are within your control and which are not is part of becoming skilled at press-ons.
"Sometimes you'll do everything right and they can still pop off." — this is true, and it is not failure. It is biology meeting chemistry, and the solution is to keep experimenting with prep, sizing, and adhesive method until you find what your specific nails respond to best.
Frequently Asked Questions
Why do my press-on nails always pop off on day one?
Day-one pop-offs almost always trace back to sizing or prep. A nail that is too wide pops off because skin contact breaks the adhesive seal. Oily or damp nail surfaces prevent bonding entirely. Check your size selection against the lateral edges of your nail plate (no skin overlap) and ensure you have wiped each nail with 70%+ isopropyl alcohol immediately before application. According to nail care research published in the Journal of Cosmetic Dermatology, surface preparation is the single most impactful variable in adhesive nail product longevity.
Can press-on nails damage your real nails?
Press-on nails themselves do not damage natural nails when applied and removed correctly. The damage associated with press-ons comes almost entirely from improper removal — using force, prying tools, or floss — which mechanically removes layers of the nail plate. The AAD's nail health guidance specifically identifies forced removal (rather than soaking) as the cause of thinning associated with artificial nail use. Warm water soak removal leaves the natural nail intact.
How long should I press each nail after applying glue?
A minimum of 30 seconds of firm, even pressure per nail. Research on cyanoacrylate adhesives (the family that includes nail glue) shows that bond strength increases significantly during the first 30–60 seconds of contact pressure as the adhesive distributes across micro-surface variations. Releasing pressure before 30 seconds leaves micro-gaps that become lift points. Use a timer if needed — the few extra seconds per nail translate to days of additional wear.
Is it normal for press-on nails to feel thick or uncomfortable?
A slight awareness of the nail is normal, especially for first-time wearers, but genuine discomfort or a feeling of thickness usually means the glue layer was too thick, the size is slightly too large and pressing on the skin, or the press-on's curvature does not match your natural nail's arch. Try a thinner glue application and confirm the nail is not touching the lateral skin folds. If discomfort persists across multiple applications, consider a flatter or more curved shape profile. See press-on nails for wide nail beds if fit is the underlying issue.
Can I reuse press-on nails after they come off?
Yes, with conditions. If the nail came off via proper soak removal and has no residual glue chunks or surface damage, it can be cleaned (gentle acetone wipe on the back surface), dried completely, and re-applied. Press-ons removed via peeling or force are usually not reusable — the surface is compromised and will not bond cleanly. Most soft gel sets can be worn 3–5 times with proper removal and storage between uses, which significantly reduces the per-wear cost.
Why do my nails always lift at the cuticle first?
Cuticle-first lifting is the signature of un-pushed cuticles or glue that reached the skin fold. If glue contacts skin — which is oily and flexible — it bonds weakly and that section becomes a lift initiation point. Push cuticles back thoroughly before application, apply glue to within 1mm of the cuticle edge but not onto it, and press from the cuticle edge outward during the 30-second hold. See press-on nails for beginners for the full step-by-step that addresses cuticle prep in detail.
How do I know if I need more or less nail glue?
The right amount is a thin, fully covering layer — visible surface texture through the glue, no white opacity, no overflow at the edges. A practical test: look at the back of the press-on with the glue applied. If you can see the nail's surface texture and color clearly through the glue, the amount is correct. If the nail looks uniformly white or cloudy, reduce the amount. If you see dry patches with no glue coverage, increase slightly and redistribute with the applicator tip before pressing.
Start fresh with nails that work with your technique. SHANGMENG soft gel sets in 32 nails / 16 sizes — designed for a flush, skin-free fit that makes every prep step actually count.
Explore New Arrival Collection →출처: 미국피부과학회 AAD의 손톱 건강 지침, Allure의 프레스온 네일 사이즈 안내, Journal of Cosmetic Dermatology의 접착식 네일 제품 유지력 연구, Byrdie의 네일 케어 편집 가이드, 손톱 질환 전문 피부과 전문의가 제시한 손톱 건강 권고안.
공유하기