


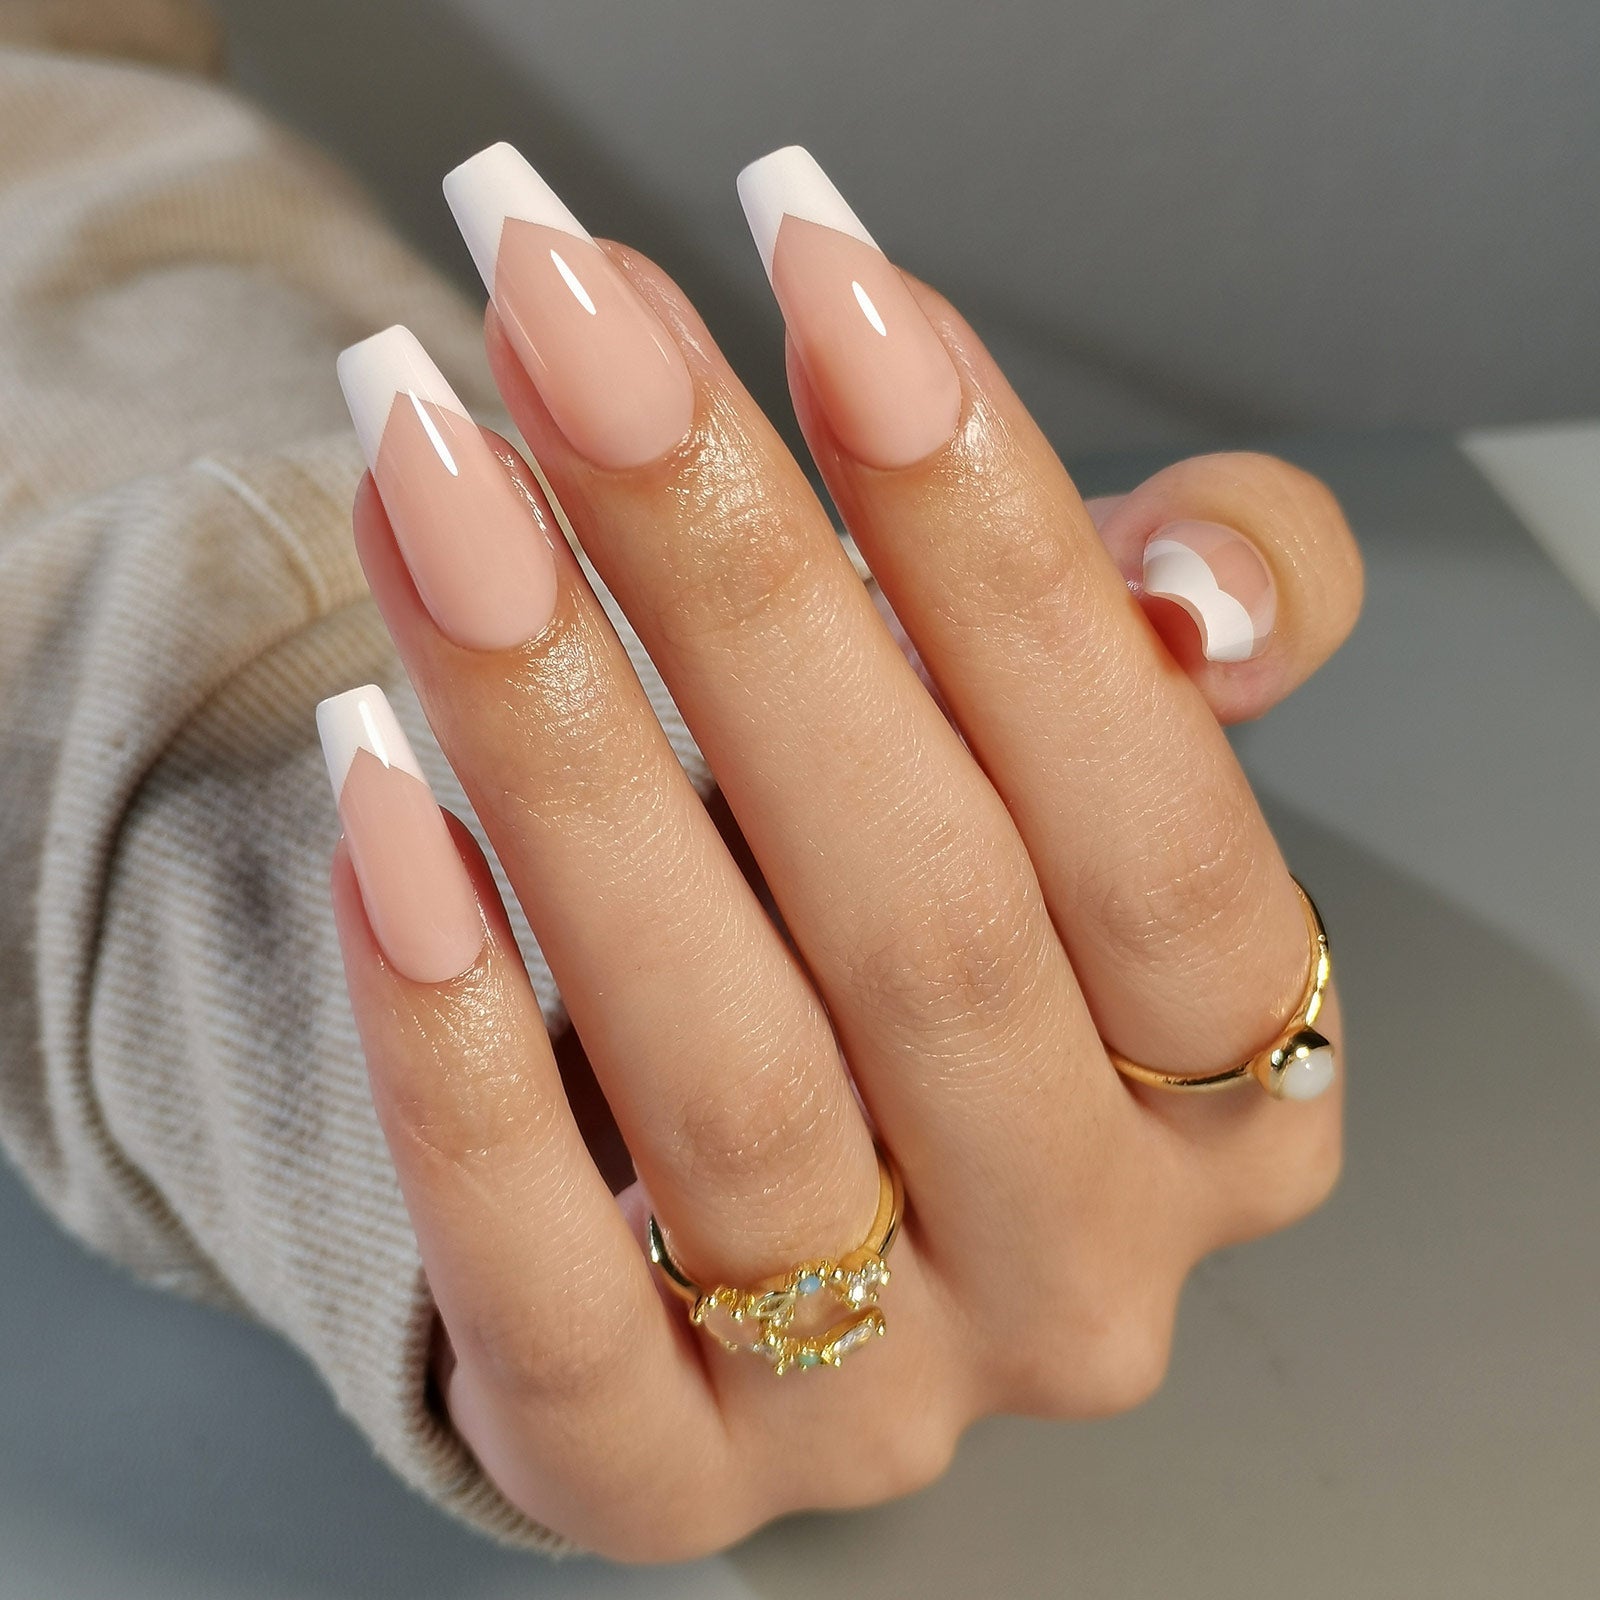
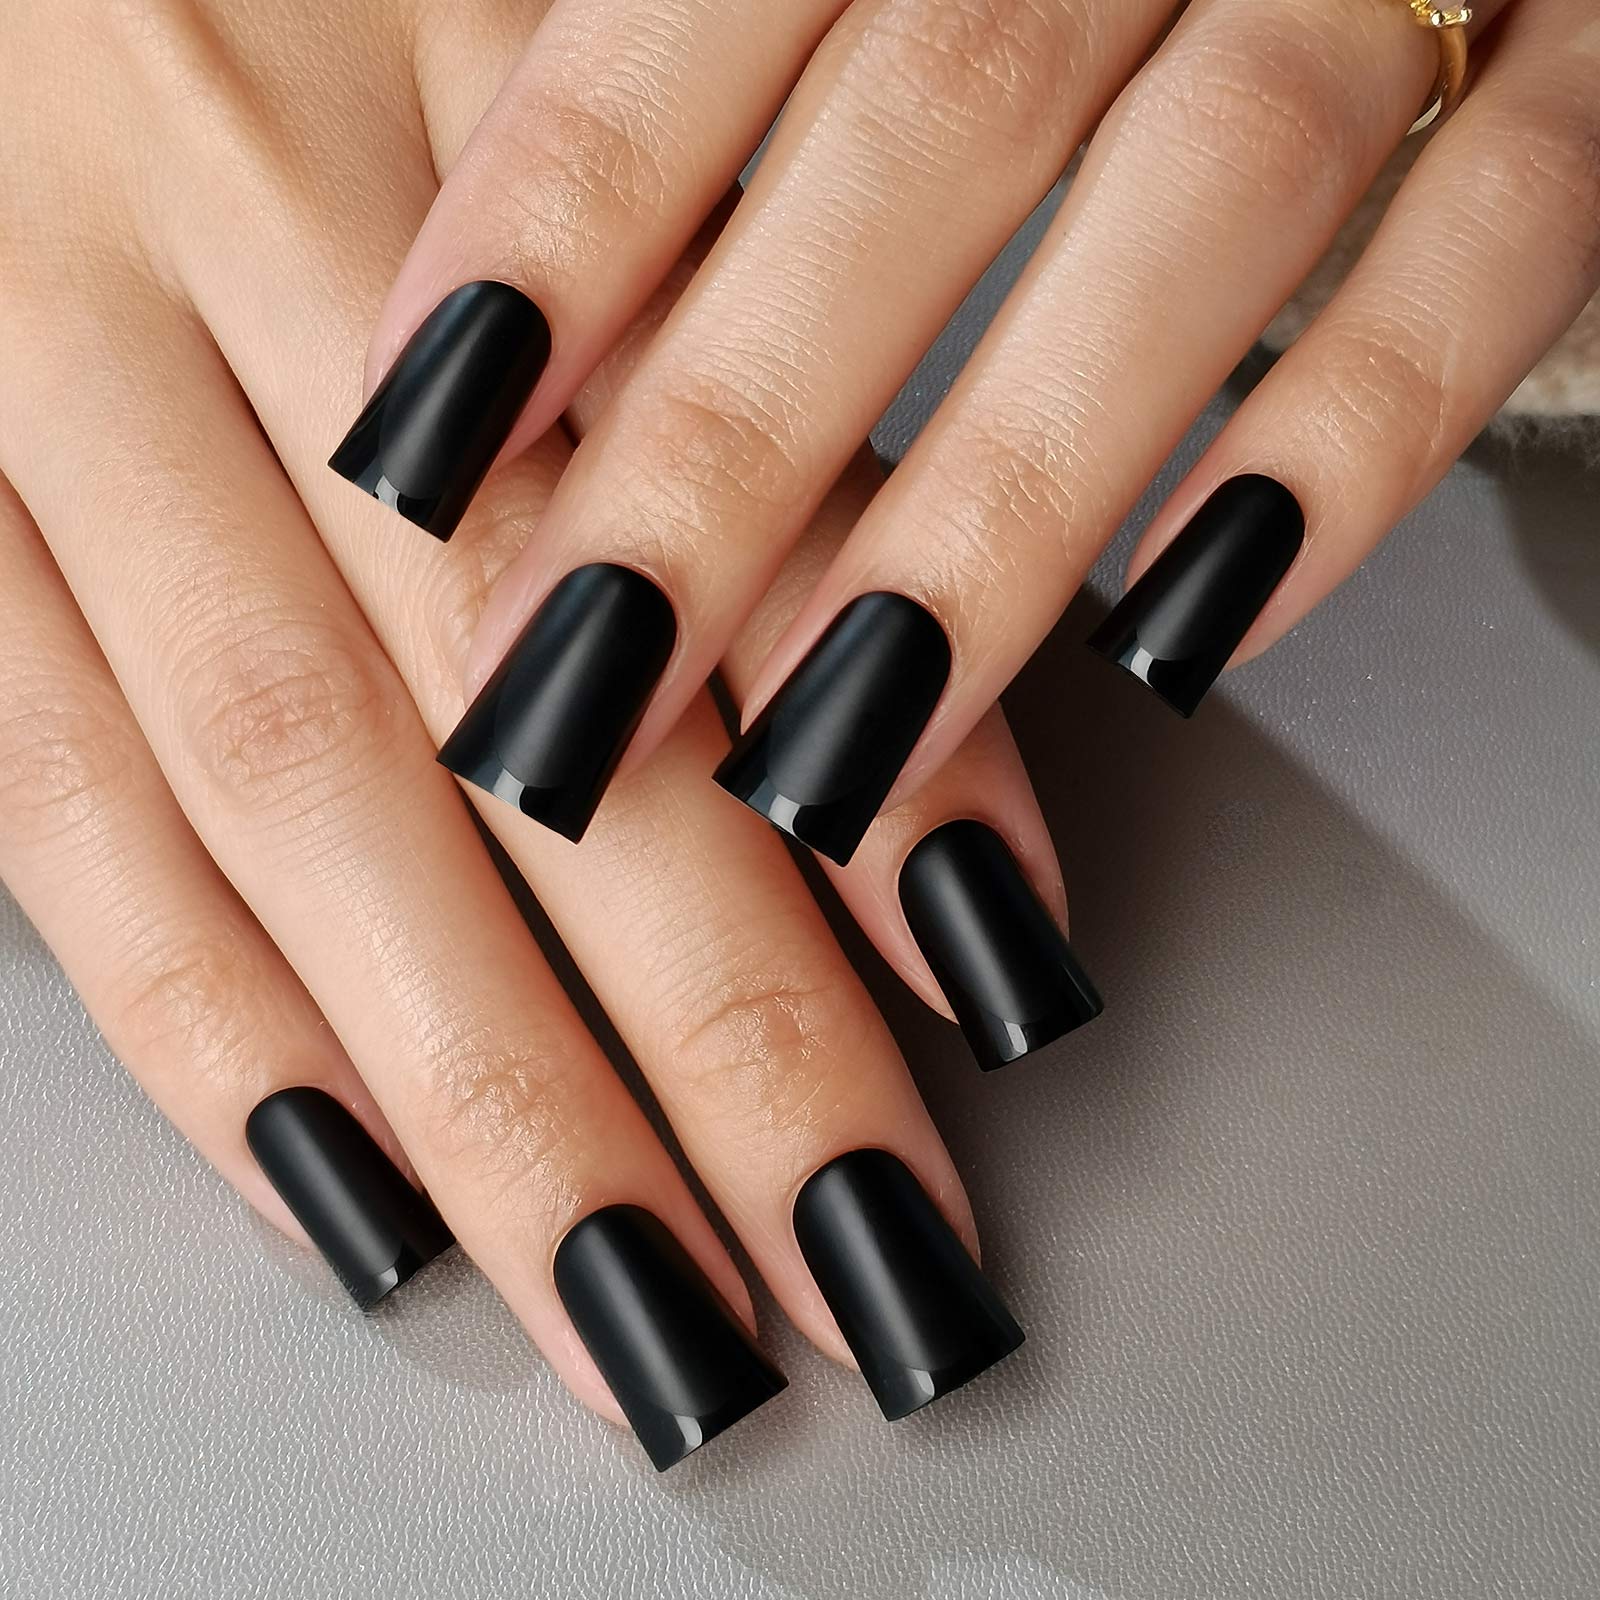


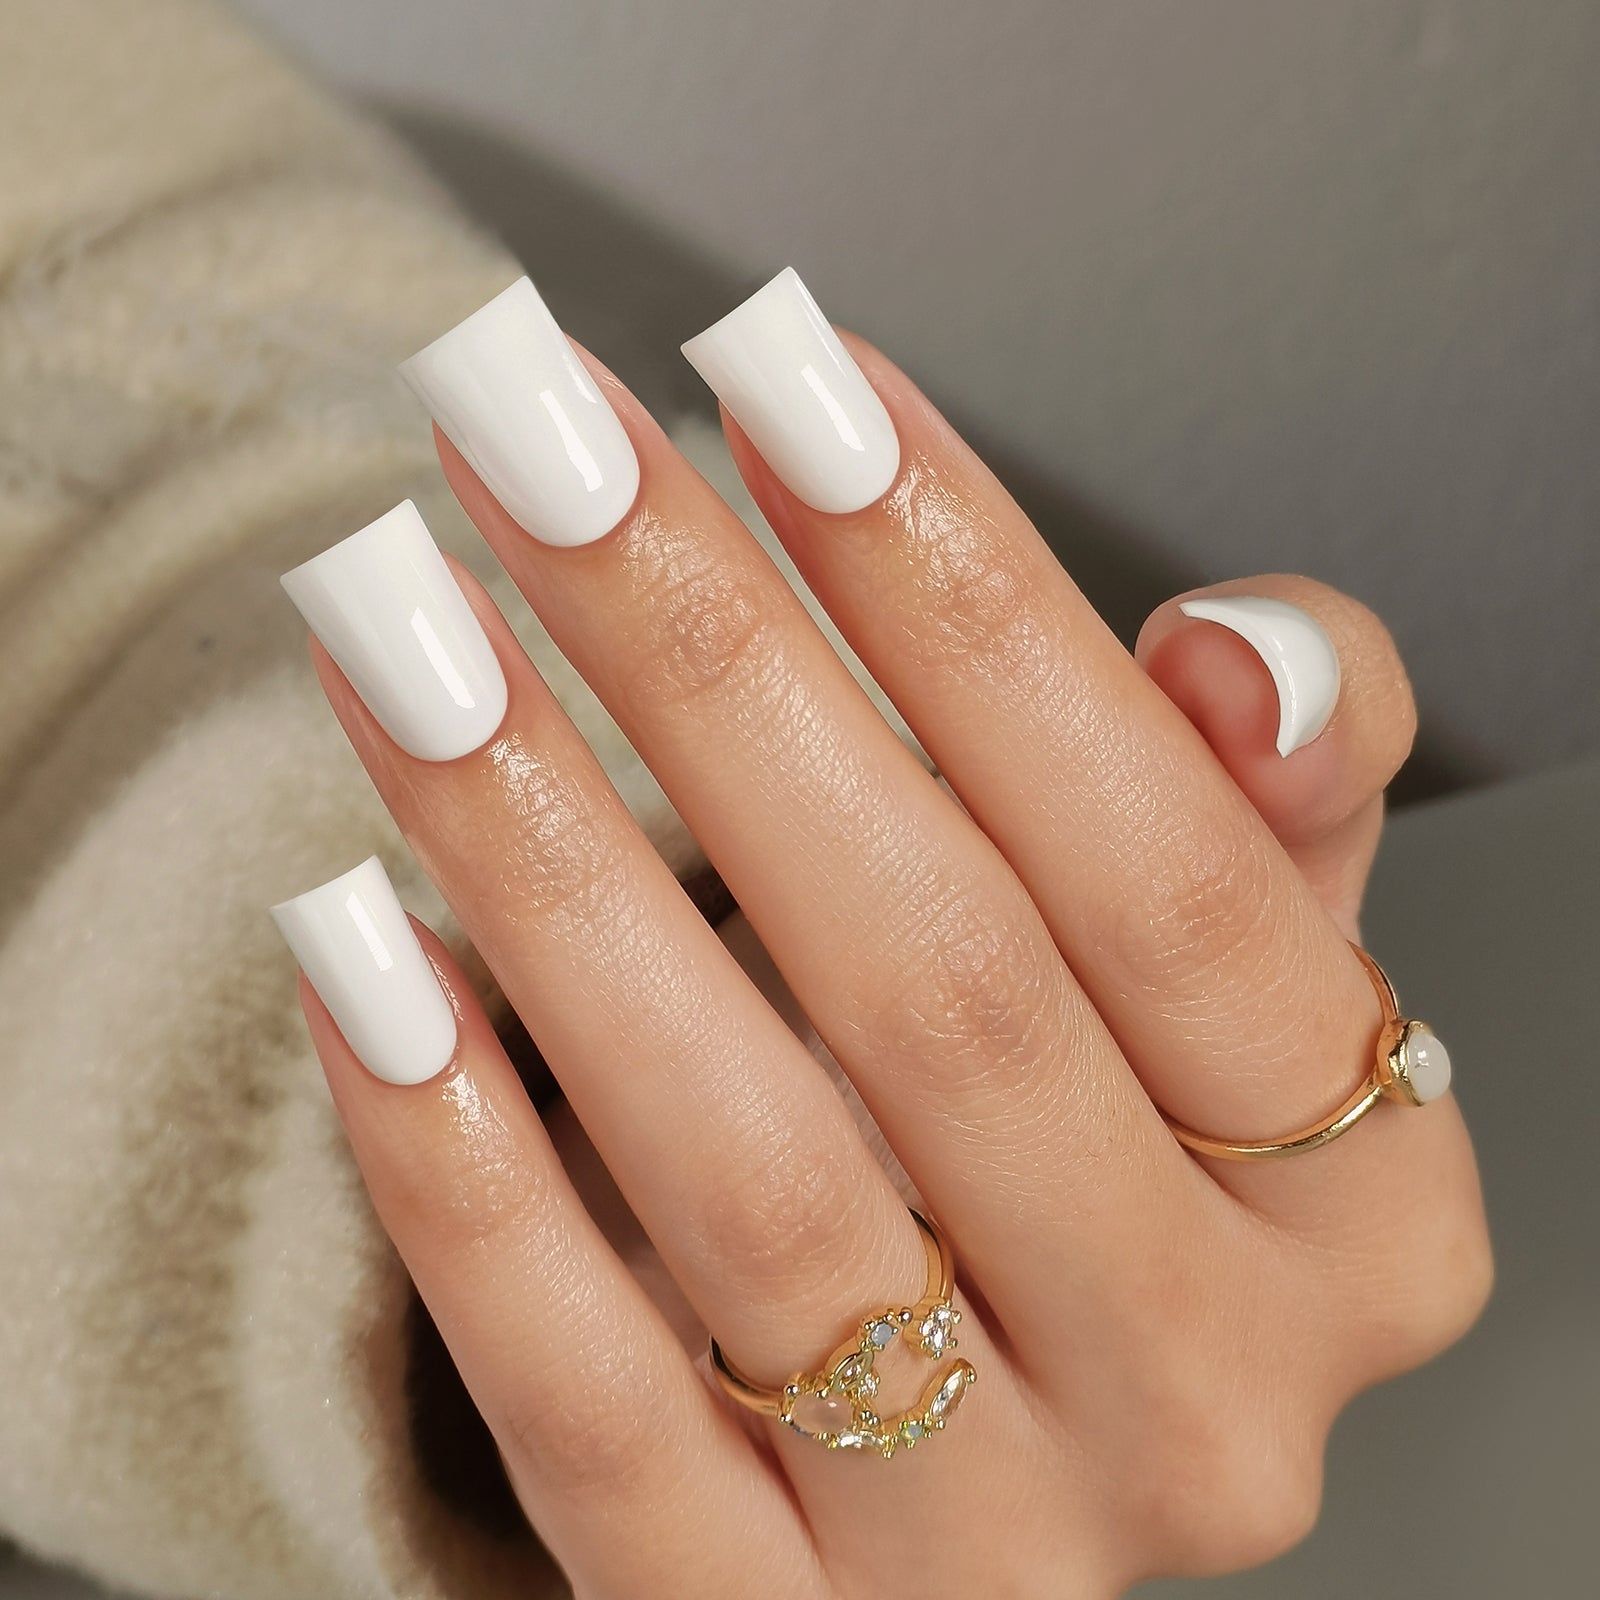
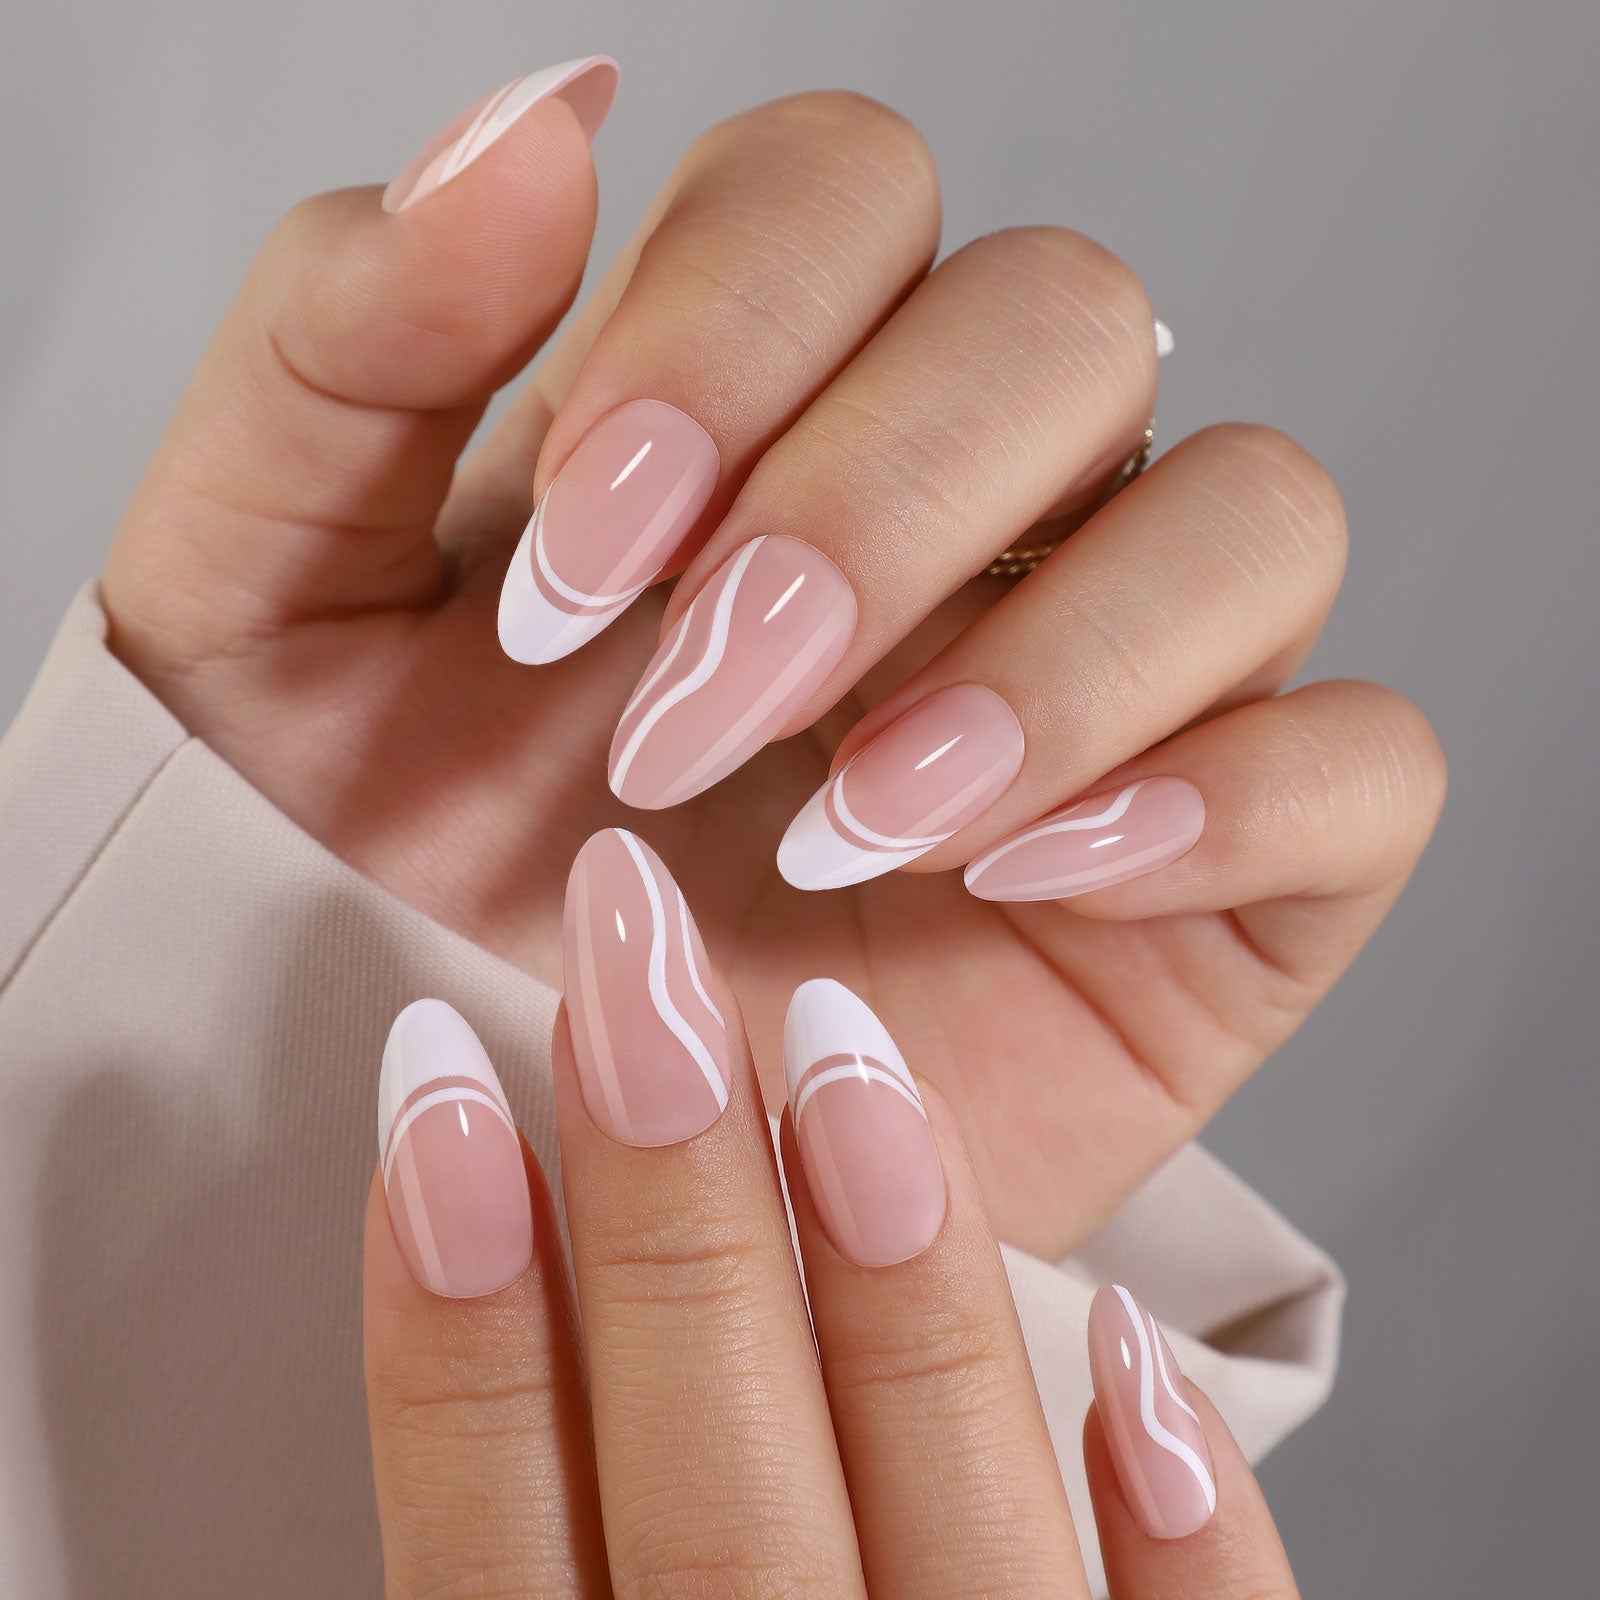




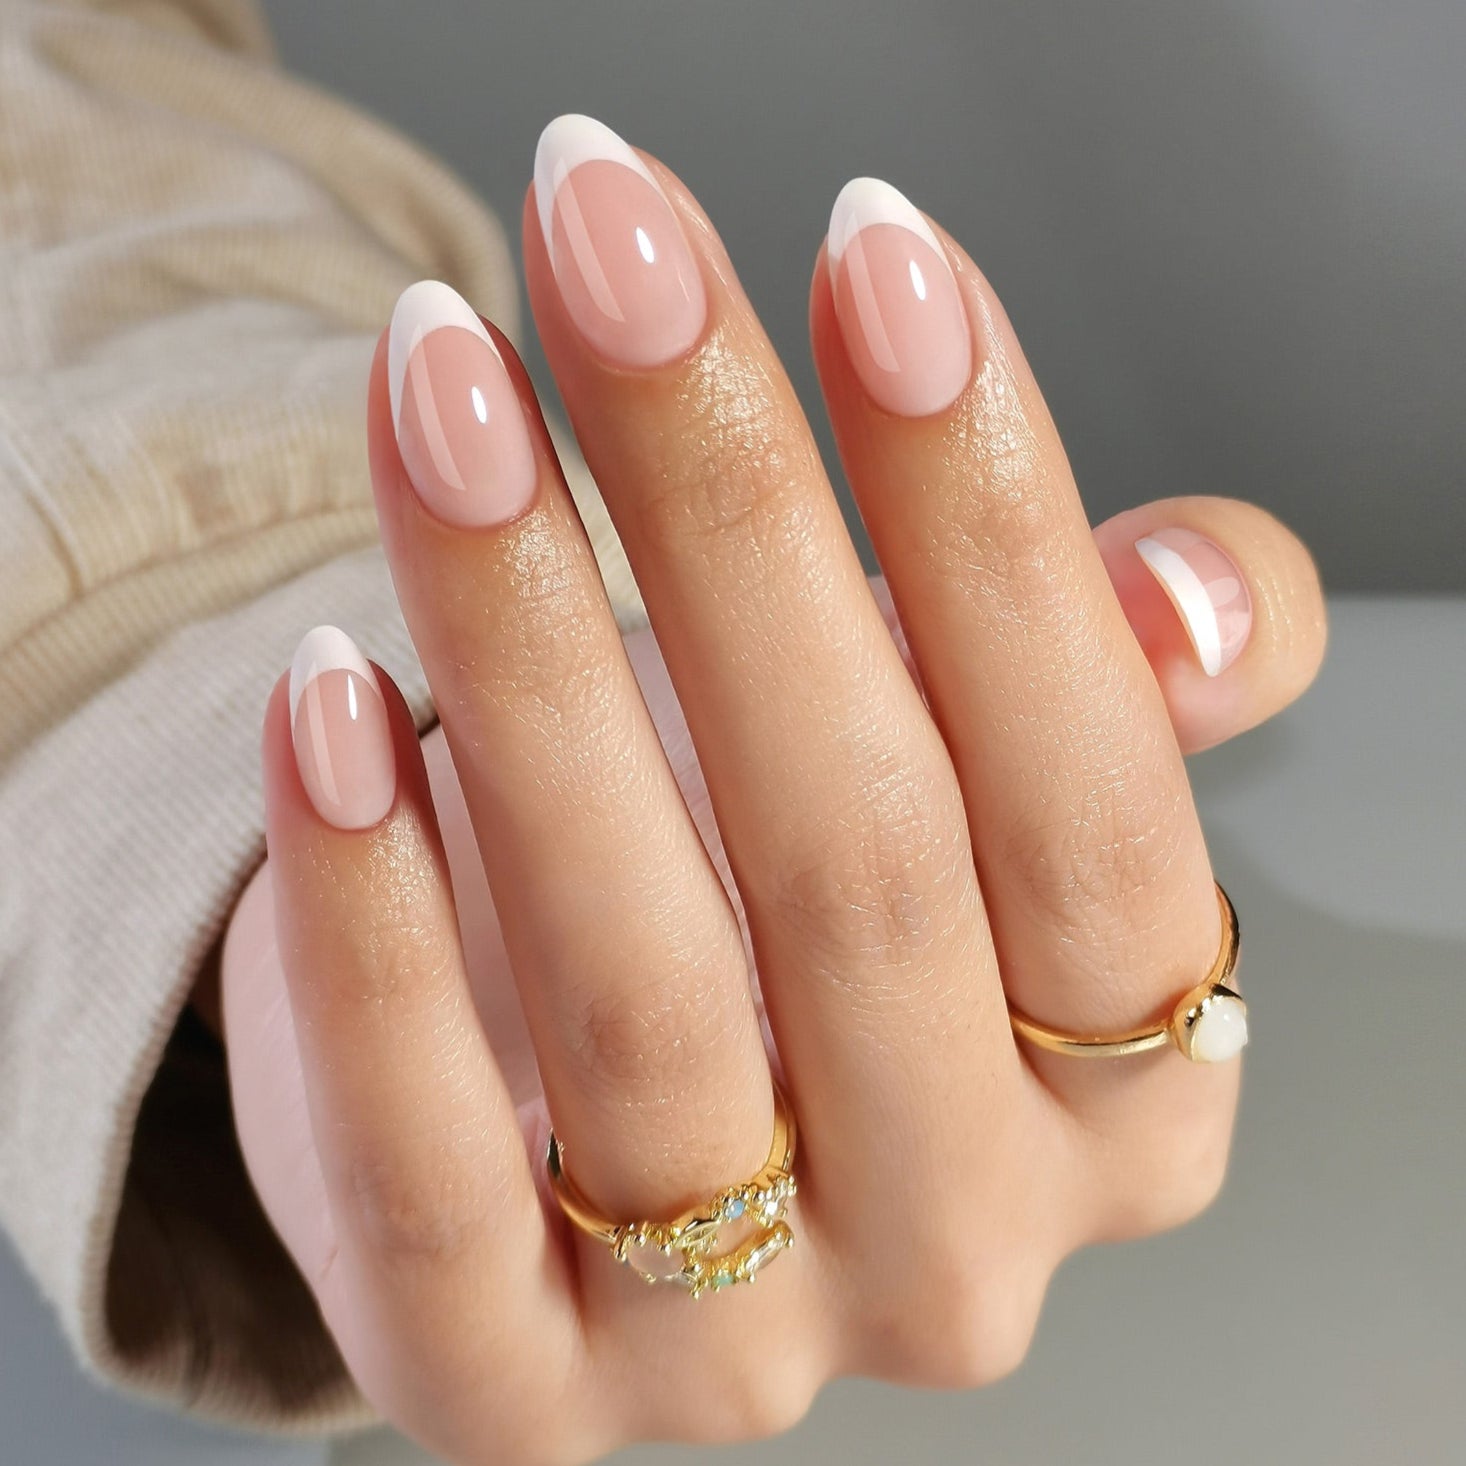


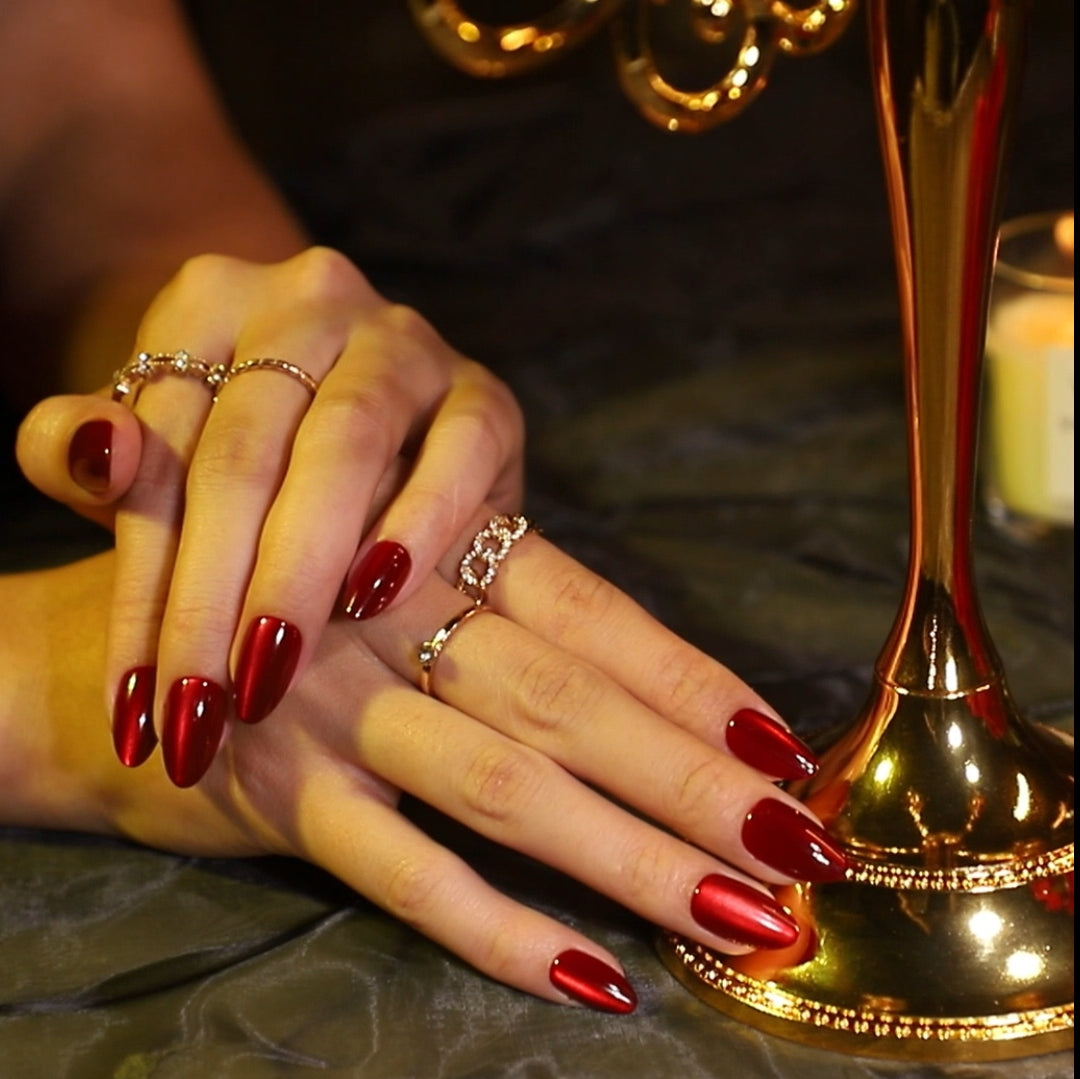

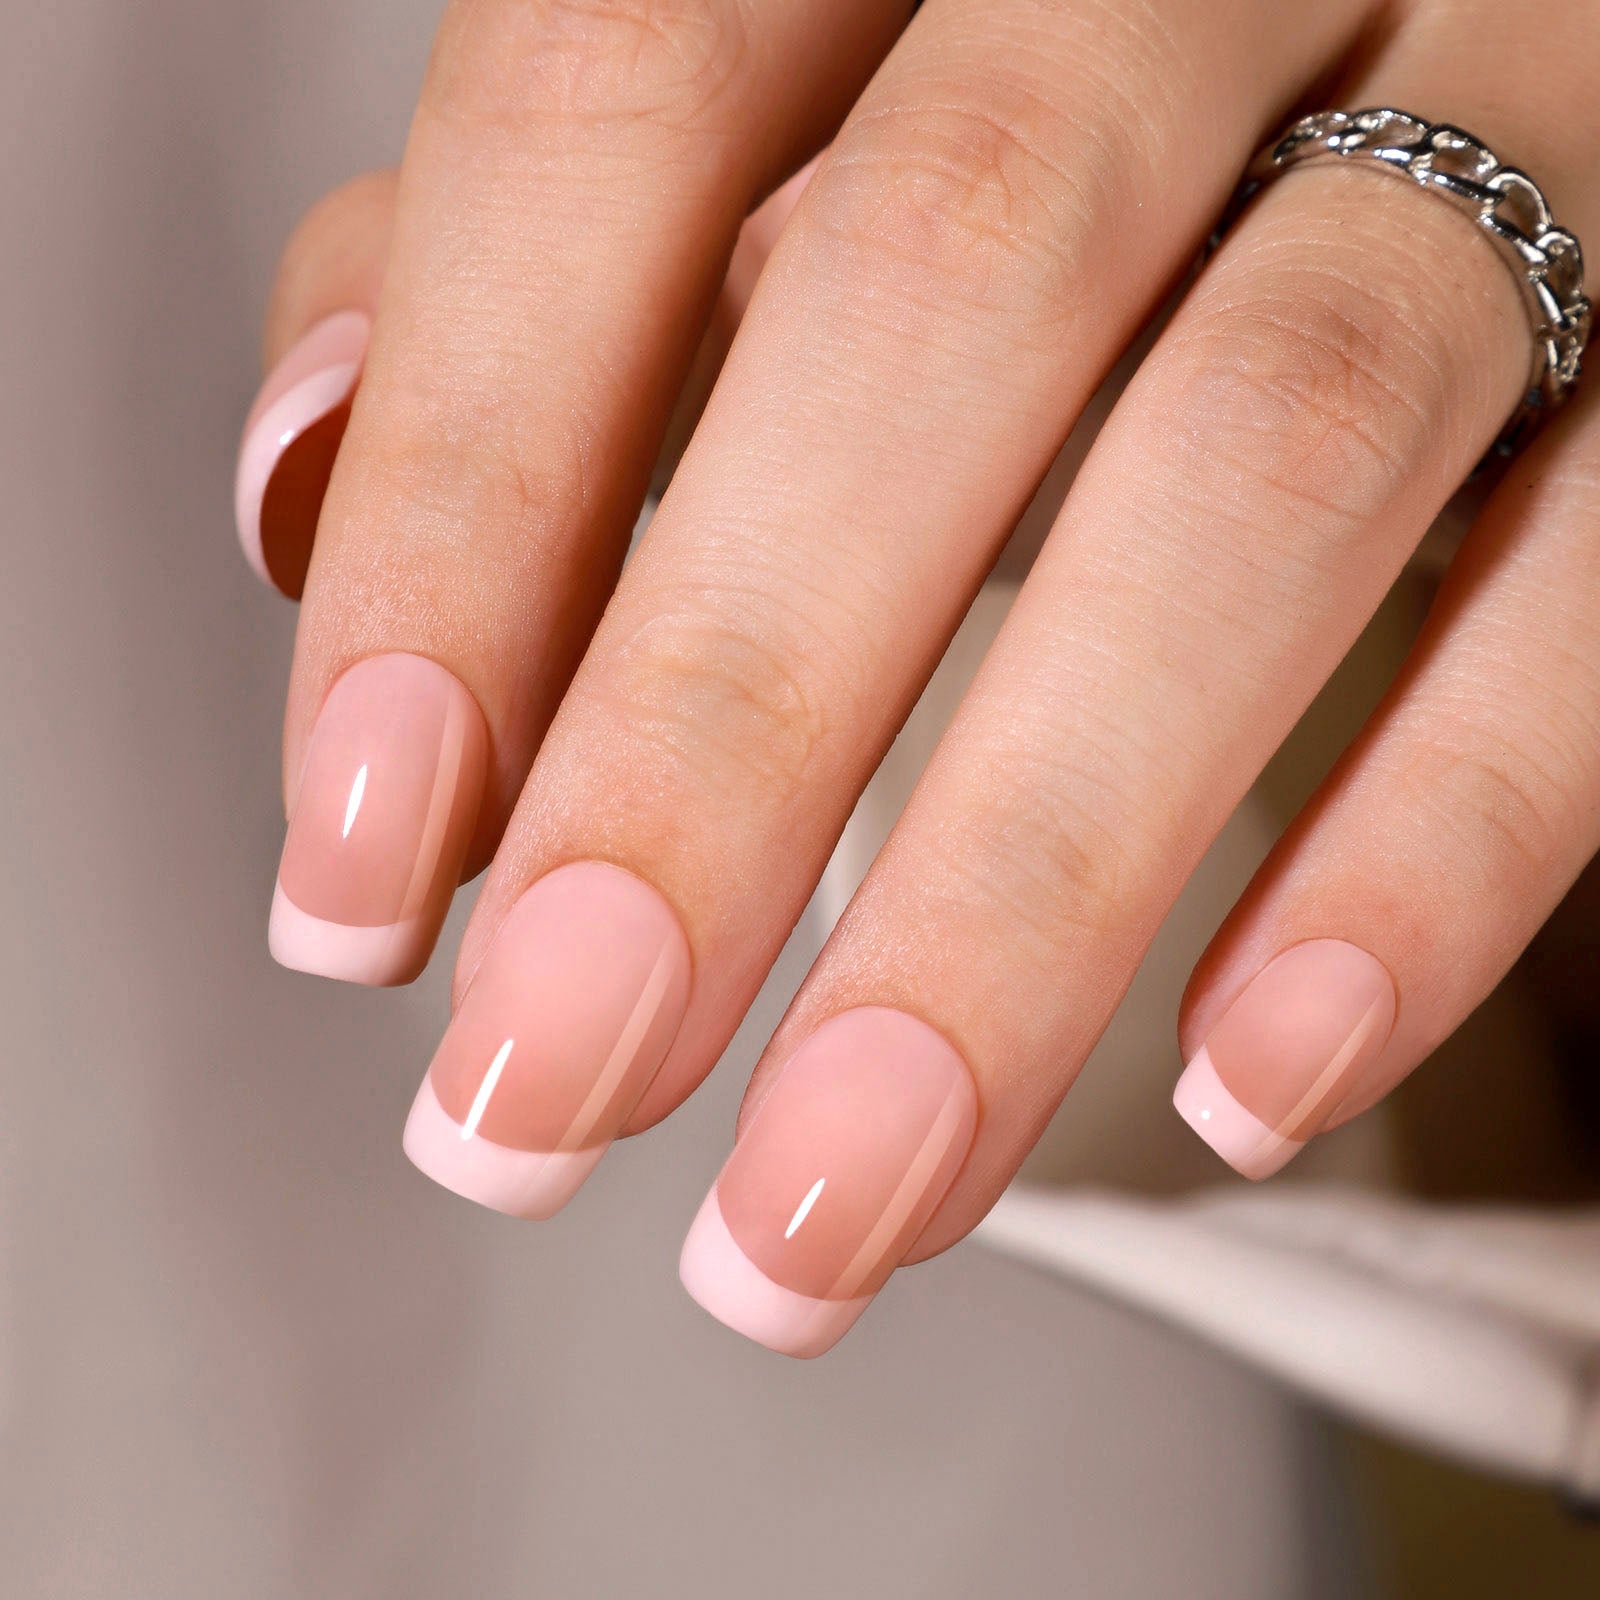


프레스온 네일 부착 방법: 전문가가 전하는 15가지 팁
By Paul — SHANGMENG의 시술 전문가이자 프레스온 네일 교육 담당입니다.
Applying press-on nails correctly means starting with a clean, buffed, dehydrated nail surface, choosing a size that covers the nail bed without touching the skin, and pressing firmly for 30–60 seconds starting from the cuticle edge outward. A thin top coat seal over the free edge makes the difference between a set that lasts three days and one that holds for two weeks.
That's the short version. This guide is the long one — built from real application experience and tested techniques that consistently produce salon-level results at home.
SHANGMENG 시술팀은 모든 소프트 젤 세트에 동일한 기본 순서를 적용합니다. 먼저 사이즈를 맞추고, 자연 네일 표면을 깨끗하게 정리하고, 접착제를 얇게 바른 뒤 마지막으로 프리에지를 마감합니다. 살롱에서 젤 시술을 받으시면 팁을 제외하고 $60-$90 정도가 들며, SHANGMENG 소프트 젤 세트는 보통 $10-$15 수준이고 집에서 부착하실 때 필요한 글루, 접착 탭, 파일, 프렙 도구가 함께 들어 있습니다.
If you've tried press-ons before and had them pop off in two days, something in the prep or sizing phase went wrong. This guide fixes that, step by step.
Key Takeaways: - Nail prep (clean + buff + dehydrate) accounts for 70% of wear duration - Sizing too large is the single most common reason for early lift — when in doubt, go one size smaller - A top coat seal over the free edge adds 3–5 days of wear with almost no effort - Avoid water, soap, and lotion for at least two hours after application - With the right technique, soft gel press-ons last 10–14 days consistently
Not sure which shape, length, or size fits your natural nails?
What You Need Before You Start
Good application starts with having the right supplies ready. Most SHANGMENG sets include everything you need, but it helps to know what each item does.

Your application checklist:
- Press-on nail set — 32 nails / 16 sizes (the 16-size format gives you the incremental fit options that make a real difference)
- Nail buffer — fine grit (180–220) to lightly roughen the natural nail surface
- Cuticle pusher / orange stick — to push back cuticles cleanly before sizing
- Isopropyl alcohol (70%+) or nail dehydrator — 접착을 방해하는 유분을 제거하는 단계입니다. 가장 많이 생략되지만 가장 중요한 단계입니다
- Nail glue — 접착력을 최대한 높이고 싶으실 때 사용하며, 모든 SHANGMENG 세트에 함께 들어 있습니다
- Adhesive tabs — 짧게 착용하시거나 깔끔하게 제거하고 싶으실 때 적합하며, 이 역시 세트에 함께 들어 있습니다
- Clear top coat — 필수는 아니지만 꼭 권해 드립니다. 프리에지를 마감해 착용 기간을 더 길게 유지하는 데 도움이 됩니다
- Nail file — for shaping the free edge after application
Optional but useful: - Nail primer — increases bonding surface for natural nails that tend to be oily or smooth - Builder gel base coat — 젤 네일 익스텐션에서 가져온 기법으로, 부착 전에 구조감과 밀착력을 더해 줍니다
For a full breakdown of whether you need nail glue versus tabs and when to use each, see do you need nail glue for press-on nails.
Everything Included. Nothing to Buy Separately.
SHANGMENG soft gel sets ship with 32 nails (16 sizes), adhesive tabs, nail glue, and a cuticle stick. Just add your own isopropyl alcohol and a top coat.
Nail Prep: The Step Most People Skip
Here's a consistent pattern among people who get poor wear from press-ons: they skip nail prep entirely and wonder why the set lifts by day three. The nail surface is covered in natural skin oils, residual moisture, and micro-smoothness that makes adhesion actively difficult.
Nail prep is not optional. It is the application.

Step 1: Push Back Cuticles
Use the included cuticle stick to gently push your cuticles back toward the base of the nail. You are not cutting them — just moving the soft tissue clear of the nail plate surface.
Why it matters: press-ons that sit on top of cuticle skin instead of nail plate will lift from the base within hours. The adhesive bonds to nail keratin, not skin.
Step 2: Lightly Buff the Nail Surface
Using the fine side of a nail buffer (180–220 grit), make a few light strokes across each nail. You are not trying to thin the nail — just break up the shine and create micro-texture.
Buffing removes the top glossy layer of the nail plate and gives the adhesive something to grip. Without this step, you're gluing to a polished surface. With it, the bond is several times stronger. Ten seconds per nail is enough.
Step 3: Clean and Dehydrate
This is the most skipped step and the most impactful one. Use an isopropyl alcohol wipe (70%+), a nail prep wipe, or a cotton pad soaked in alcohol to clean each nail.
Wait for the nail to dry completely — usually 30–60 seconds. You should see the nail go from slightly damp to matte as the alcohol evaporates and pulls residual moisture with it.
Many longtime press-on wearers report that adding a proper dehydration step extended their wear from 4–5 days to 10+ days without changing anything else. The alcohol removes the invisible oil film that even freshly washed hands have on the nail surface.
Do not touch the nail surface after cleaning. Natural skin oils transfer instantly. If you need to adjust or position something after this step, use the cuticle stick — not your fingertip.
How to Choose the Right Size
Wrong sizing is the second most common cause of early lifting, right behind skipping prep. And the most common sizing mistake is going too large, not too small.

The "No Skin Contact" Rule
The press-on should cover the full nail plate from cuticle edge to free edge — wall to wall — without touching the skin on either side. If any part of the press-on sits on skin rather than nail, it will peel from that edge and eventually take the rest of the nail with it.
When in doubt between two sizes, go smaller. A slightly narrower press-on that grips the nail plate completely will outlast a wider one that looks better but contacts the skin.
Test Before You Glue
Before applying any adhesive, do a dry fit. Place the press-on on your nail and check:
- Does the curvature of the press-on match the curvature of your nail? A flat press-on on a curved nail will have gaps at the sides — that's where lifting starts.
- Does it cover the full width of your nail plate without going past either edge onto skin?
- Is the length comfortable from cuticle to tip, or does it need to be filed down before application?
If the curvature doesn't match, try a different press-on from the set — within the same size number there can be slight variation that makes one fit better than another.
For nail beds that run wider than standard sizing accommodates, see how to choose press-on nail size for a full guide to measuring width, curvature, and size range before ordering.
Glue vs. Adhesive Tabs: When to Use Each
Most press-on sets include both nail glue and adhesive tabs. They are not interchangeable — each has a use case, and knowing which to use when will save you from frustration.

Adhesive tabs: - 적합한 경우: 1–5일 동안 이어지는 행사, 아세톤 없이 깔끔하게 제거해야 하는 상황, 사이즈를 처음 확인해 보시는 분 - 착용 기간: 5–7일 정도이며, 프렙이 잘 된 네일에서는 최대 10일까지 유지되기도 합니다 - 제거: 따뜻한 물에 5–10분 정도 담가 두시면 네일이 깔끔하게 분리되며 재사용도 가능합니다 - 유의할 점: 물에 자주 닿는 환경(설거지, 수영, 잦은 손 씻기)에서는 탭이 글루만큼 강하게 잡아 주지 못합니다
Nail glue: - 적합한 경우: 10–14일 착용, 표면이 매끄럽거나 유분이 많은 네일, 물에 자주 닿는 활동적인 생활 - 착용 기간: 10–14일 정도이며, 제거하실 때는 따뜻한 물에 담근 뒤 큐티클 스틱으로 부드럽게 들어 올립니다. 전체 과정은 how to remove press-on nails 안내를 참고하십시오. - 유의할 점: 제거 과정이 비교적 강한 편이라 한두 번 이상 재사용하실 계획이라면 권해 드리지 않습니다
The hybrid approach: Apply adhesive tab first to test the fit of each nail. If everything fits correctly, remove the set, go through the prep steps again, and apply with glue for your actual wear. This is how many experienced press-on wearers avoid any adhesive waste on sizing mistakes.
For a full breakdown of glue versus tab mechanics with specific product recommendations, see do you need nail glue for press-on nails.
SHANGMENG Sets Include Both Options
Every SHANGMENG set ships with adhesive tabs and nail glue. Use tabs for short wear, glue for maximum hold — or test fit with tabs first, then commit with glue.
Step-by-Step Application: 10 Steps for a Perfect Set
With prep done and sizing confirmed, here is the full application sequence.

Step 1: Complete all nail prep steps. Clean, buff, dehydrate. If you already have nail polish on, remove it completely first — press-ons over polish have significantly reduced adhesion.
Step 2: Organize your set. Lay out all 10 press-ons for one hand in the order you'll apply them — thumb through pinkie. Organize by nail before starting. Stopping mid-application to find the right size breaks your workflow and risks touching the prepped nail surface.
Step 3: Apply adhesive. - For glue: Apply a thin ring of glue around the perimeter of the back of the press-on, then a small dot in the center. Thin is better than thick — excess glue squeezes out the sides and is difficult to clean up. - For tabs: Remove the backing paper and press the tab firmly onto the back of the press-on before removing the second backing.
Step 4: Position at a slight angle. Hold the press-on at approximately 45 degrees. Align the bottom edge of the press-on with your cuticle line — not your skin, but the actual point where the nail plate begins. Getting this position right before pressing down is much easier than trying to adjust afterward.
Step 5: Press from cuticle toward tip. Starting at the base, press down firmly and roll the press-on toward the free edge. This motion pushes air bubbles out rather than trapping them under the nail.
Step 6: Apply firm pressure. Hold each nail down firmly for 30–60 seconds. Don't just rest your hand — actively press. The full cure time for the adhesive to form a solid bond is longer, but the initial 30–60 second window is when you're setting the seal.
Step 7: Check the edges. Run your thumbnail along the side edges and free edge of each nail. If you feel any gap or flex, apply light pressure directly to that area for another 15–20 seconds.
Step 8: File the free edge if needed. If the length is longer than you want, file gently in one direction (not back and forth) after the glue has set for 2–3 minutes.
Step 9: Apply a thin top coat. This is the single highest-ROI finishing step. Brush clear top coat over the surface of the press-on and seal it by running the brush along the free edge, slightly underneath. This seals the seam between the press-on and your natural nail — the most common entry point for water and lift.
Step 10: Avoid water for 2 hours. The adhesive continues curing during this window. Dishes, hand washing, and cleaning products during the first two hours are the primary cause of what looks like "it lifted right away" situations.
15 Pro Tips That Make the Difference
These are the techniques that separate three-day sets from two-week sets. Each one takes under 30 seconds to implement.

1. Buff more than you think you need to. The goal is a fully matte nail surface — no shininess left. If you can still see reflected light off your nail under good lighting, buff another five seconds.
2. Seal the free edge with top coat. Already in the application steps, but worth repeating as its own tip because of how many people skip it. The underside edge of the press-on is where water infiltrates. A thin top coat layer underneath that edge stops it.
3. Press upside down for the first 30 seconds (if using builder gel base). If you apply a very thin layer of builder gel to the back of the press-on and cure it briefly, then place the press-on on your nail, pressing with the hand face-down means gravity works in your favor. The weight of the press-on is pressing toward your nail rather than falling away from it. This is a technique borrowed from nail extension application.
4. Use a base coat before adhesive on smooth or oily nails. One thin layer of regular base coat (or nail primer for very oily nails) on the natural nail before adhesive creates an additional bonding surface. Let it dry fully before applying glue or tabs.
5. Warm your hands first. Cold hands have slower adhesive cure rates. If you're in a cold room, run warm water over your hands for 30 seconds before application. The warmth slightly accelerates the adhesive bond.
6. Never size up to avoid filing. 파일링 없이 길어 보이게 하려고 한 사이즈 큰 것을 고르고 싶어지기 마련입니다. 하지만 피부에 닿는 여분의 폭은 결국 들뜸이 시작되는 지점이 됩니다. 길이는 파일로 다듬으시고, 사이즈는 폭에 맞춰 고르십시오.
7. Apply in good lighting. The cuticle alignment step (Step 4) is nearly impossible to do accurately in dim light. You need to clearly see where your nail plate begins. A phone flashlight aimed at your nail works well.
8. Don't apply lotion beforehand. Lotion before application will undo dehydration prep instantly. Apply lotion after your set is fully cured — ideally the evening after application.
9. Avoid cuticle oil for the first 48 hours. Cuticle oil is great for nail health during a long press-on wear, but applying it immediately after puts oil directly at the edge you just sealed. After 48 hours, the adhesive is fully cured and cuticle oil applied carefully to the skin only is fine.
10 . 한 번에 한 손톱씩 눌러 주시고, 한 손 전체를 서둘러 붙이지 마십시오. Each nail deserves the full 30–60 second pressure window. Moving too fast through all 10 nails without giving each proper hold time is a common cause of uneven wear — some nails hold perfectly while others lift within days.
11. Reapply top coat every three days. The top coat seals thin with daily activity. A 60-second touch-up every three days — focused on the free edge — significantly extends wear time without reapplying the whole set.
12. Carry a file, not a replacement. When press-on nails catch on things, it's usually the corner of the free edge that snags. A quick 10-second file of that corner prevents lifting far better than letting it snag repeatedly. Keep a file in your bag.
13. Avoid picking or peeling at the edges. This one seems obvious but bears saying: every time you peel at a lifting edge and press it back down, you're weakening the bond. If a corner starts lifting, apply a small amount of nail glue to the gap, press down, and hold for 30 seconds.
14. Keep your hands out of prolonged water. 오래 하는 반신욕, 수영장, 온수 욕조는 착용 기간을 가장 빠르게 줄이는 요인입니다. 샤워 정도의 물은 괜찮지만 오래 담그는 것은 다릅니다. 차이는 시간과 온도에 있습니다 — 따뜻한 물에 오래 닿으면 접착층이 부드러워집니다.
15. Size all 10 nails before applying any adhesive. Do your full dry fit for all 10 nails before opening the glue. You'll catch sizing issues before they're stuck in place, and the continuous prep-to-application flow is faster and cleaner than stopping to size mid-application.
How to Make Press-Ons Last 2+ Weeks
Two-week wear is achievable consistently if the following conditions are met from the start.

Still worried press-ons will make the problem worse? Use the safety checks above first, then choose a gentle set you can remove without picking.


The prep trifecta is non-negotiable. Clean, buff, dehydrate. Every nail, every time. The single most consistent predictor of wear duration is how completely oil and moisture were removed from the nail surface before application. Two-week wearers do not skip dehydration.
Use glue for 10+ day wear, tabs for shorter. Adhesive tabs are great for 5–7 days. If your target is two weeks, glue is the right adhesive choice. Combine with the free-edge top coat seal for maximum hold.
Avoid the main wear-killers: prolonged water exposure, peeling at lifted edges instead of re-sealing, and applying lotion to the nail itself (rather than just cuticle skin).
Top coat maintenance every 3 days. Treat it like sunscreen reapplication — the first coat establishes the protection, but it needs periodic refreshing to stay effective. A clear top coat touch-up focused on the free edge takes less than two minutes and adds measurable days of wear.
For an in-depth look at durability factors and what affects wear duration by adhesive type and lifestyle, see how long do press-on nails last.
Common Mistakes That Cause Early Pop-Off
If your press-ons keep lifting or popping off before you expected, one of these is almost always the cause.

Mistake 1: Sizing too large. This is the most common issue, especially for new wearers. The sides of the press-on contact the skin around the nail, adhesive bonds to skin instead of nail plate, and the press-on peels from the edges inward. The fix is sizing down and accepting that a slightly narrower fit outlasts a wider one every time.
Many people report feeling like they were "bad at nails" until they discovered they were consistently sizing up. One size smaller — with the nail fitting wall-to-wall nail plate only — changes the experience completely.
Mistake 2: Skipping nail prep. Going straight from bare nails to adhesive without cleaning, buffing, or dehydrating is the fastest path to a two-day set. Natural nail oils are specifically designed by your body to repel water-based and many adhesive-based substances. You're working against biology without prep.
Mistake 3: Using too much glue. Thick glue beads take longer to cure and create pressure points when the nail is pressed down. Excess glue on the sides is also difficult to remove cleanly. Thin layers — a ring around the perimeter and a dot in the center — bond better than thick layers.
Mistake 4: Touching the prepped nail. After dehydration, the nail needs to stay oil-free until adhesive is applied. Touching it with your finger deposits a fresh oil layer on the surface you just cleaned. Use the cuticle stick or an orange stick to handle nails after the dehydration step.
Mistake 5: Water exposure too soon. 부착 후 두 시간 동안은 접착제가 계속 굳어 가는 상태입니다. 그 사이에 설거지나 샤워, 청소를 하시면 접착이 완전히 자리 잡기 전에 굳는 과정이 흐트러집니다. 두 시간은 최소 기준이며 더 길수록 좋습니다.
Mistake 6: Not sealing the free edge. The seam at the tip of the press-on is the most vulnerable point. Every time your nails touch water, soap suds, or cleaning products, they work at that seam. Top coat sealed underneath the free edge closes that vulnerability.
For a comprehensive look at the durability variables behind early lifting, see how long do press-on nails last.
Ready to Apply Like a Pro?
SHANGMENG soft gel press-on nails — 32 pieces / 16 sizes, includes glue and tabs. Made with soft gel material that flexes with your nail and holds for 10–14 days with proper prep.
FAQ
How do I apply press-on nails so they last?
Start with fully prepped nails: push back cuticles, lightly buff the surface with a 180-grit buffer until the shine is gone, then wipe each nail with isopropyl alcohol and let dry. Apply nail glue in a thin layer, position the press-on at the cuticle edge first, press from base to tip, and hold firmly for 30–60 seconds. Seal the free edge with clear top coat. Avoid water for 2 hours. This sequence consistently produces 10–14 day wear on soft gel sets, and Allure's nail coverage consistently emphasizes prep and finish quality as the difference between temporary and polished at-home nails.
What is the correct way to size press-on nails?
Do a dry fit before applying any adhesive. The press-on should cover the full nail plate from sidewall to sidewall without touching the skin. When choosing between two sizes, always go smaller — a press-on that contacts the skin on either side will lift from those edges regardless of how well you applied it. For nail beds that are naturally wider or have a pronounced curve, look for sets that offer a broader size range, such as 32-piece / 16-size sets that include more intermediate increments.
Should I use nail glue or adhesive tabs?
Use adhesive tabs if you want 5–7 days of wear with easy removal and the option to reuse the set. Use nail glue if you want 10–14 day wear, have an active lifestyle with frequent water exposure, or naturally oily nails. Many experienced wearers do a dry fit with tabs to confirm sizing, then remove, prep properly, and apply with glue for actual wear. Both adhesive types are included in SHANGMENG sets. For more detail, see do you need nail glue for press-on nails.
How long do I need to press down each nail?
Hold each nail firmly for 30–60 seconds after placing it. Active pressure — not just resting your hand — during this window sets the initial bond. The adhesive continues curing for two hours, which is why water exposure during that period undermines the final hold. Rushing through all 10 nails in under two minutes is one of the most common causes of uneven wear within the same set.
Why do my press-on nails keep popping off?
빈도순으로 가장 흔한 원인은 다음과 같습니다. (1) 사이즈가 너무 큰 경우 — 프레스온이 피부에 닿아 옆면부터 떨어집니다. (2) 네일 프렙을 생략한 경우 — 네일 표면의 유분이 접착을 방해합니다. (3) 부착 후 2시간 이내에 물에 닿은 경우 — 굳는 과정이 흐트러집니다. (4) 프리에지를 마감하지 않은 경우 — 팁 이음새로 물이 스며듭니다. 제품 문제로 판단하시기 전에 이 네 가지를 순서대로 점검해 보십시오. 프렙과 사이즈를 제대로 맞추고 글루로 부착한 프레스온은 쉽게 떨어지지 않는 편입니다. 지속력 전반을 점검하시려면 다음 안내를 참고하십시오. how long do press-on nails last.
Can I apply press-on nails over existing nail polish?
No. Applying press-ons over nail polish significantly reduces adhesion — you're bonding to polish rather than nail keratin. Remove existing polish completely with acetone, then complete the full prep sequence: push cuticles, buff, dehydrate with alcohol. Applying over polish is one of the fastest ways to get a set that lasts a single day. If your nails have staining underneath, a light buffer pass will remove surface discoloration before application.
How do I remove press-on nails without damaging my natural nails?
Soak your nails in warm water for 10–15 minutes. Do not force or peel. After soaking, slide the cuticle stick gently under the edge of each nail and apply gentle upward pressure — the press-on should slide or lift off without resistance. If it doesn't, soak for another 5 minutes. For glue-applied sets, a small amount of acetone on a cotton pad pressed against the edge for 30 seconds accelerates loosening. Never use force — any damage to natural nails from press-on removal is caused by forcing, not by the adhesive itself. Full step-by-step instructions in how to remove press-on nails.
You Can Do This
Here's what changes for most people when they learn to apply press-ons properly: the process stops feeling like a gamble.
The techniques in this guide — thorough prep, correct sizing, sealing the free edge — are not complicated. None of them takes more than a minute to execute. But they work in combination, and skipping any one of them undermines the rest.
The most common feedback from people who've applied these techniques: "I used to think I was just bad at nails." They were not bad at nails. They were skipping dehydration or sizing up by one increment. Small adjustments with large consequences.
If this is your first time trying press-ons, start with a basic soft gel set, do the full prep sequence, size down when in doubt, and seal the free edge. See what a properly applied set actually feels like before drawing conclusions about whether press-ons work for you.
For first-time buyers who want a broader introduction to press-on nails before diving into technique, press-on nails for beginners covers the basics. This guide is the sequel — what you do once you know you want to wear them well.
Sources: Allure nail coverage. American Academy of Dermatology nail care guidelines.
공유하기